Coblet
Member
Registered: 26th Jun 04
Location: Camberley, Surrey
User status: Offline
|
Well, after seeing that there wasn't a tutorial here to cover this, I thought I'd just whip something up for you guys - it's a fairly simple procedure anyway, but Haynesy can be a bit vague at times. This is for manual, non-heated and non side repeater mirrors only.
Tools Required
8mm Socket and ratchet (preferably with extender)
Flat headed screw driver
About 10 minutes (if that!)
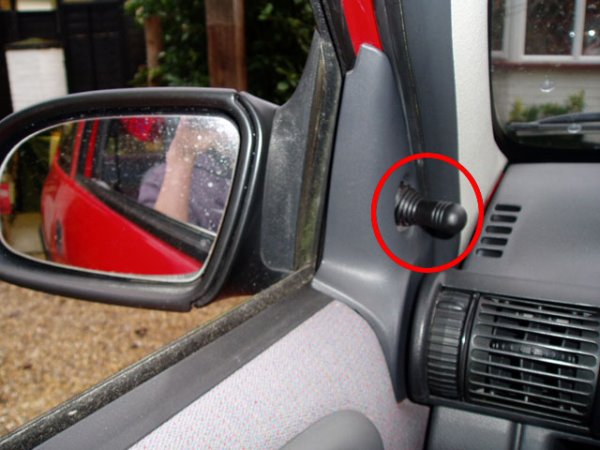
Step 1
Remove the internal mirror adjustment jobby by squeezing the base a bit and then pulling.
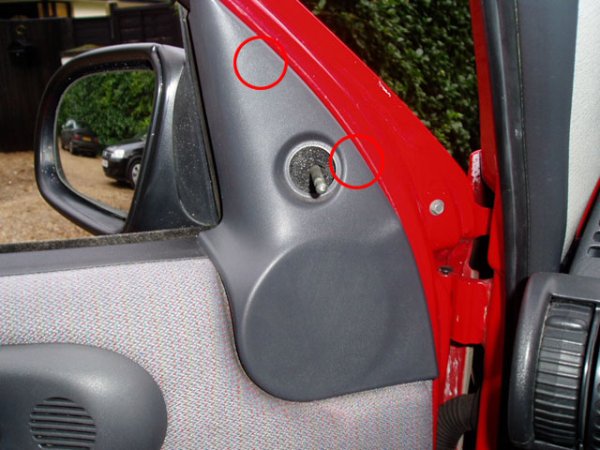
Step 2
Grab your flat headed screwdriver and prise off the internal trim by popping the two clips out in the places indicated below.
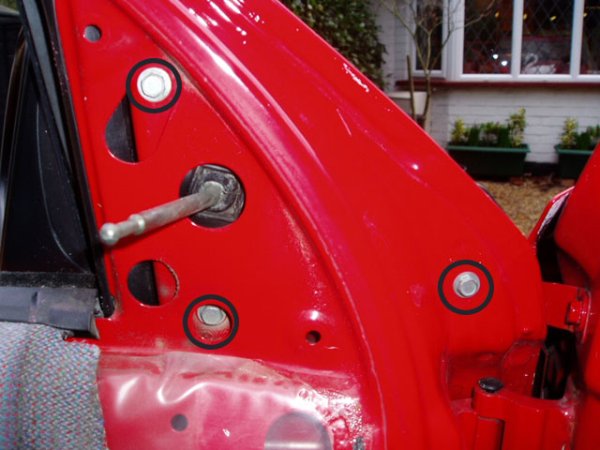
Step 3
Now get your socket and ratchet, bung the extender on (theres not enough depth in one of the holes to get the bolt off), and undo the bolts (circled) in a clockwise direction from the top (I found this easiest).
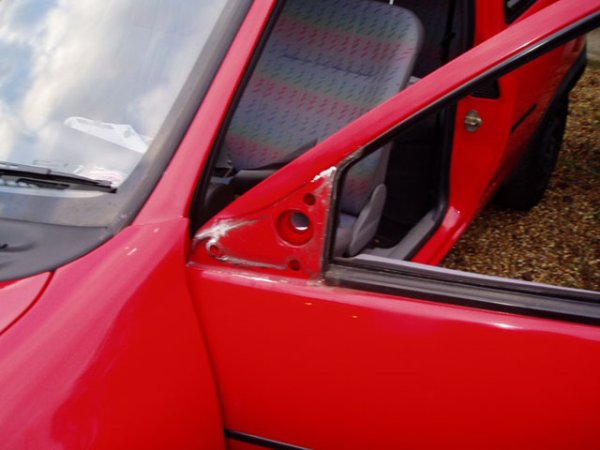
Step 4
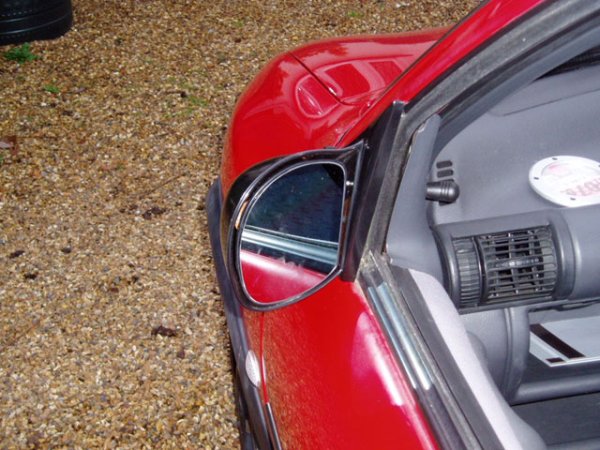
Remove the mirror (from the outside) and you will be left with this:
Simply place your new (hopefully not M3) mirrors back in the holes that are left, and bolt them in using the ones from the old mirror. I then plugged the internal adjusting jobby back in to save there just being a silly hole left behind, as the DTMs I got didn't have an adjustment stick thingy.
So easy 
[Edited on 07-02-2005 by Ian]
|


