BluKoo
Member
Registered: 8th Apr 02
Location: Stonehaven (Scotland)
User status: Offline
|
This was originally posted by John at Polished Bliss.
----------------------------------------------------------------------------------------------------------------------------------------------------
A change of face here: my first venture into the Studio section with a write up.
The story of my Elise refurb is long and expensive.
I bought the car about 7 years ago after going out to buy a jeep. Living in the North east corner of Scotland and being January, buying a two seater, sub 700kg, rear wheel drive, leaky sportscar seemed the only sensible thing to do.
I moved house just over two years ago, and not yet having a garage, the car stayed at my mum and dads and was given the occasional run. The most recent run involved some rather salty roads. I then parked the car and all but forgot about it.
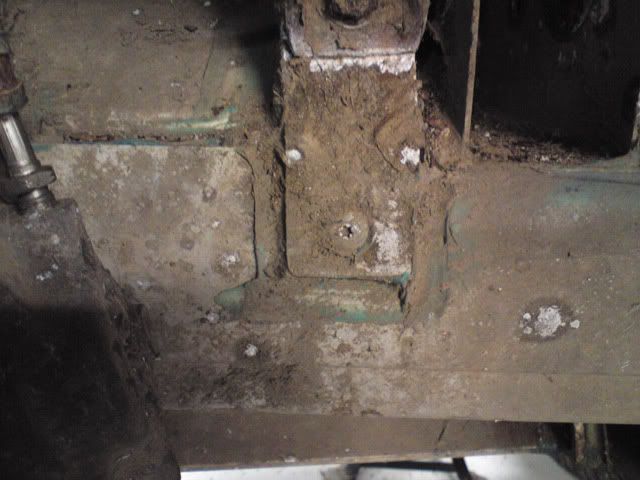
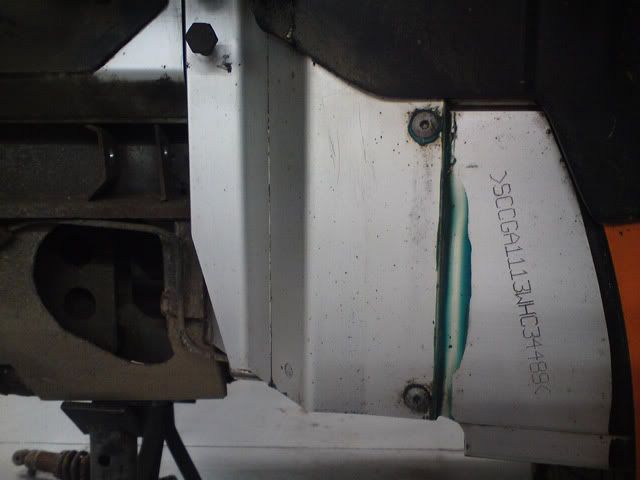
Fast forward to autumn 2010: a quick look at the car showed the full extent of the damage caused to the underside by the salt and the galvanic corrosion hastened by the aluminium tub and steel components.
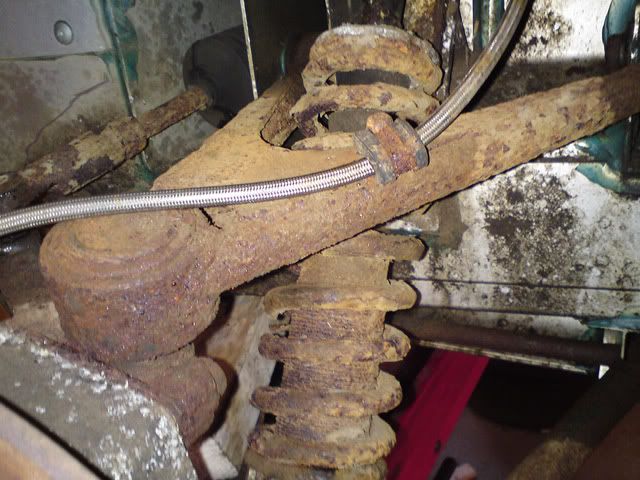
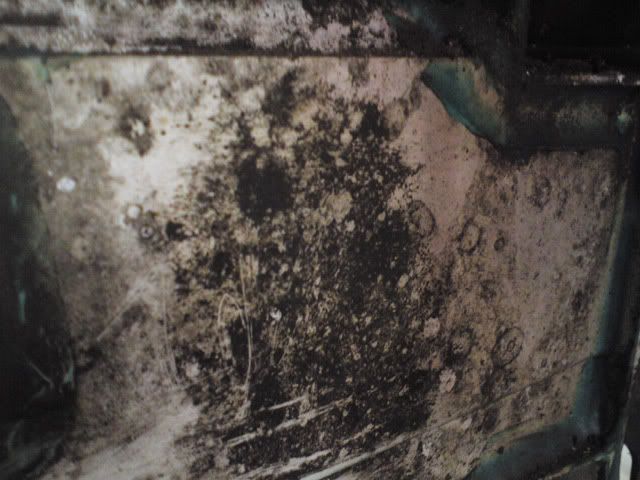
A half-hearted attempt to strip the old suspension resulted in a lot of swearing and not a great deal of progress so our neighbours at Clark Motorsport were called upon. After the initial suggestions of putting a match to it were rebuked, the car was trailered down and Barry and Calum started ripping rusted bits off.
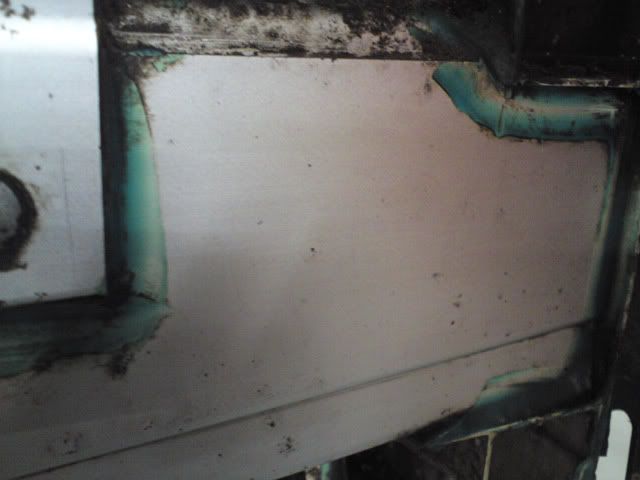
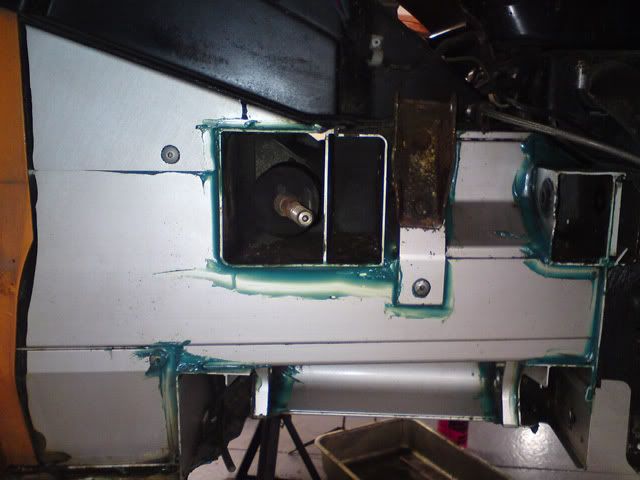
After all the suspension components were removed, they were sent to PPS Glassfibre for shotblasting and powder coating. Meanwhile, I set about the aluminium tub, initially with Meguiars Super Degreaser and a stiff detailing brush to remove the worst of the surface grime.
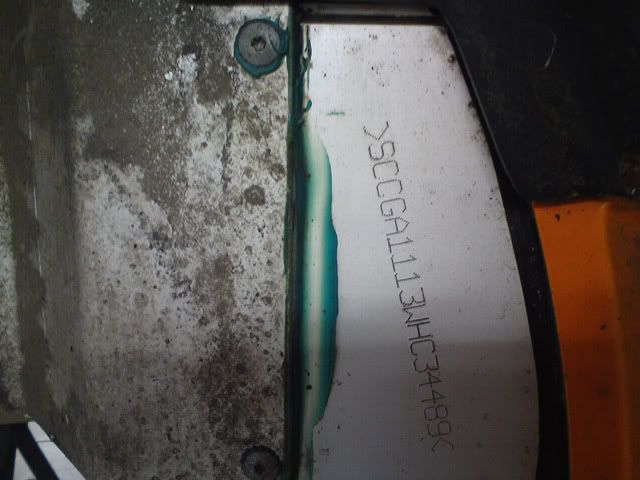
Next up was Raceglazes excellent Alutech Metal Polish, applied with a Lake Country Hand Pad, cut into chunks. The tight working area under the arches made this a better option than heading in with the machine and the results were pretty impressive.
A good 50/50
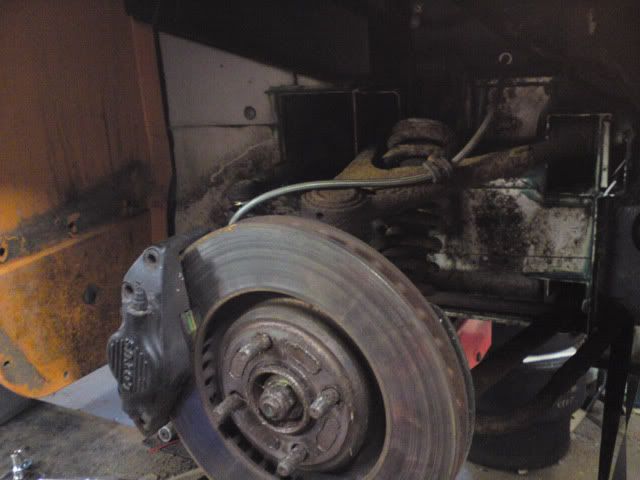
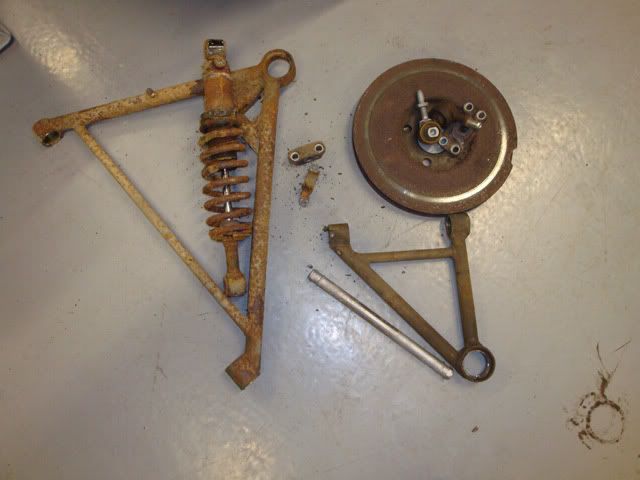
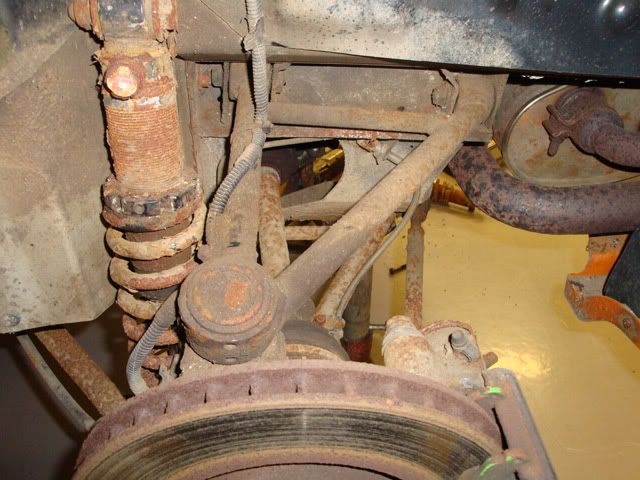
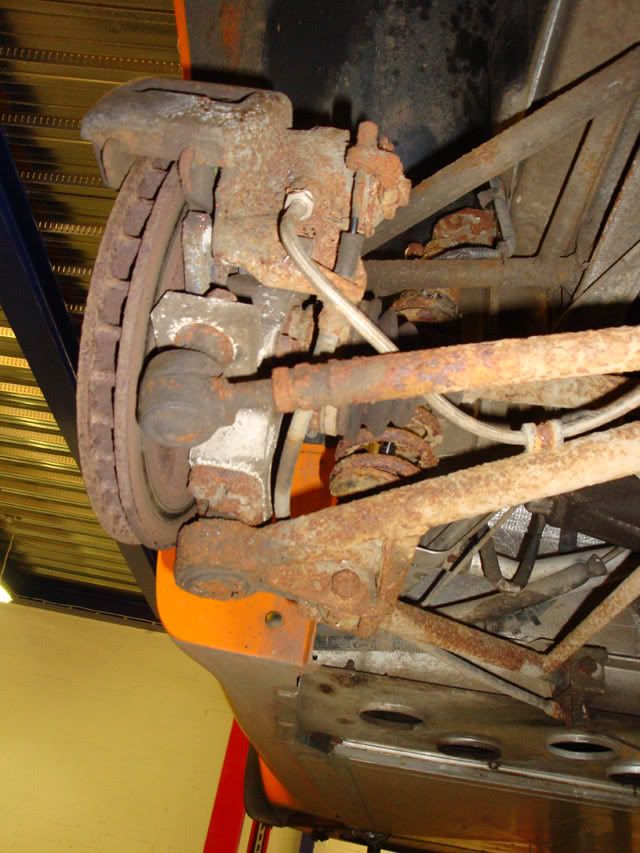
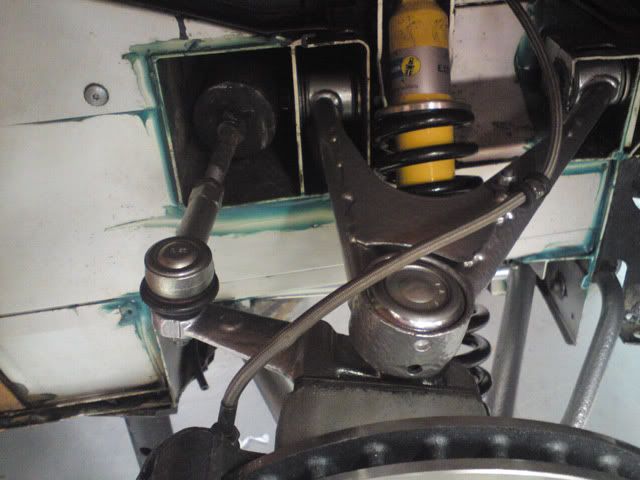
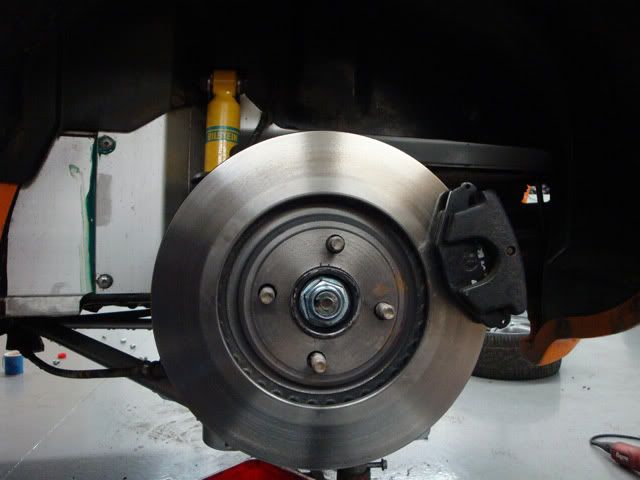
And now some suspension off the car (those brake discs are frightening.....)
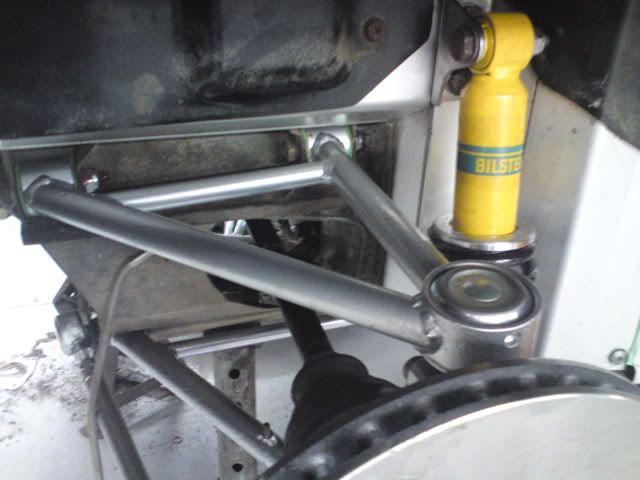
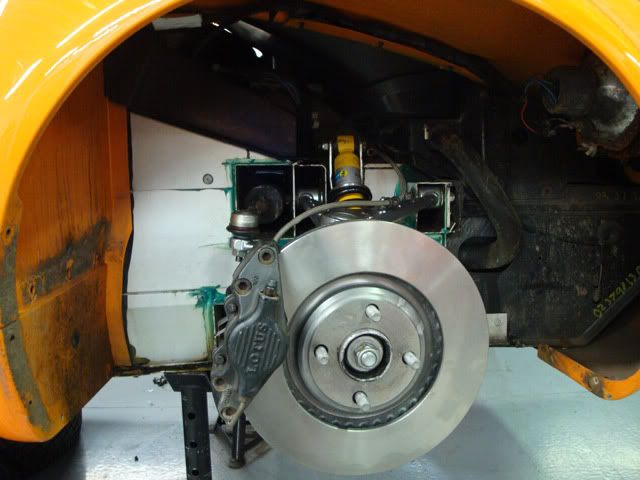
And looking much better:
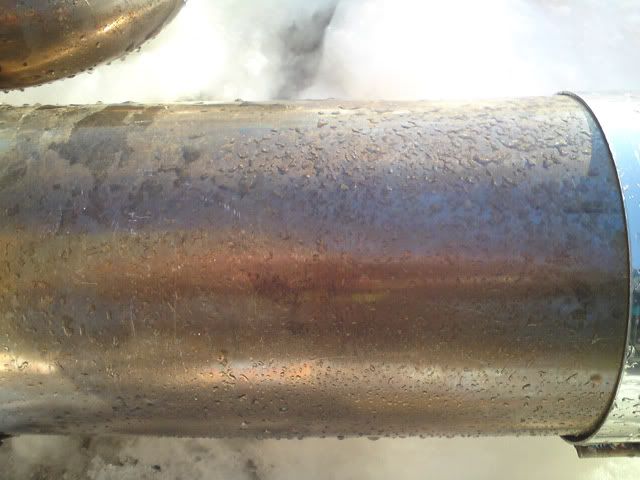
The old exhaust was fit only for the skip and a friend who upgraded to a particularly nice exhaust sold me his old one. Lovingly described as the mutt the exhaust hasnt done a lot of mileage and was in generally good condition, save for a broken hanger and a lot of surface tarnish.

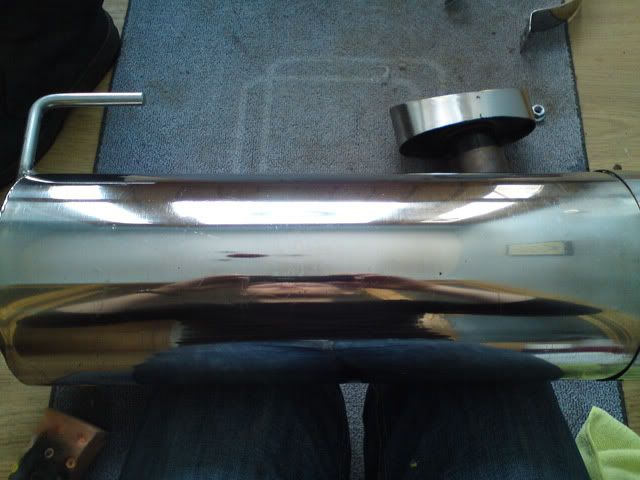
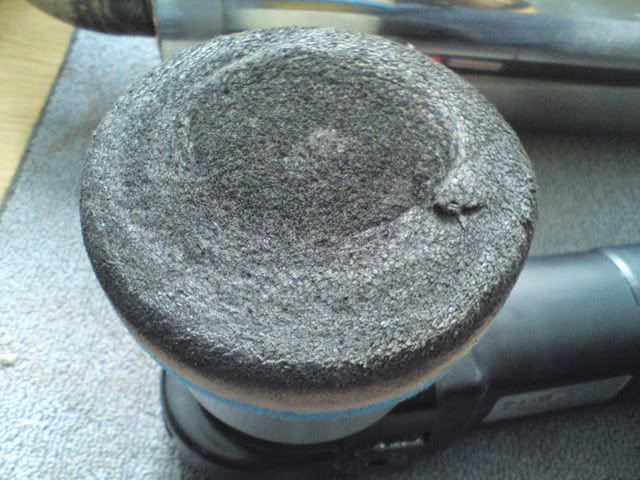
Again, Alutech came to the rescue, this time with a Lake Country Light Cut Constant Pressure pad and the DAS 6 machine. After one hit, the results were pretty good.
The pad took some punishment though:
Some further work with a drop of Briliant Chrome and Hot Environment and a coating of Blackfire All Metal Sealant saw the exhaust in good shape: certainly good enough considering its not actually visible.
The undertrays had seen better times and whilst it would take an incredible amount of work to make them actually shine (they were matt from new), they cleaned up quite well. The trays were pressure washed at high temperature (around 90degrees) then scrubbed using a stiff brush and Meguiars Super Degreaser. After rinsing, Tardis was applied in the usual fashion.
Once dried, 0000 grade wire wool and Alutech were used for more severe areas followed by Briliant Chrome and Hot Environment again, this time applied with the Light Cut pad via DA. A benefit of Chrome and Hot Environment is the layer of sealant protection it leaves behind.
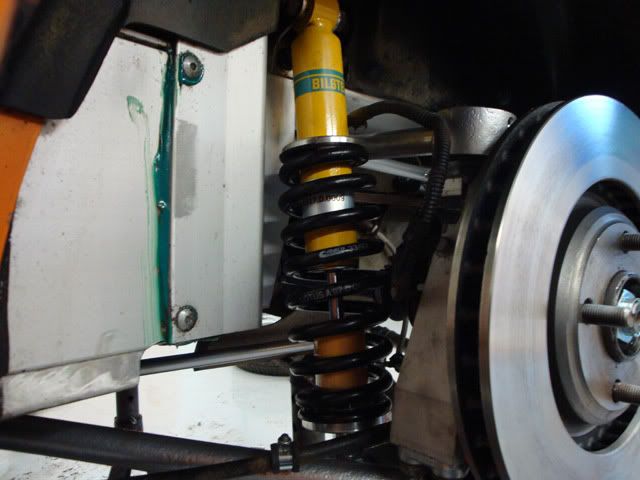
All the shot blasted hub carriers and other suspension components were given a coat of Blackfire All Metal Sealant as were all new suspension parts with the exception of the springs and dampers and powder coated parts. The new Bilstein dampers and Eibach springs were protected with two coats of Swissvax Motor Shine. I chose this product as not only does it offer excellent protection but being sprayable it was easy to apply to the springs when a more regular metal sealant wouldve been a little more laborious.
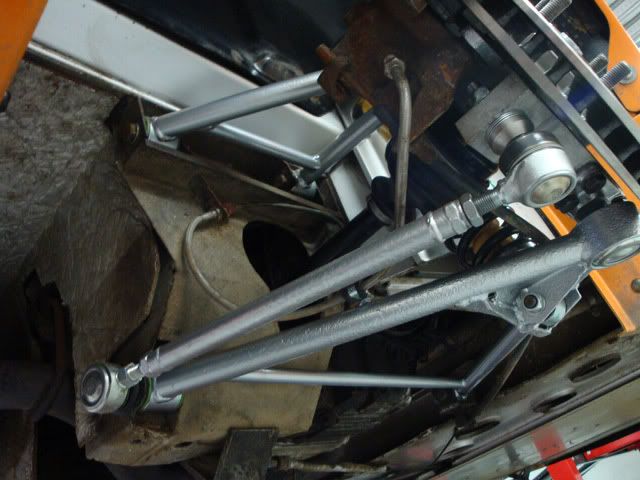
A good side by side of the hub carriers pre and post a session in the blast cabinet:
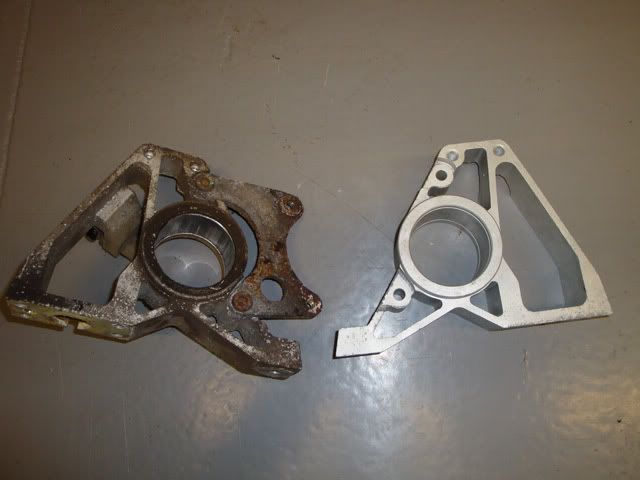
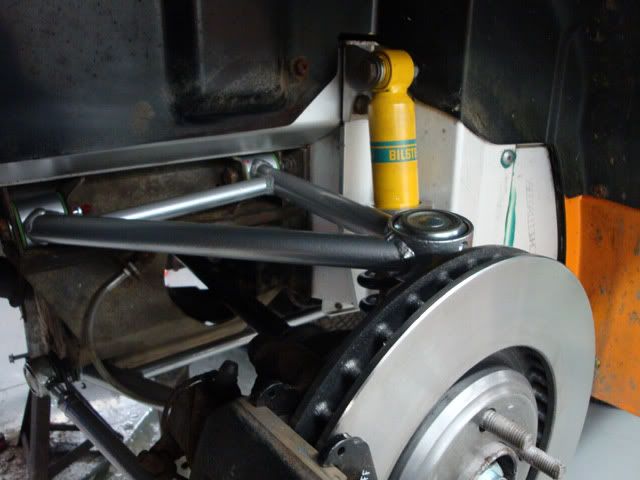
The net result is a series of suspension parts looking rather neat and with excellent protection on all surfaces.
With all the suspension sorted including all the bushes, hubs, track rod ends, etcetera, the brakes were also revived. As youve seen the old discs were in as bad a condition as the suspension, particularly on the back where their braking capability mustve been minimal.
The fronts werent as bad, but still not great. As the car will be used on the road 99% of the time, a new set of straight discs were fitted and I then deliberated for several days over brake pad choice. In the end, Ferodo DS2500 were fitted, chiefly on the advice of Clark Motorsport who use these pads regularly for tarmac rally cars to great effect. My main concern was heat from cold as with the car being quite light, it can take a while to get heat into pads.
The braided hoses remained as they were quite new and cleaned up well and the fluid was changed.
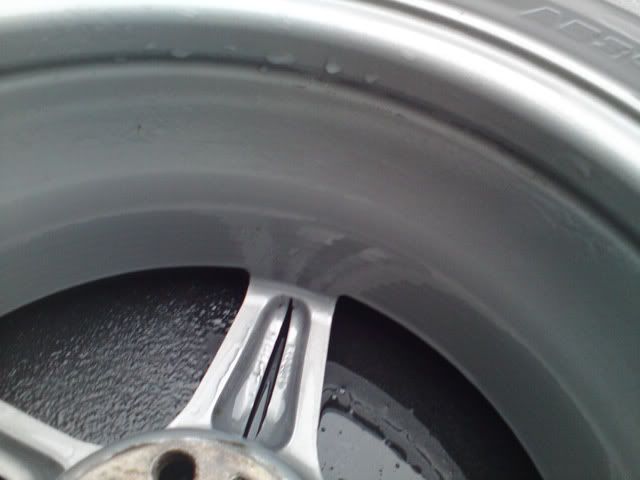
Whilst the car was on stands, the wheels were cleaned with R222 Wheel Gel and a ferrous contaminant remover...... Autosmart Tardis was used for tar spot and after they were clean and dry, 2x coats of Blackfire All Metal Sealant were applied.
Before

And after:

The engine was fully serviced, all filters changed, oil, fluids and the like and a MoT certificate obtained.
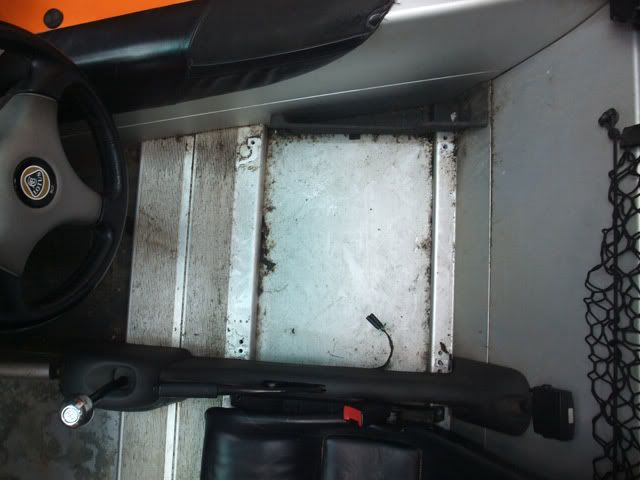
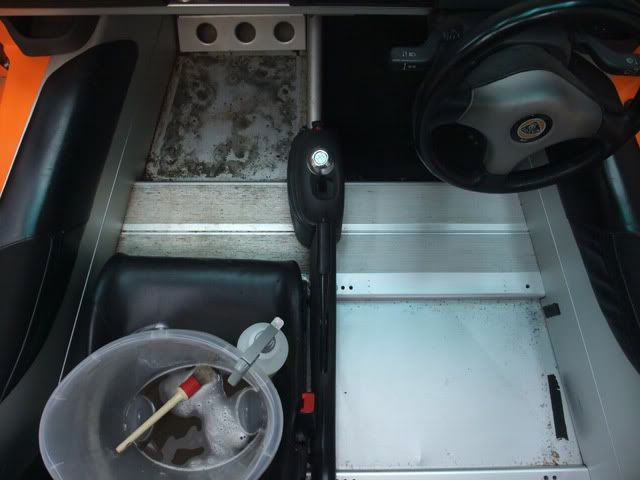
Back over to PB HQ I started on the interior, which was, its fair to say, pretty rank.
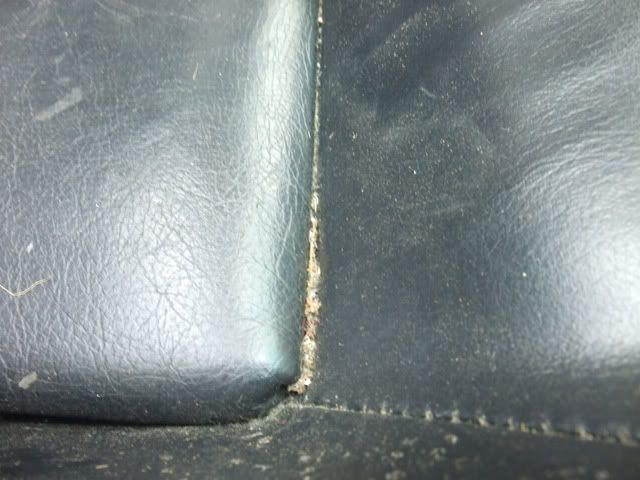
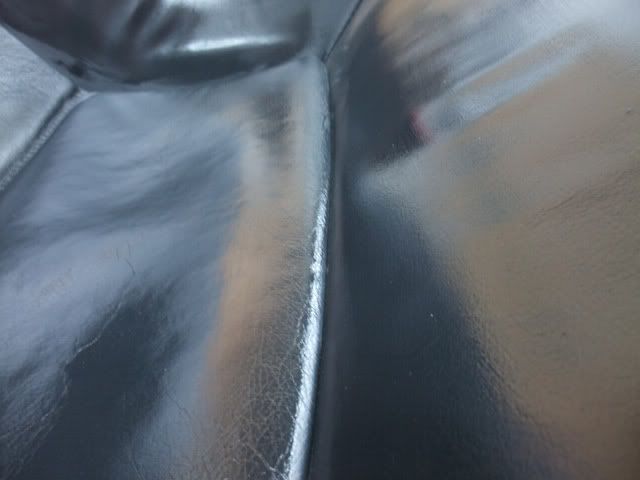
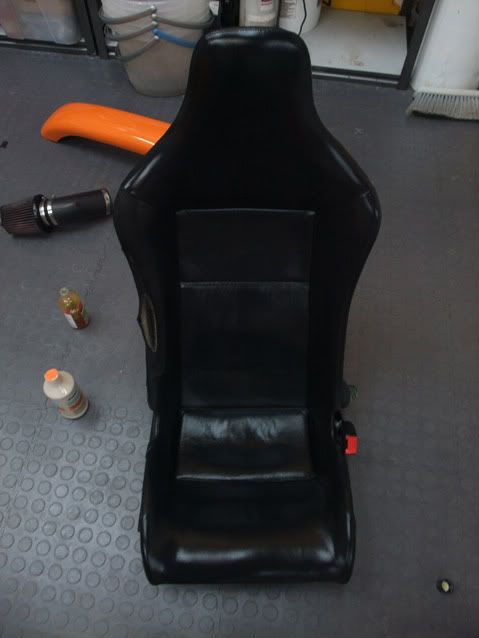
The seats were, as you can see, taken out and I cleaned these with a Meguiars APC and a triple duty detailing brush before applying Raceglaze Leather Cleaner and Leather Balm.
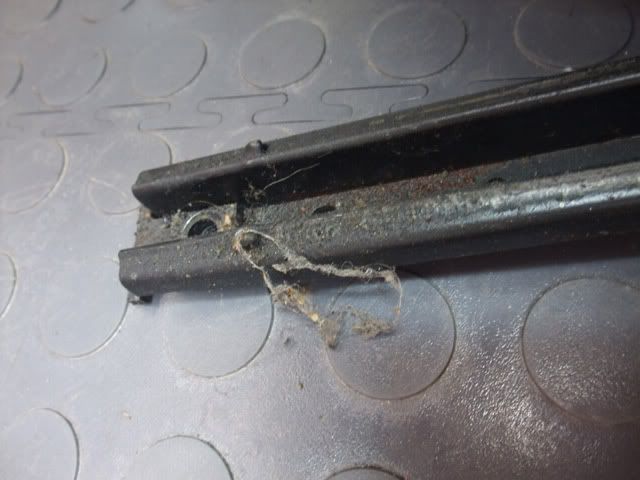
The rest of the interior was cleaned with Autosmart G101, Autosmart Tardis (yes, really) and Werkstat Prime Strong.
A little side by side:
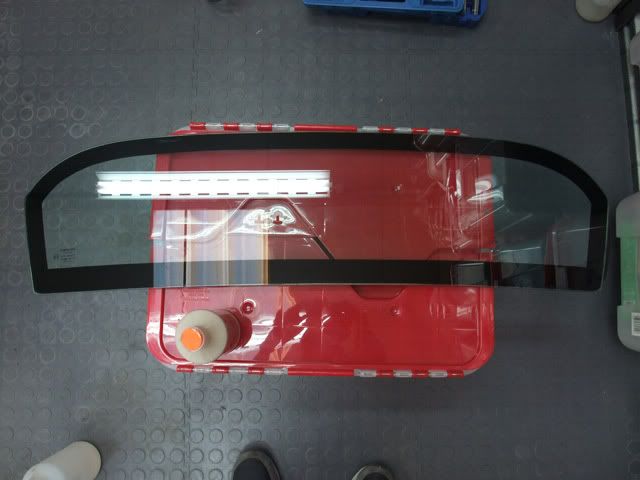
The dashboard was dressed with Werkstat Satin Prot to leave a matt finish the interior glass was cleaned with 3M Glass Cleaner and the exterior cleaned with Werkstat Prime Strong, wiped down with IPA then Nanolex Premium Sealant was applied.
Cleaning the rear screen was pretty easy:
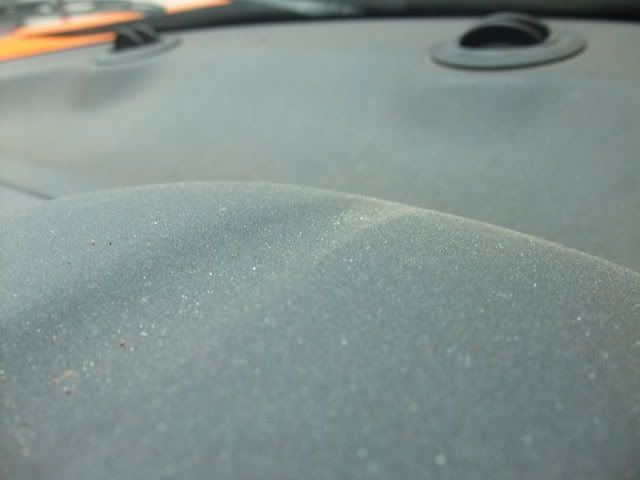
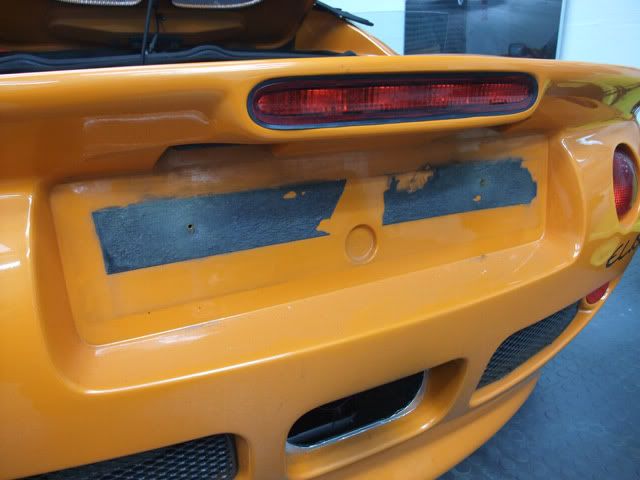
The paintwork wasnt in terrible shape but wasnt amazing: any swirling was very minor but there were some deeper marks across most panels. The sills were, and still are, badly chipped but short of respraying them theyd not really improve. We took a series of readings with the composite gauge and were happy there was plenty of paint across the car.
The wash stage was straightforward and followed our usual methods. The roof was power washed, then sprayed with Meguiars APC and scrubbed with a Meguiars the car was moved inside for claying which revealed surprisingly little contamination.
The multitude of number plate sticky pads were removed using a combination of a blade and Tardis before the area was lightly polished by hand with Menzerna 203S.
I started the correction via DA using Menzerna RD3.02 on a Lake Country Cyan pad as experience with Lotus paint tells us the paint is usually hard. There was an improvement with the slight swirling disappearing quickly but even working the area at reasonably high speed for a long time did little to improve the deeper marks.
Before:
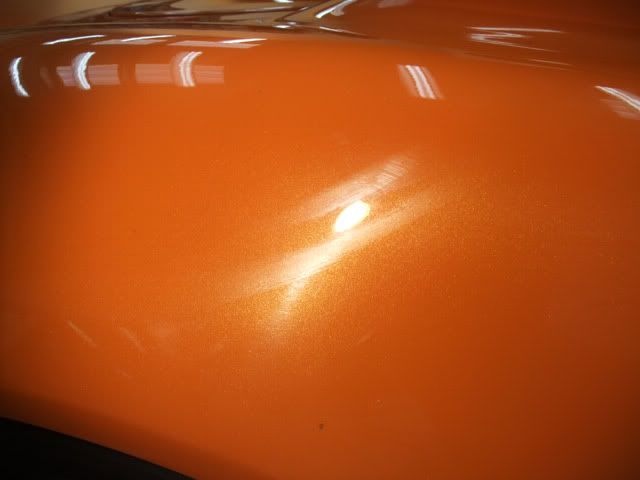
A switch to Meguiars 105 Ultra Cut Compound, again with a Cyan pad saw a little more correction but still the deeper marks werent knocked out. 105 also suffers from quite a lot of fill and drop back so an IPA wipedown with this polish is absolutely vital. With the Menzerna polishes, you generally know what youre getting in terms of correction and the drop back in minimal.
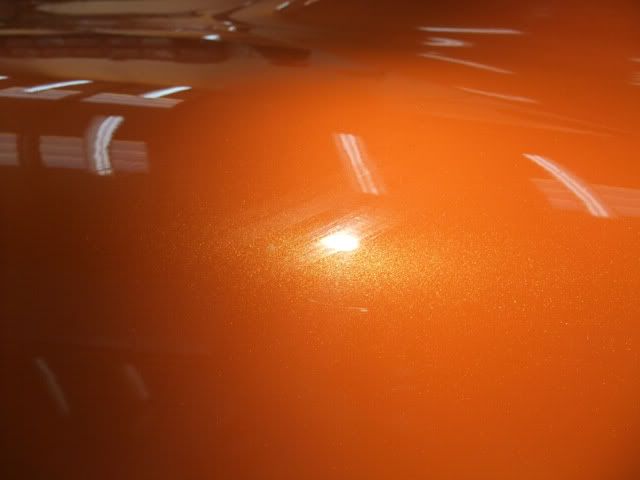
Obviously the paint was very hard so a switch to the Makita was required and a Lake Country Foamed Wool pad with Menzerna RD3.02. The wool is great on composite panels as it keeps the temperature down nicely whilst giving excellent cut. 3.02 is also nice to use with wool as its quite slick in use and can be worked for quite a long time.
This combination worked really well, knocking out all but the very deepest of marks. Interestingly, there was little pigtailing apparent, far less than I expected and the finish after this stage was pretty sharp.
At this stage, with only the deep marks remaining, there wasnt much point in going for more correction: the deepest of the marks would remain and those that would come out wouldve required serious work and in all honesty, on a 12 year old, which is peppered with stone chips and some gravel rash on the flanks, it really wasnt worth it.
The refining stage was straightforward, with a Lake Country Constant Pressure Light Cut pad and Menzerna 85RE which finished down beautifully leaving a pin sharp, high gloss finish.
One coat of Werkstat Acrylic Prime was applied to all the body work andit pulled out a quite impressive amount of grime. 4 coats of Werkstat Acrylic Jett Trigger were then applied with so little bodywork and the ease with which Jett Trigger goes on, each coat took about 8 minutes.
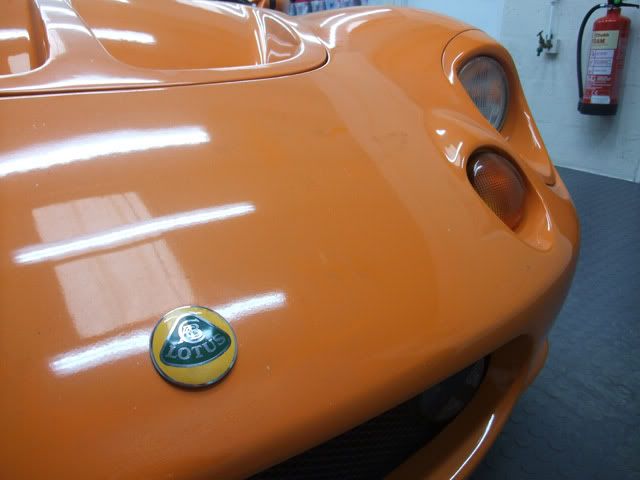
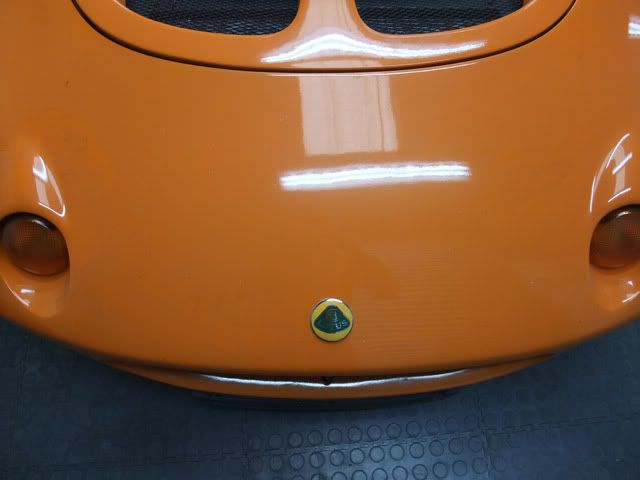
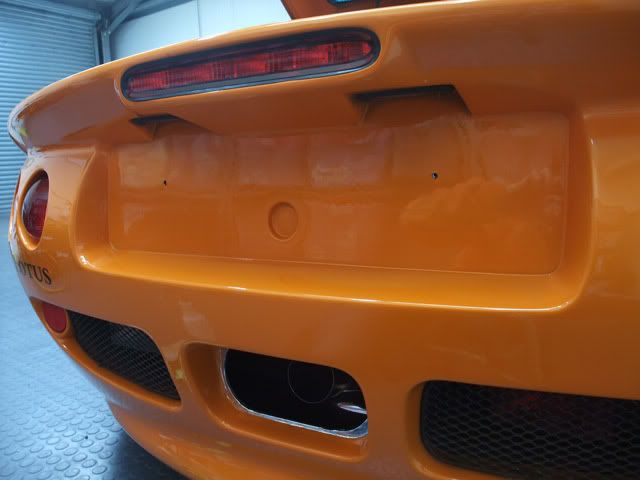
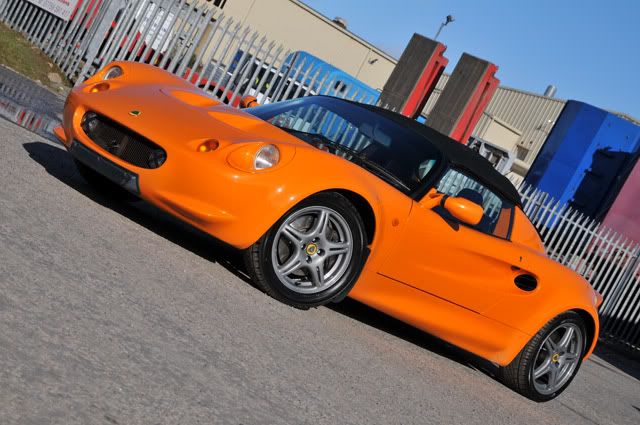
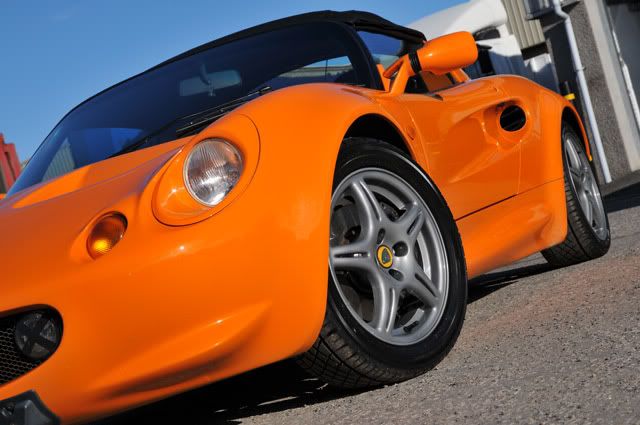
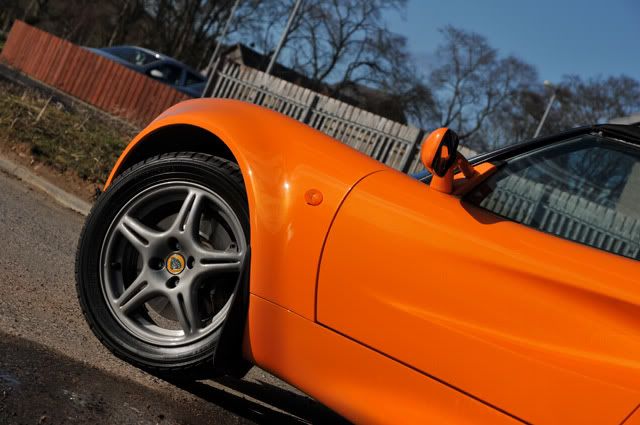
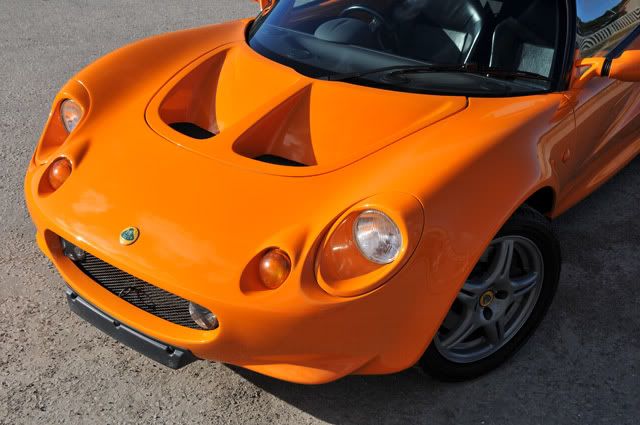
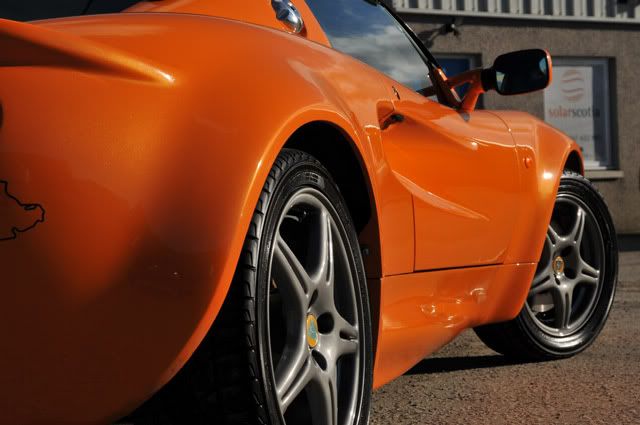
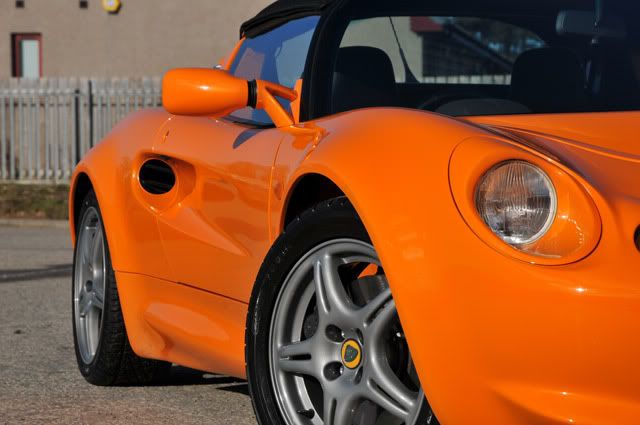
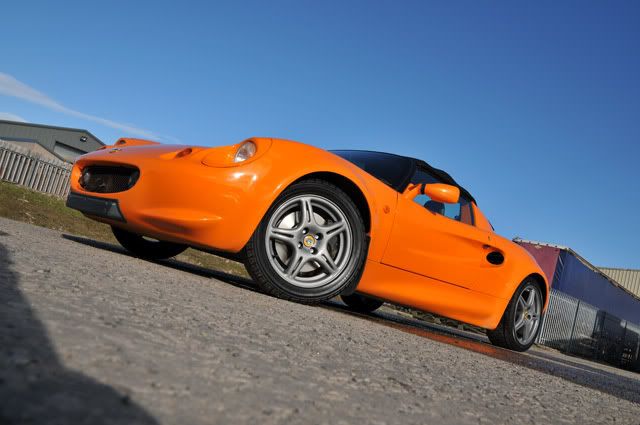
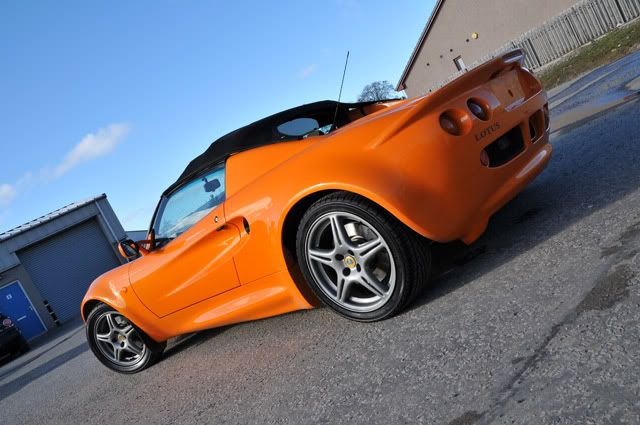
And, after a colossal amount of hours and quite a lot of cash (and it still needs new tyres....) the results:


Big thanks to the guys at Clark Motorsport and PPS Glassfibre for their advice and assistance.
[Edited on 20-03-2011 by BluKoo]
|


