Dale
Member
Registered: 7th Oct 07
Location: Swindon
User status: Offline
|
quote:
Originally posted by spankyjames
great work dale, keep it up mate 
Cheers 
|
Dale
Member
Registered: 7th Oct 07
Location: Swindon
User status: Offline
|
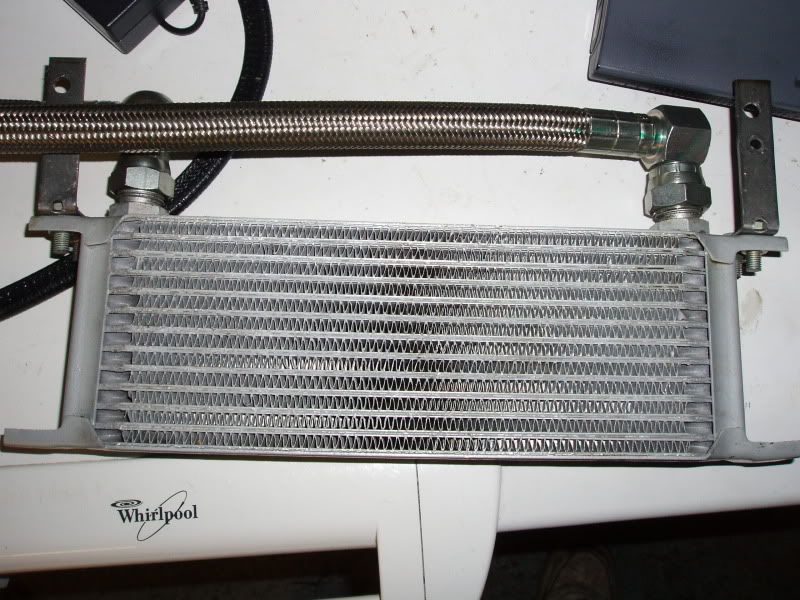
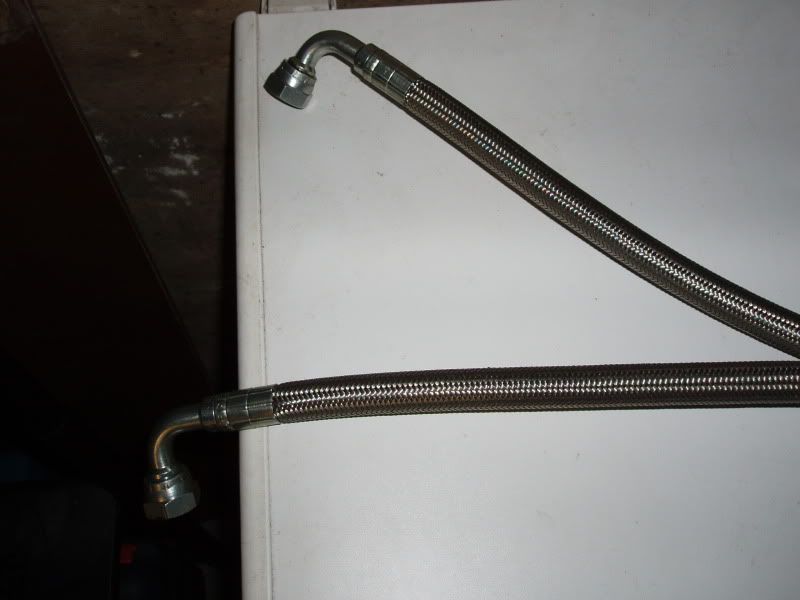
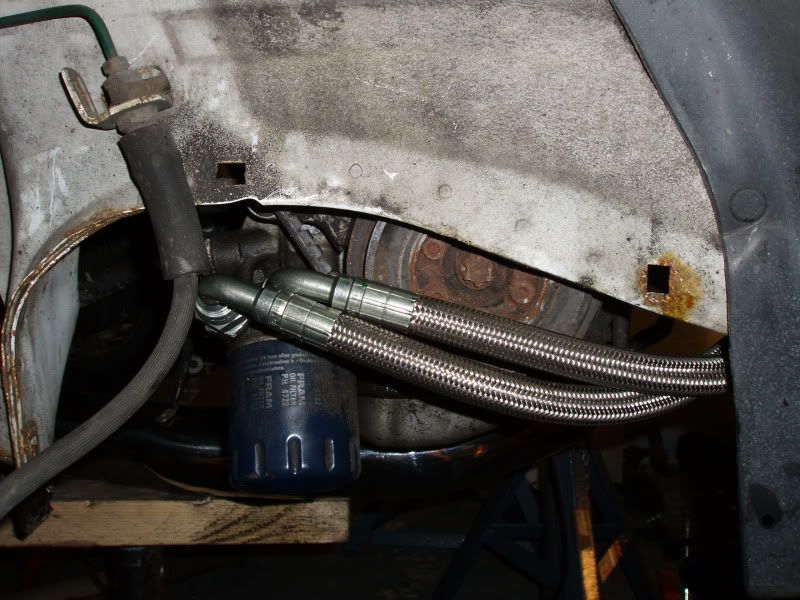
Got more done this weekend, BIG thanks to Mike for making my oil cooler lines
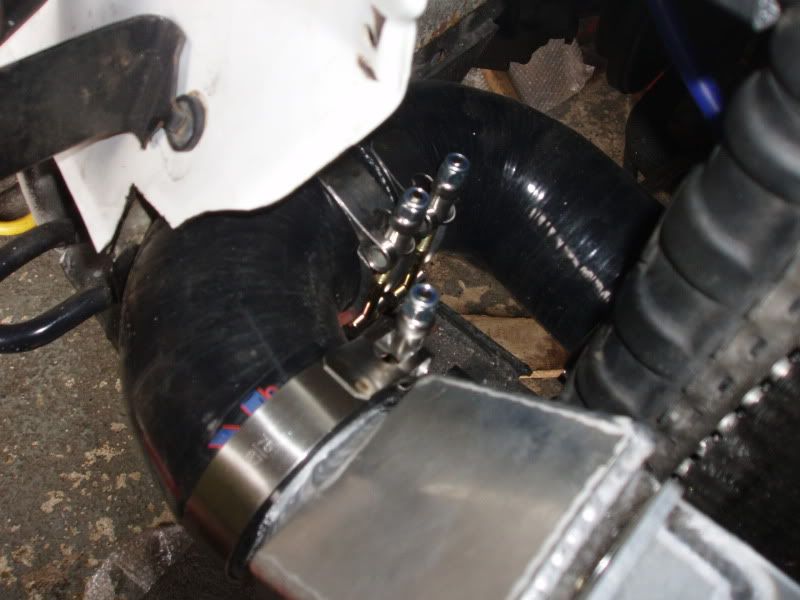
First job of the day Saturday was to fit my new 1D bends
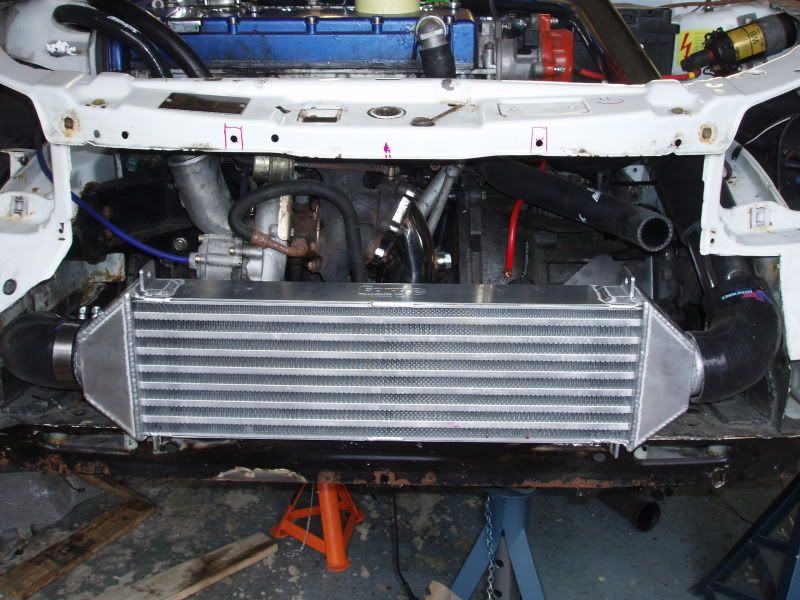
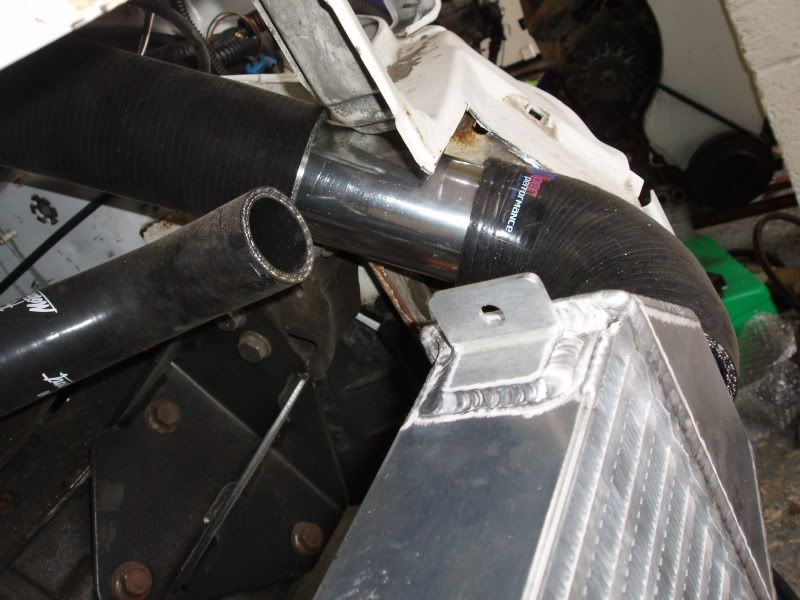
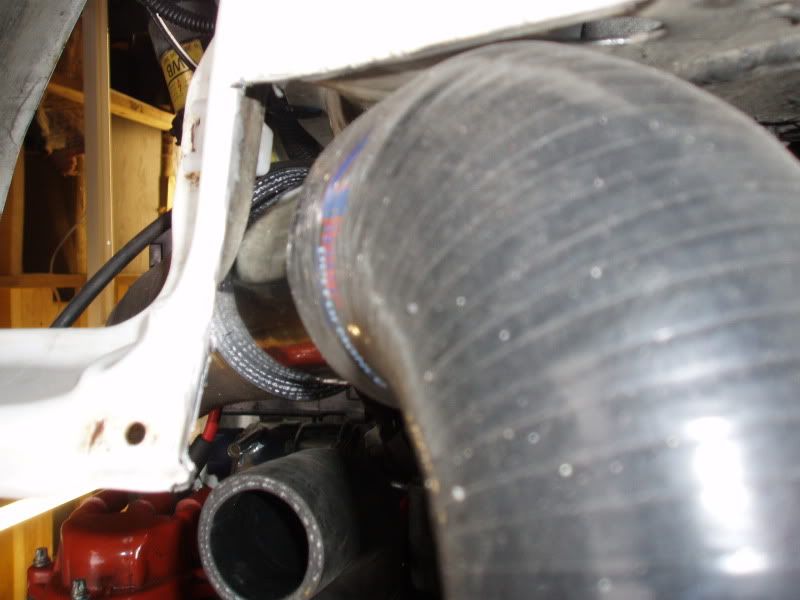
I also changed my piping from the turbo to intercooler as i couldn't use the alloy pipe as it was only a 1.5D and i really need a 1D 
Then Mike came over to make the oil cooler lines and once he received his cup of tea as always we started work
Use compact connection for the cooler, we used 1/2 bsp lines
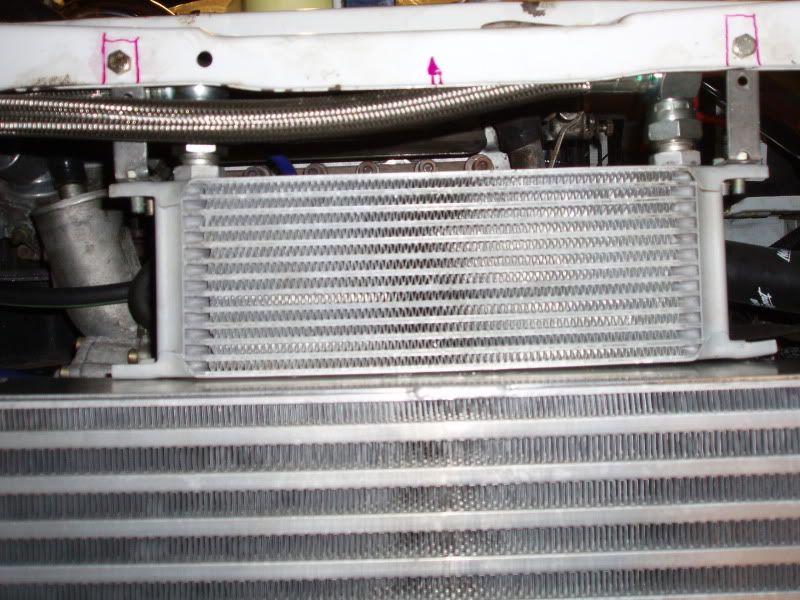
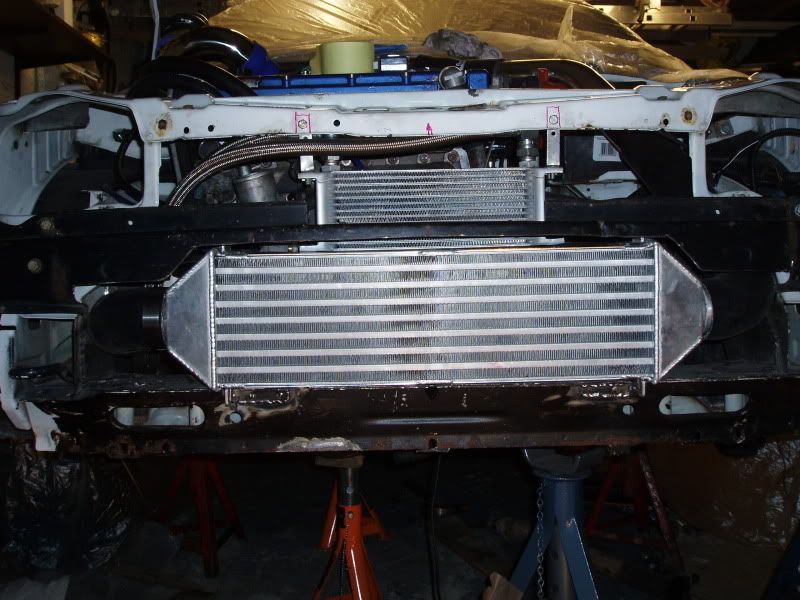
Mounted to the car

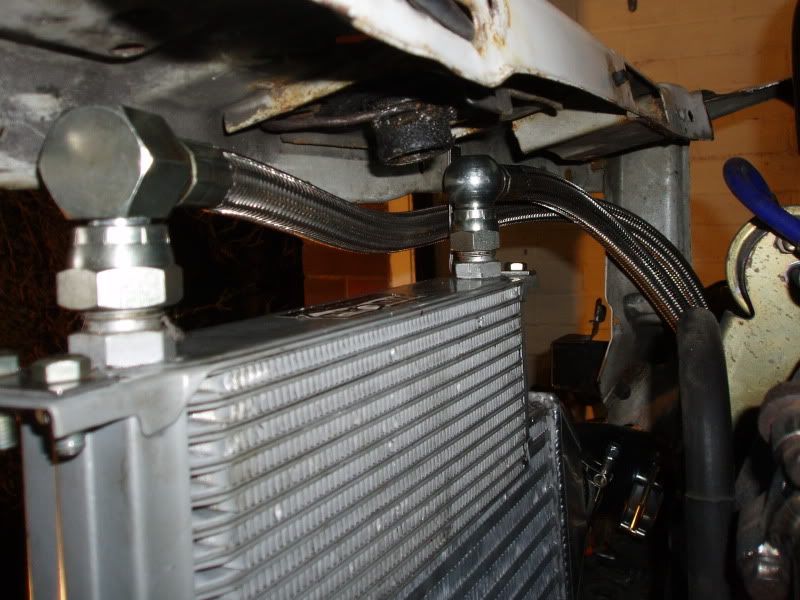
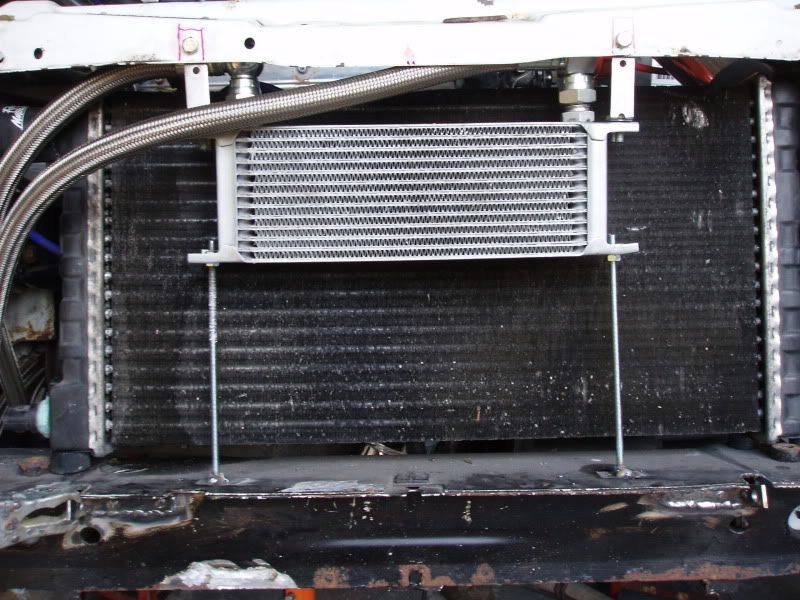
Then I use M6 threaded bar to make the mounts for the bottom of the oil cooler
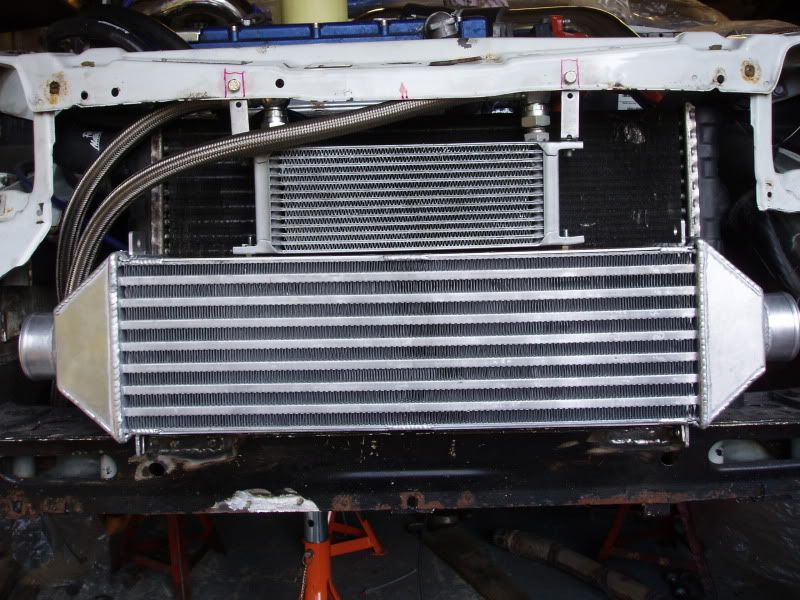
With the intercooler fitted and not touching it 
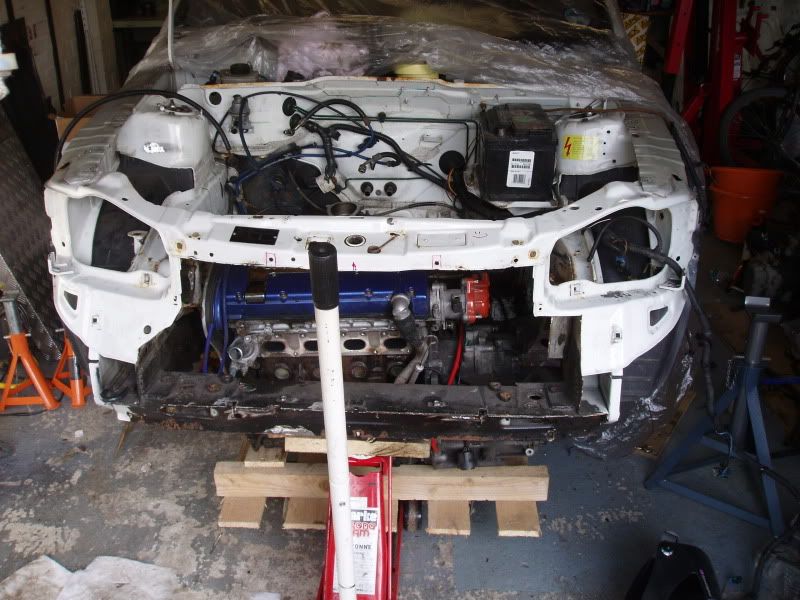
Then i Boxed everything way and started to remove the engine, ready for stitch welding and painting.
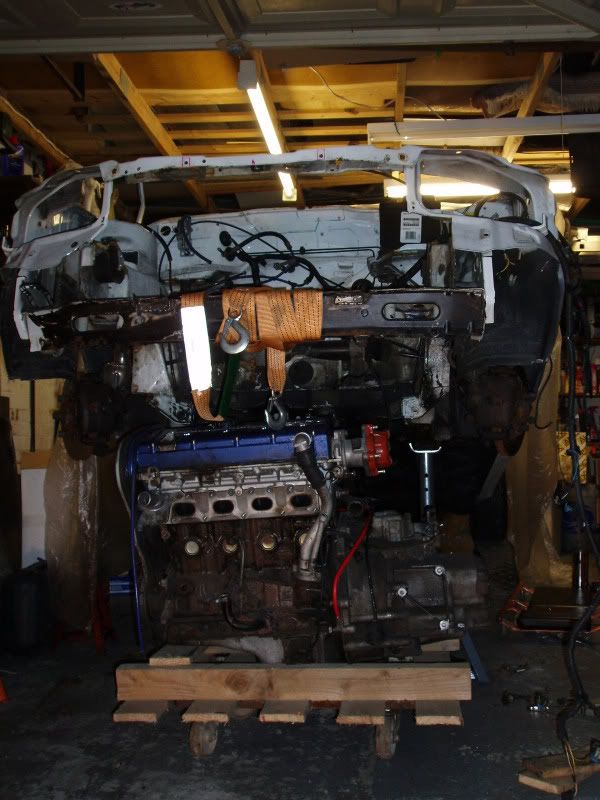
Final picture of the day with engine and box sat on the trolley ready to be pulled out this week
Cheers Dale
[Edited on 21-03-2010 by DRS]
|
corsadonk
Premium Member
Registered: 4th Jul 09
Location: Marlborough, Wiltshire
User status: Offline
|
Cool the rad does fit then
|
Dale
Member
Registered: 7th Oct 07
Location: Swindon
User status: Offline
|
quote:
Originally posted by corsadonk
Cool the rad does fit then
yer first thing i checked today
|
Dale
Member
Registered: 7th Oct 07
Location: Swindon
User status: Offline
|
Well got more done tonight although its been along night
First off got the engine out
I brought the LET a few years ago from "Valver" off Astra mk2 owners club and only had 5k since rebuild, new turbo etc which was fully documented on the forum etc but since then it just sat in my garage
So i decided it was best to rebuilt it again so tonight i set about stripping it down and boxing and generally checking the engine over
First off rocker cover off, all nice and clean here

Late Engine
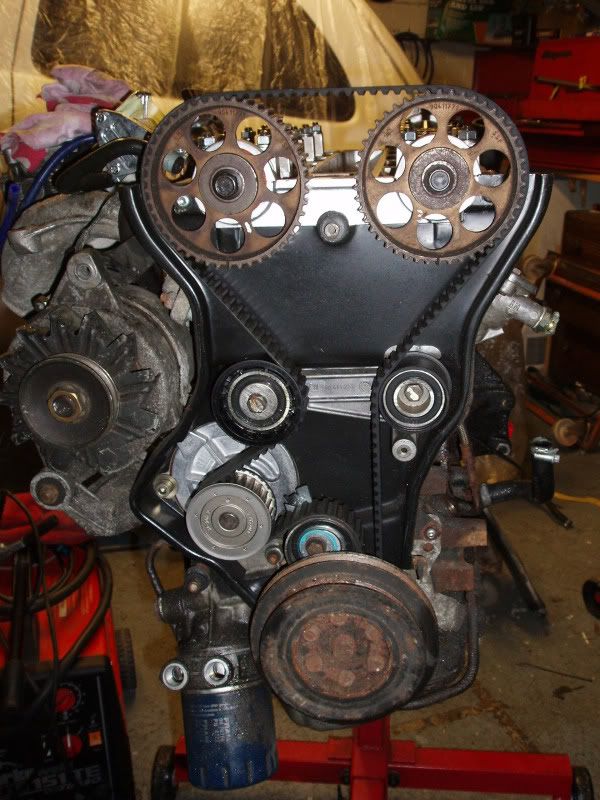
Cam pulleys off and cambelt
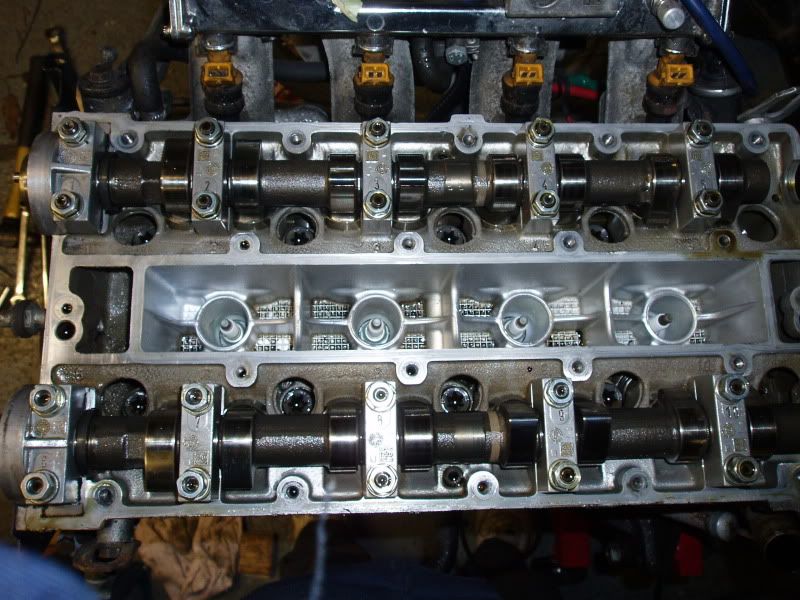
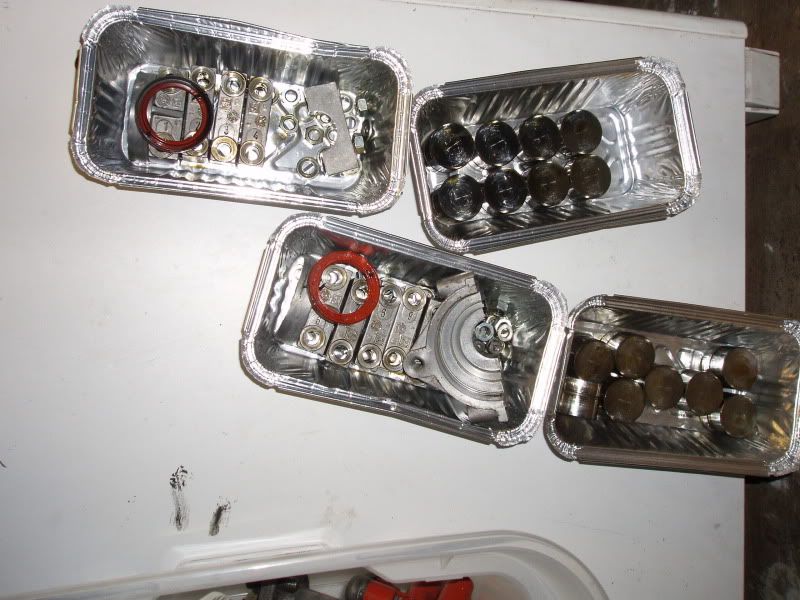
Caps and nuts and lifters boxed up and labeled
Cams removed
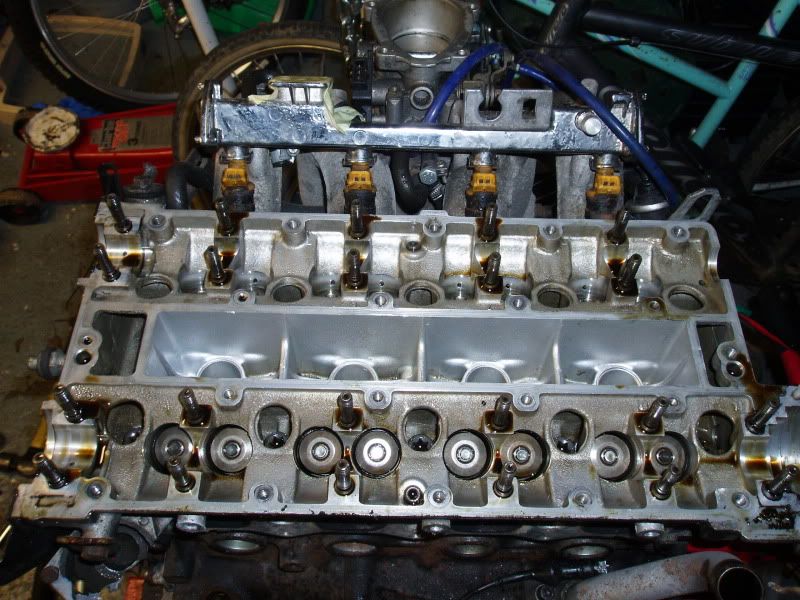
Head looks ok, i will take this to work and check with straight edge

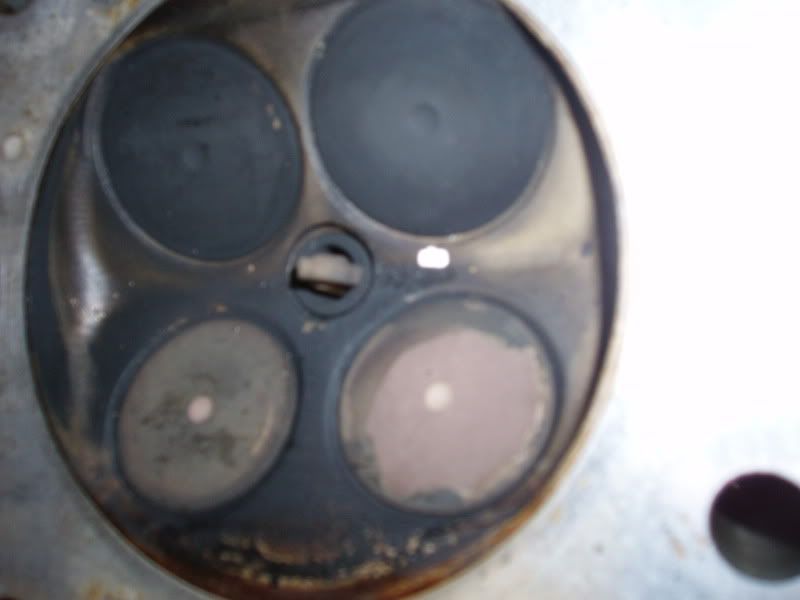
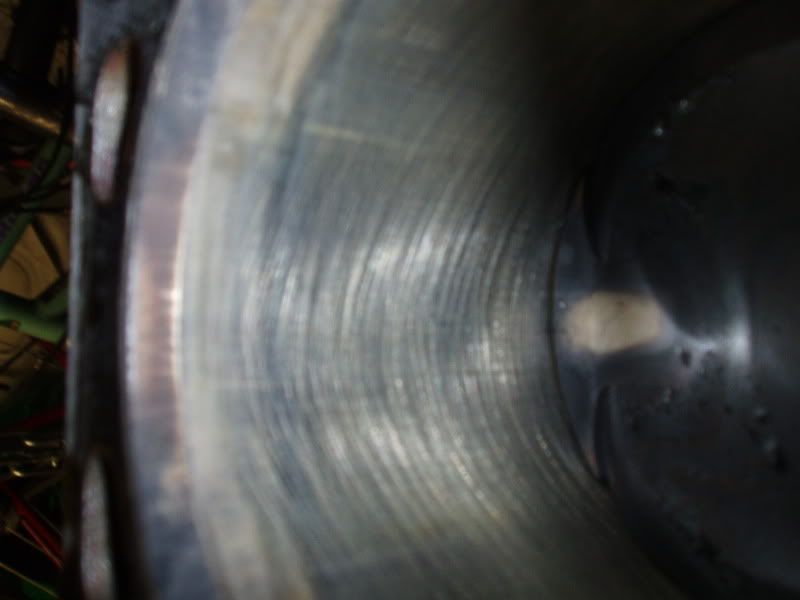
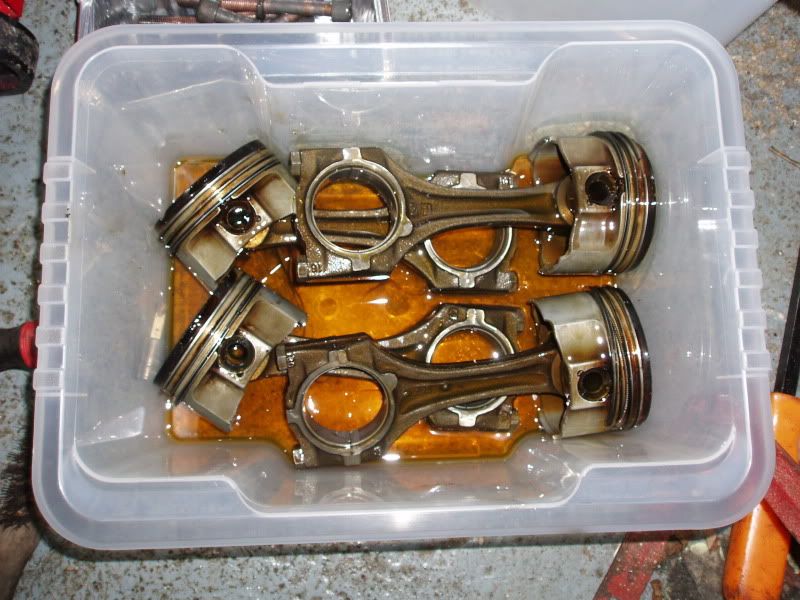
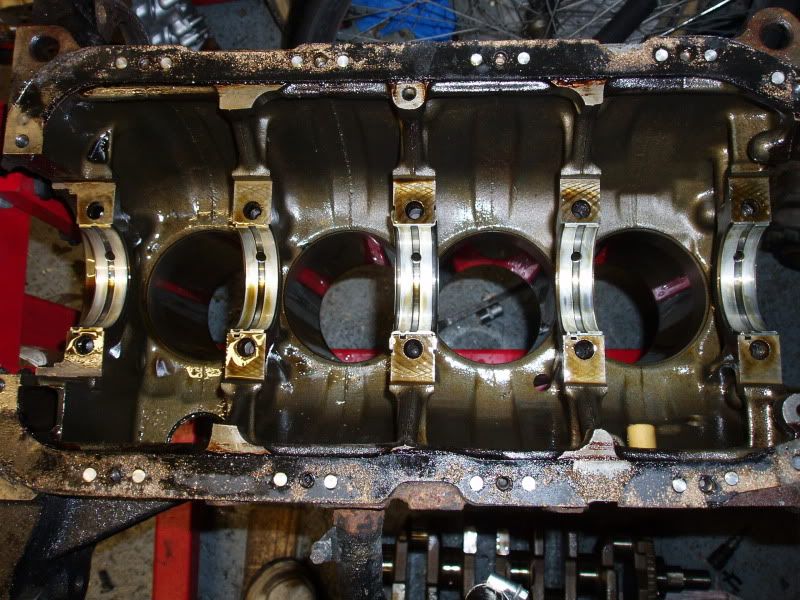
Pistons look good
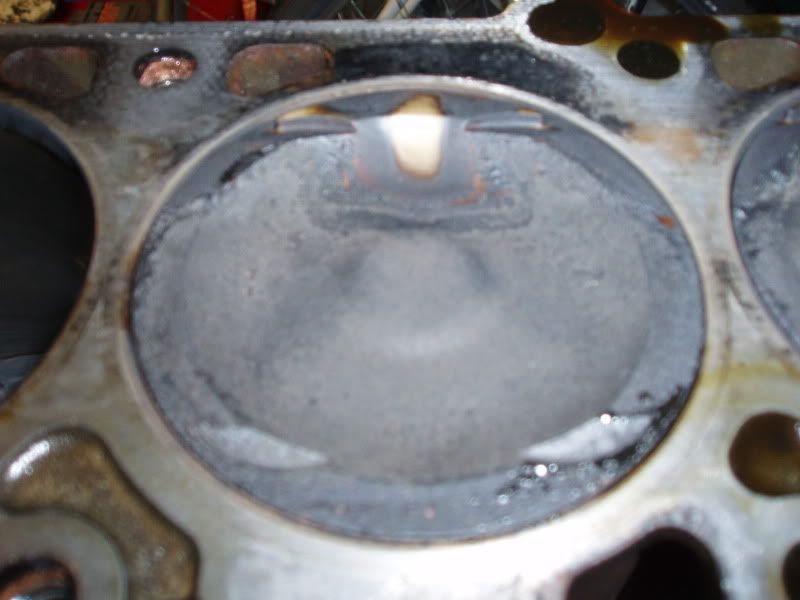
as does the bore
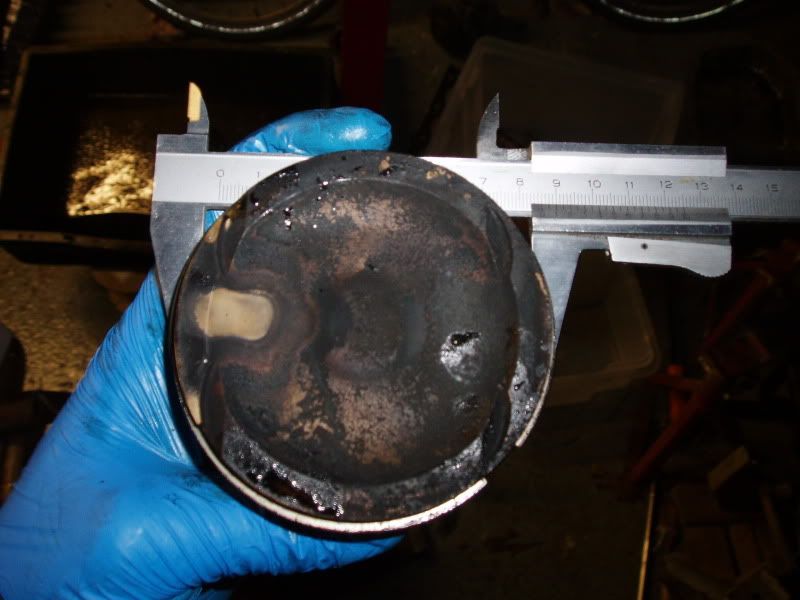
Checked the piston to check sure they are standard size (86mm) Marked pistons before removal and matched the caps
Big end shells look good

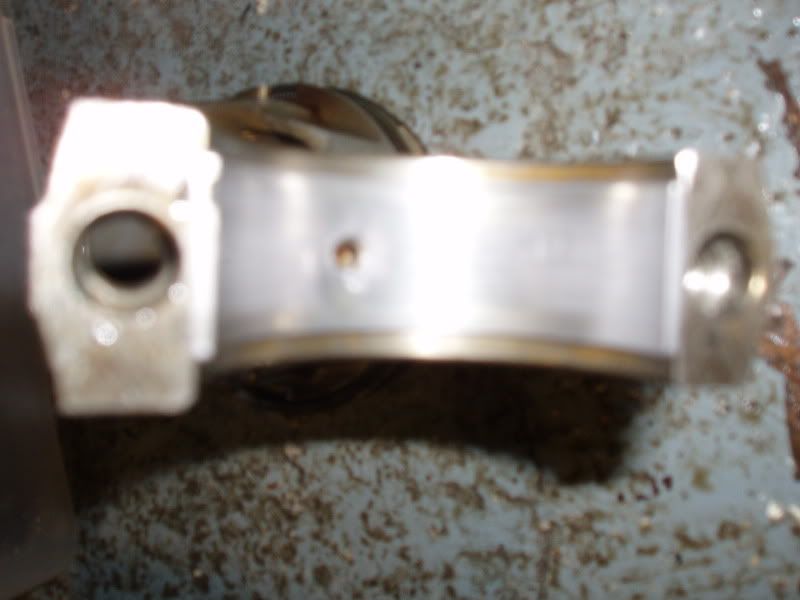
In the box with some fresh oil
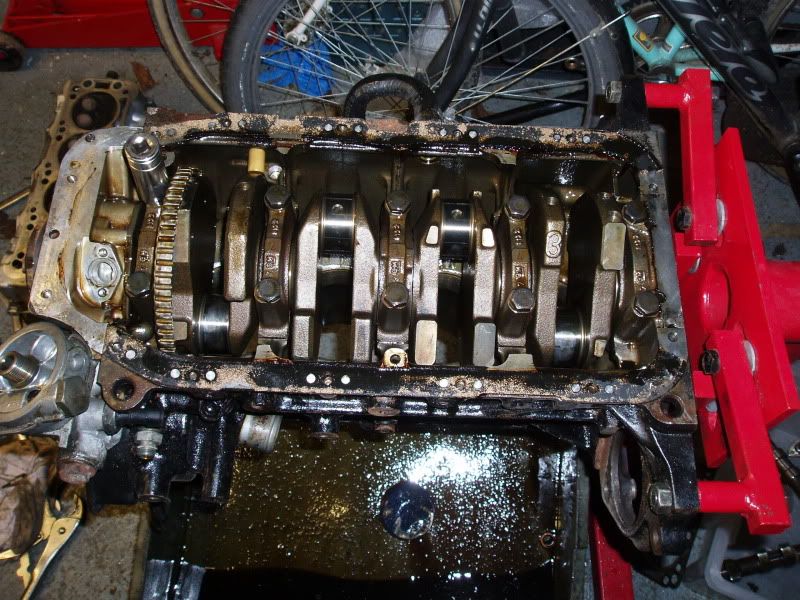
All thats left on the block is to remove the oil pump and crank
Garage is abit of a mess again
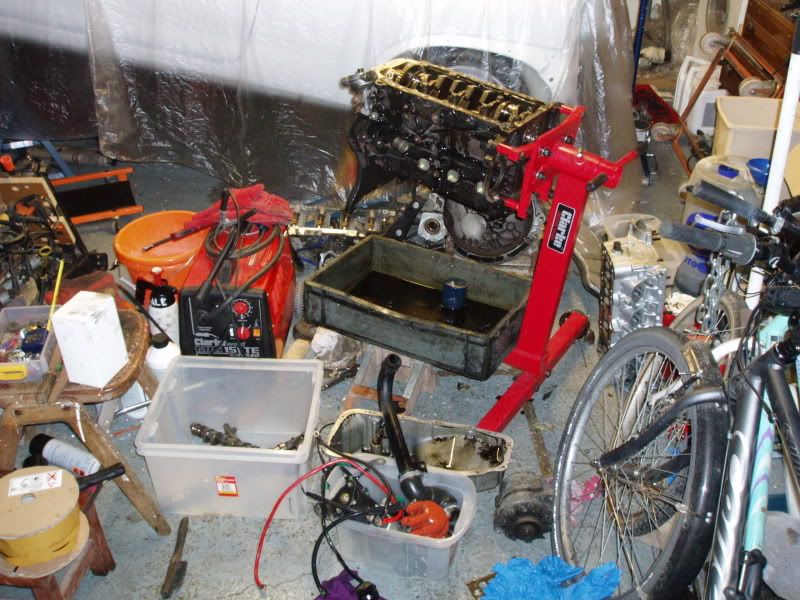
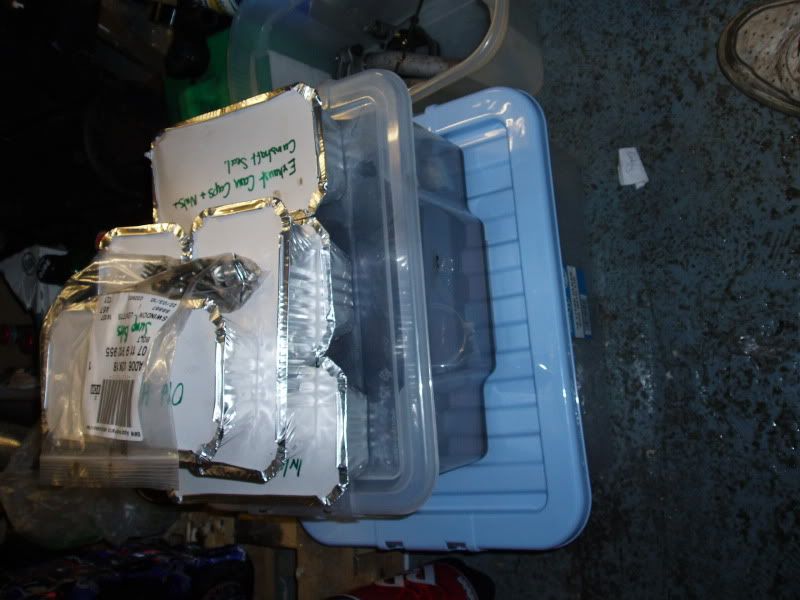
Engine bits all boxed up
The Plans for the engine is to do the bottom end once and be done with it, then I can work my way up from there when i want more power
Plans:
Overbore 86.5mm
Low Comp Pistons
Oil Squirters - Got
Uprated Rods - Got
Maybe Some work on the crank (is it worth it?)
Z20let oil pump
Arp Conrod Bolts - Got
Arp Head Bolts - Got
Lightened and balance flywheel
Some more bits have turned up this week
Another 1D bend
My VEI gauges from America one oil temp and pressure and the other is meant to be wideband and Boost but they sent me wrong gauge and i only have wideband the correct one is on the way tho
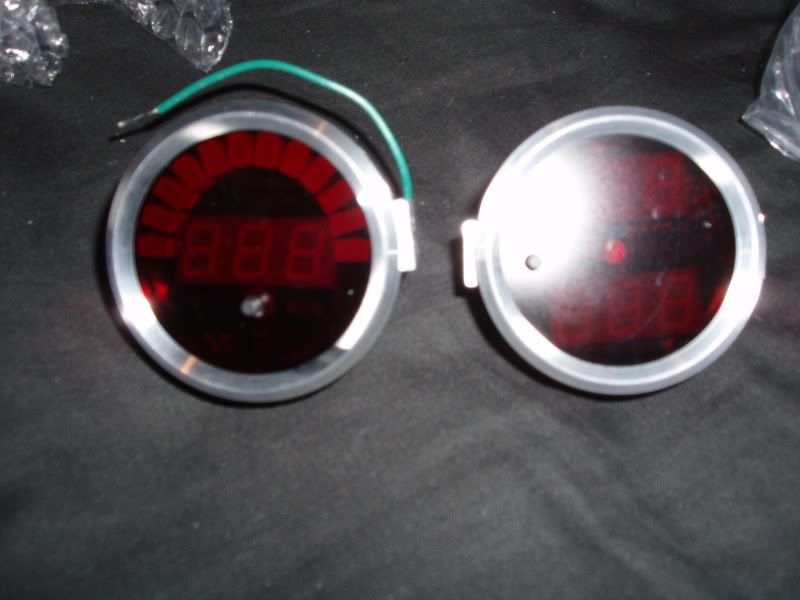
How they look with ignition on


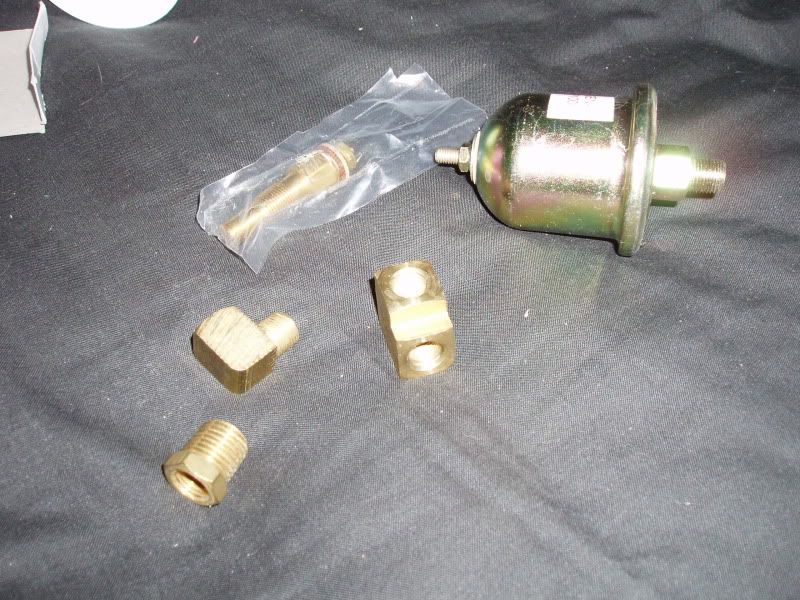
Adapters, pressure sender and oil temp sensor
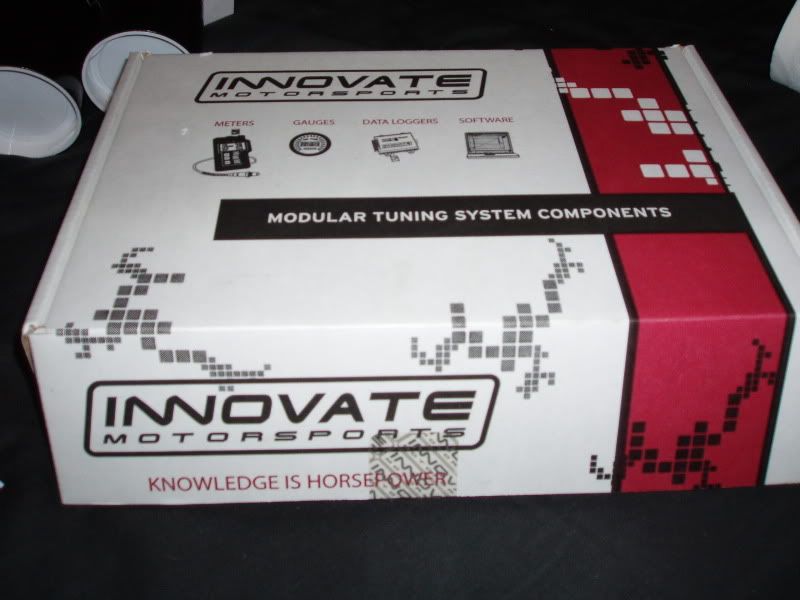
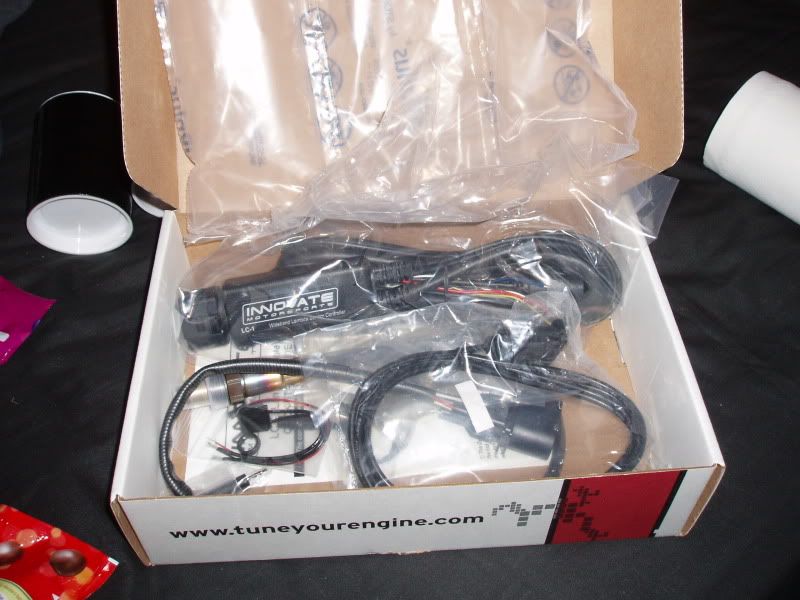
Wideband innovate wideband lc-1
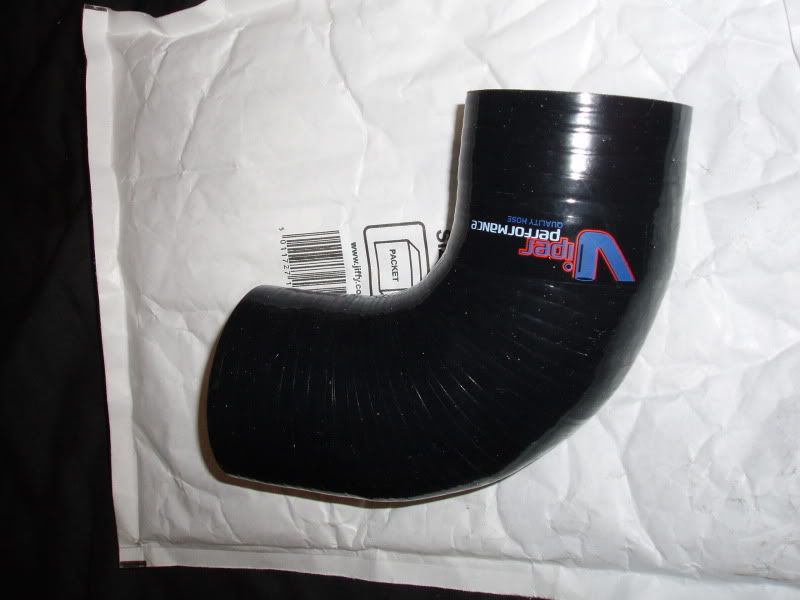
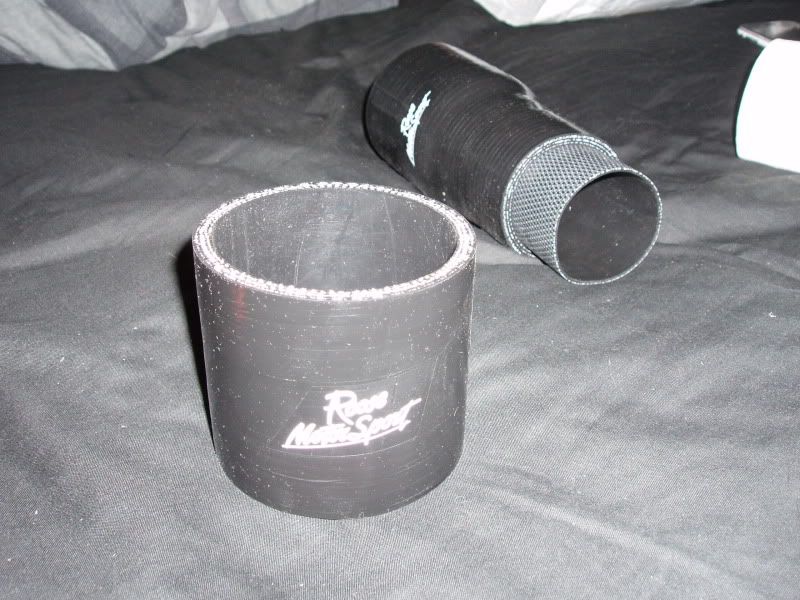
Then been speaking to Paul from roose again I needed a 76mm to 57mm reducer to go from AFM to turbo but Paul only did 76mm to 60mm but he said he would put a another slice of silicone to bring it down to a 57mm, top works once again
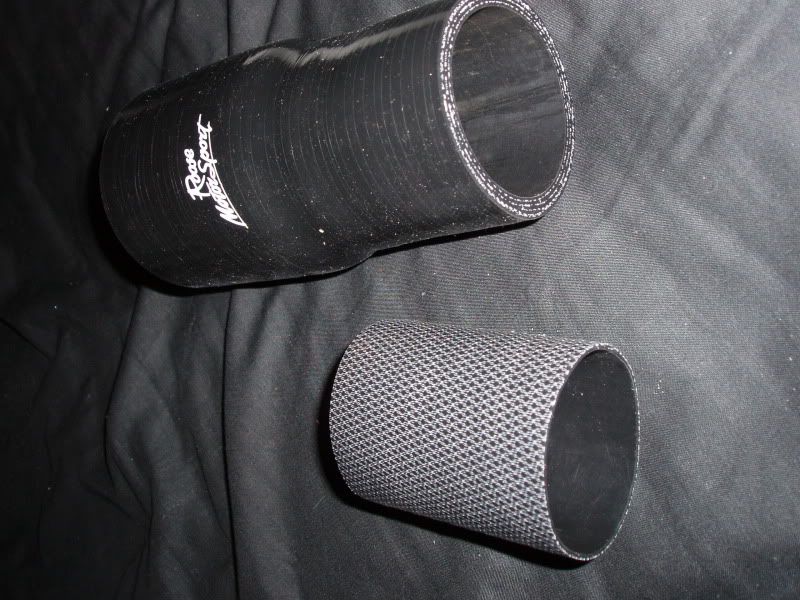

Then I also ordered a 76mm Coupler to got from AFM to inlet, now thats every possible hose i can think off in the engine bay done and in black silicone
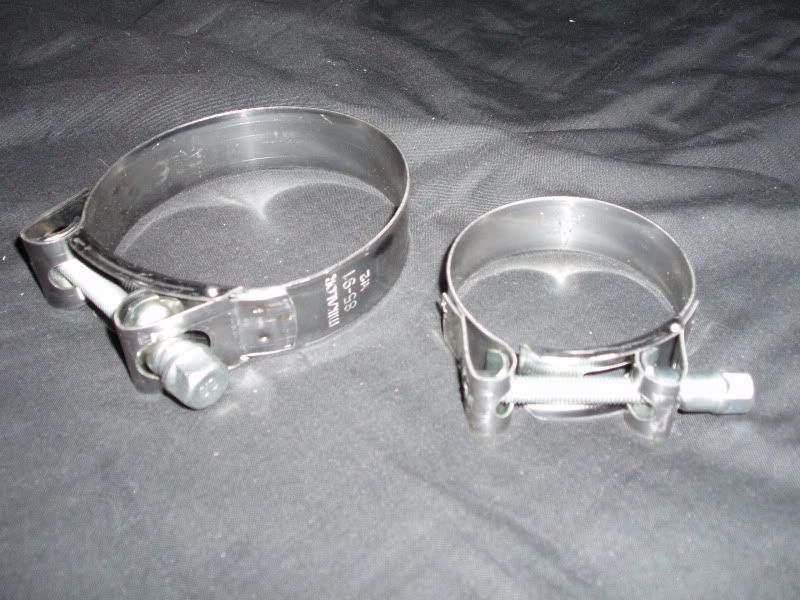
Ordered some more Mikalor clamps
Well thats all for tonight, hopefully get loads more done over the weekend etc 
Dale
[Edited on 24-03-2010 by DRS]
|
FruitBooTeR
Member
Registered: 18th Jan 07
Location: Wolverhampton Drives: S15
User status: Offline
|
Top effort mate!
Fantasic work
|
Dale
Member
Registered: 7th Oct 07
Location: Swindon
User status: Offline
|
quote:
Originally posted by FruitBooTeR
Top effort mate!
Fantasic work
cheers fella, should be worth it once its all done although i have spent alot more than i was going too was just meant to be re-spray and leave it with a redtop in
|
Rick Draper
Member
Registered: 10th Feb 01
Location: Cheshire
User status: Offline
|
Looking forward to seeing this done. Looks to be coming along well.
Have you bought any of the bits for the engine rebuild yet?
|
Rich H
Member
Registered: 26th Oct 05
Location: West Sussex Drives: E46 M3
User status: Offline
|
No expense spared on this hey?! Coming along nicely mate, love it 
|
Iain M
Member
Registered: 18th Aug 05
Location: Wigan - Drives 272bhp corsa ZLET
User status: Offline
|
Fapping awesome read and great project. Agree with Viper Performance i have used them, top guys that work there.
|
sri-monster
Member
Registered: 12th Jan 10
User status: Offline
|
what size tyres you got on mate?
|
rowland
Member
Registered: 4th May 08
Location: Greater Manchester
User status: Offline
|
excellent progress dale
just thought did you find a reason for the alternator sitting so close to the shell or was it not an issue ?
tophat looks nice and big but looks to come up high,probs just my eyess or the angle of the picture did you trial fit the bonnet or does it not go up high enought to be near it.
|
Dale
Member
Registered: 7th Oct 07
Location: Swindon
User status: Offline
|
quote:
Originally posted by Rick Draper
Looking forward to seeing this done. Looks to be coming along well.
Have you bought any of the bits for the engine rebuild yet?
Cheers rich, I'm going to see Steve Milton on Monday to drop the block off and have a few chats and see where we end up and what i buy
quote:
Originally posted by Rich H
No expense spared on this hey?! Coming along nicely mate, love it
I should of sent a limit on spending but....... only limit is I'm not going after market management or bigger turbo (yet)
quote:
Originally posted by Iain M
Fapping awesome read and great project. Agree with Viper Performance i have used them, top guys that work there.
Cheers Iain, yer they have been a great help
quote:
Originally posted by sri-monster
what size tyres you got on mate?
195/45 R15
quote:
Originally posted by rowland
excellent progress dale
just thought did you find a reason for the alternator sitting so close to the shell or was it not an issue ?
tophat looks nice and big but looks to come up high,probs just my eyess or the angle of the picture did you trial fit the bonnet or does it not go up high enought to be near it.
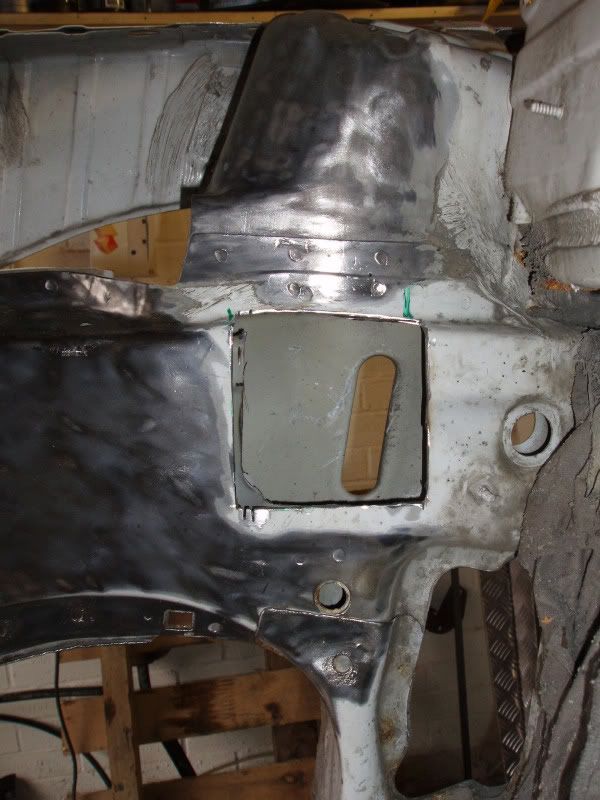
Cheers fella, Well i bought another mount from Lmf and there wasn't really much in it apart from LMF's was made of thinner metal which i wasn't keen on using tbh, I got it to sit better. Im just going to "box" the inner leg, I would rather do this than put it in and have it rub a month or so later.
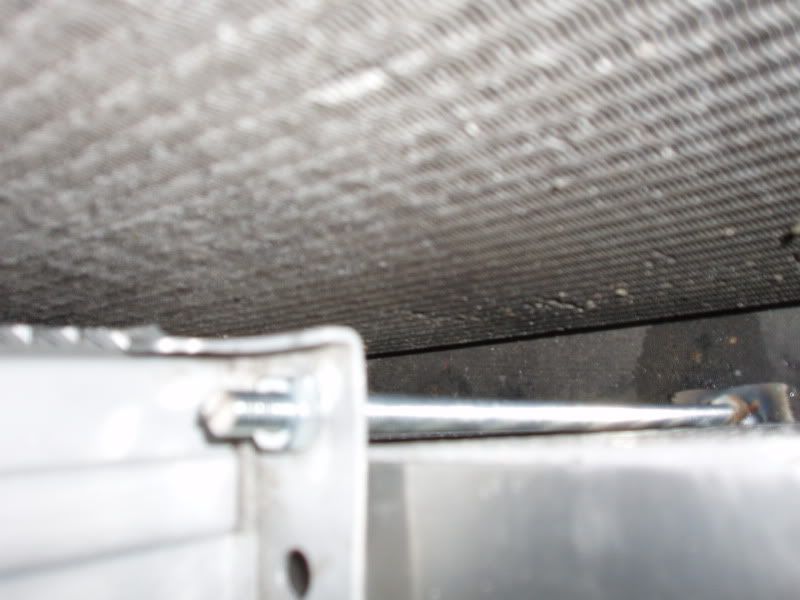
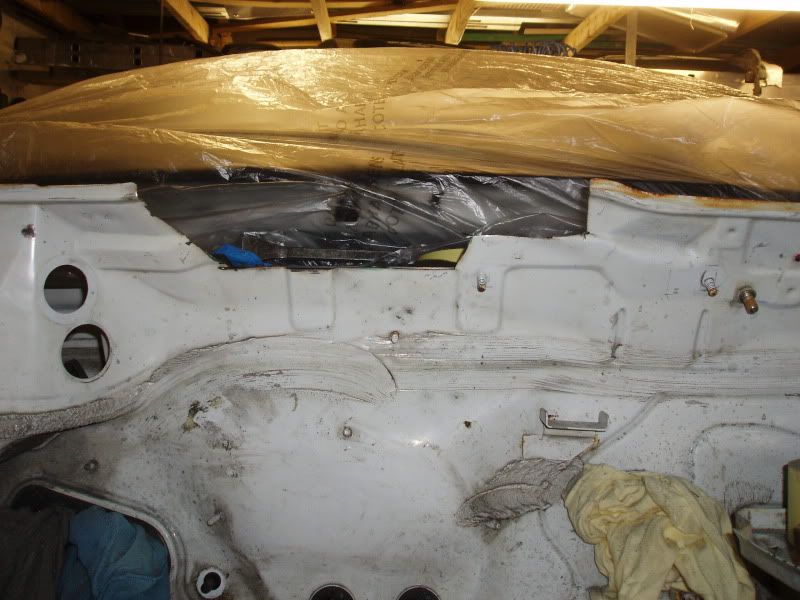
Yer The Top hat is big, Height wise I think its just the picture as its only 1-2mm higher than the firewall, which you have the seal on, So i went off that and thought the bonnet will be fine. It is also close to the firewall and i think with engine tilt it might touch so i'm going to cut a part of that out like people do when they fit "power caps" on redtops!
|
Dale
Member
Registered: 7th Oct 07
Location: Swindon
User status: Offline
|
Got more work done on the car today, not as much as i would of liked to because the welder broke Hopefully get this fixed tomorrow
First off got the crank out
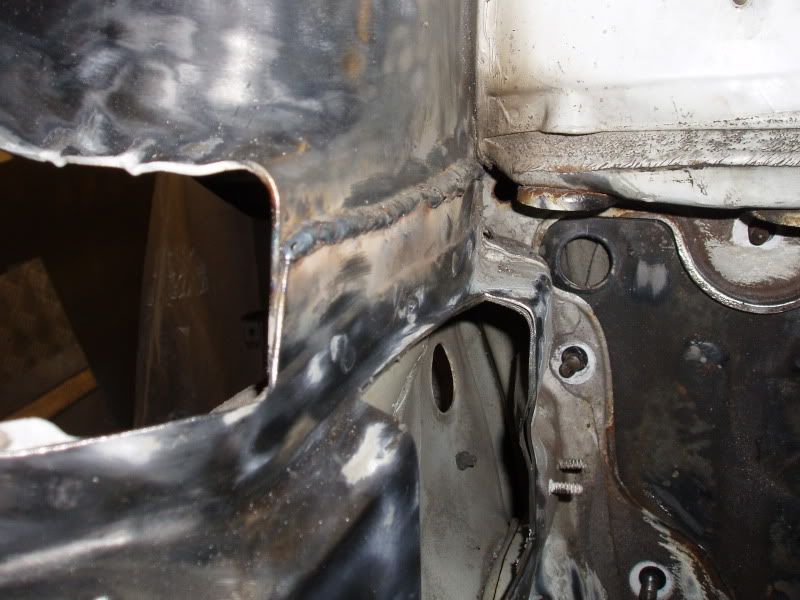
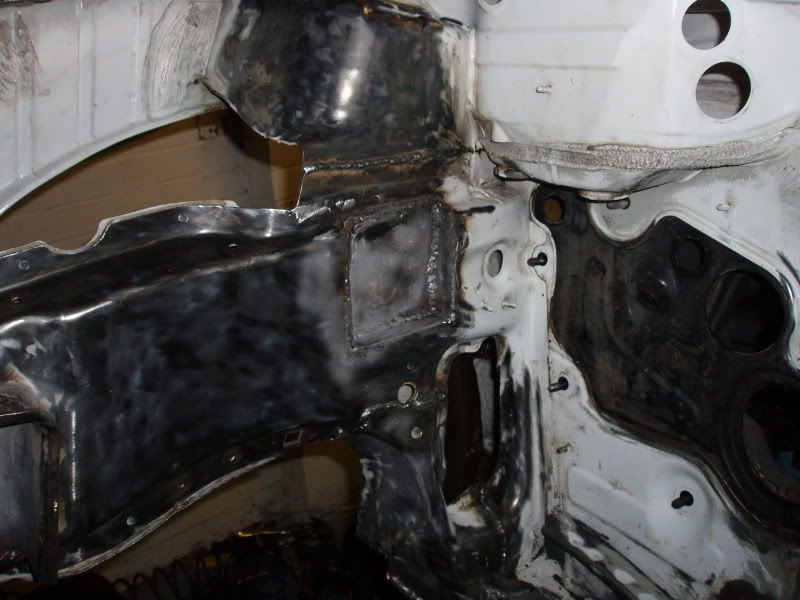
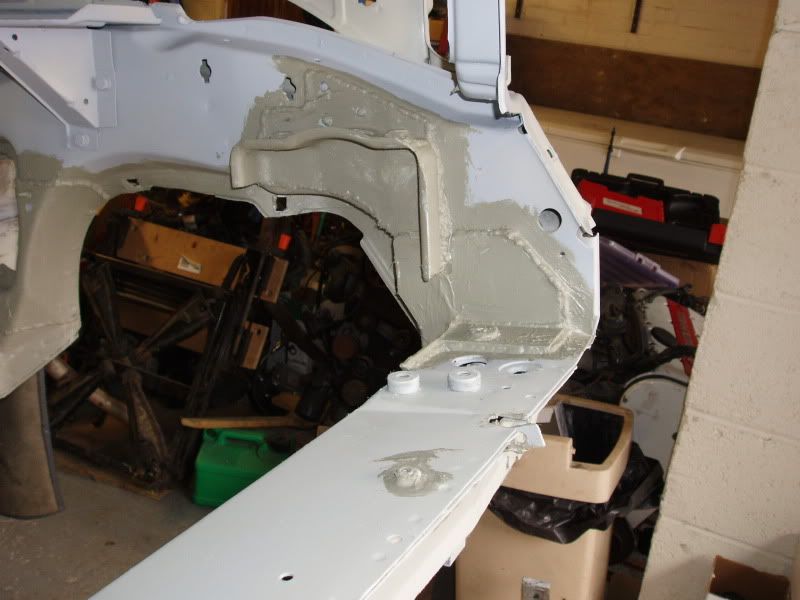
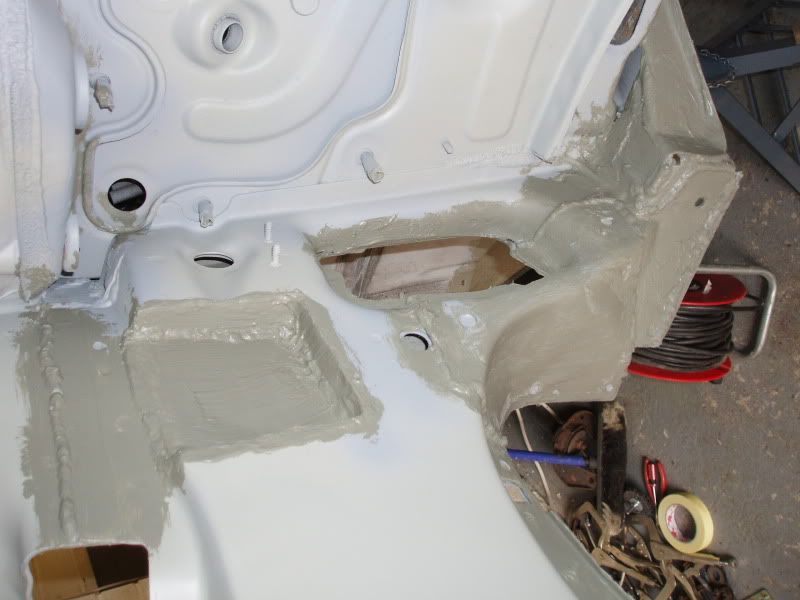
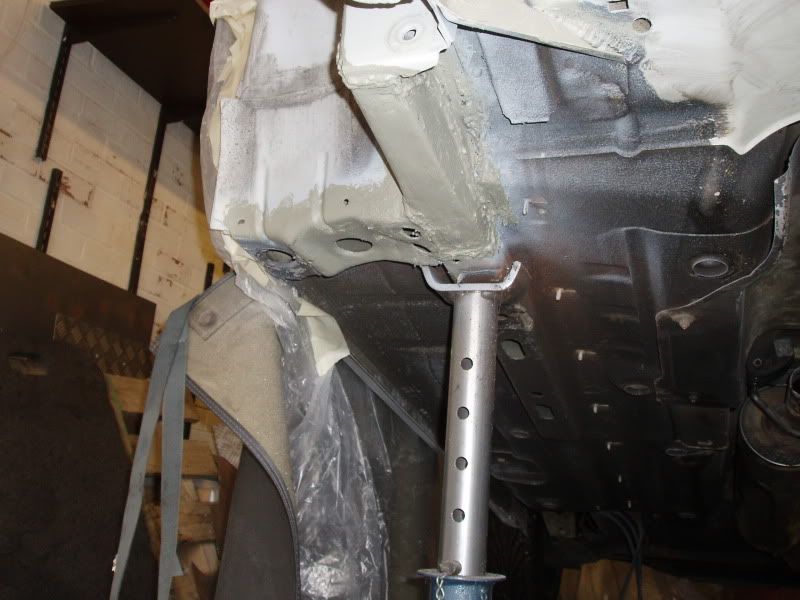
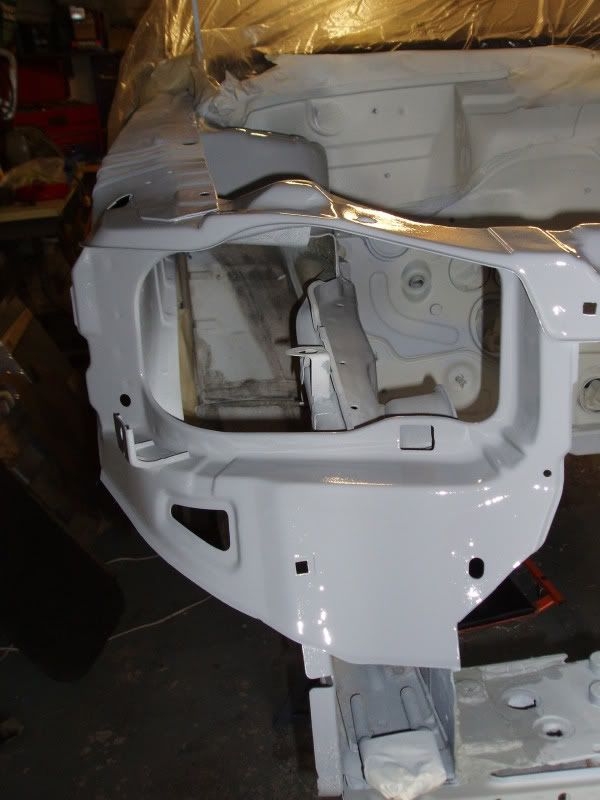
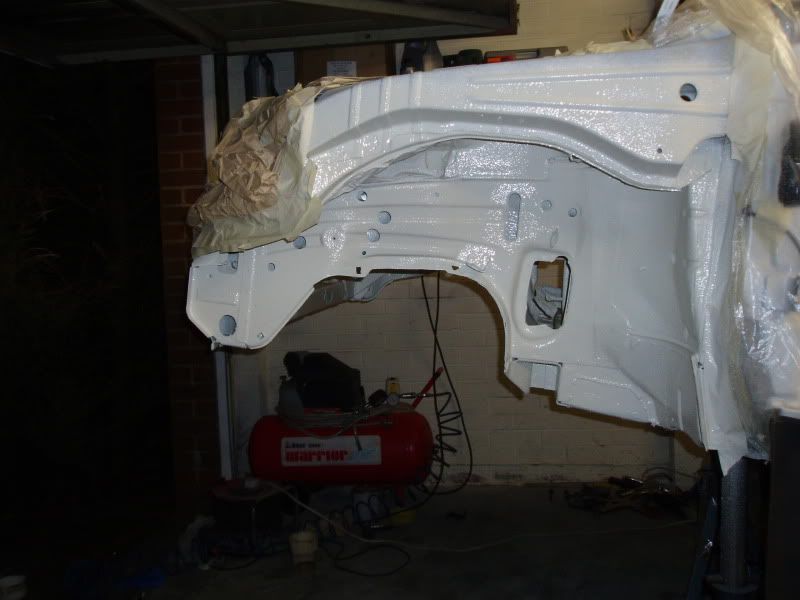
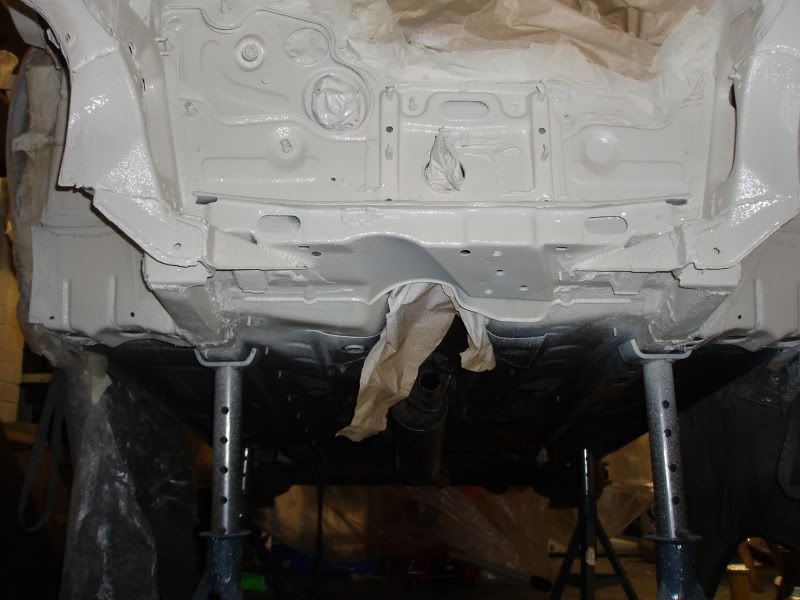
Then it was onto stripping the engine bay down ready for paint
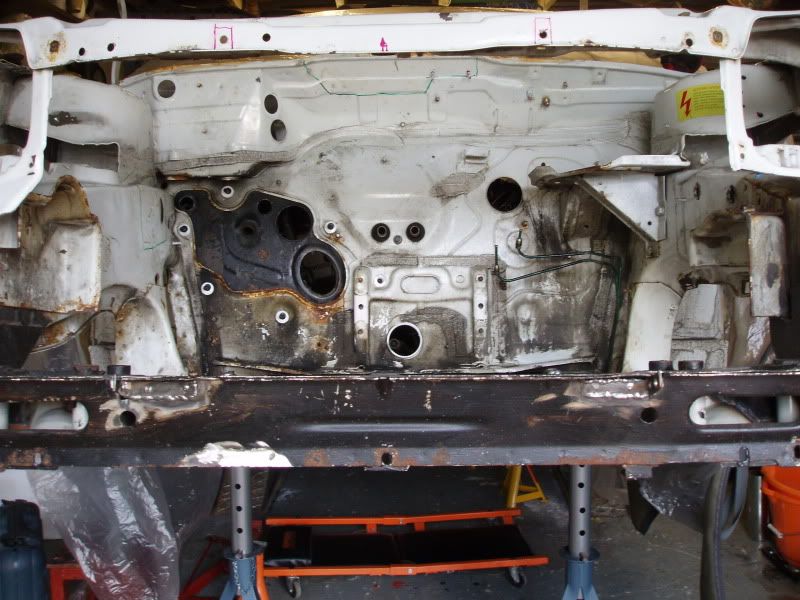
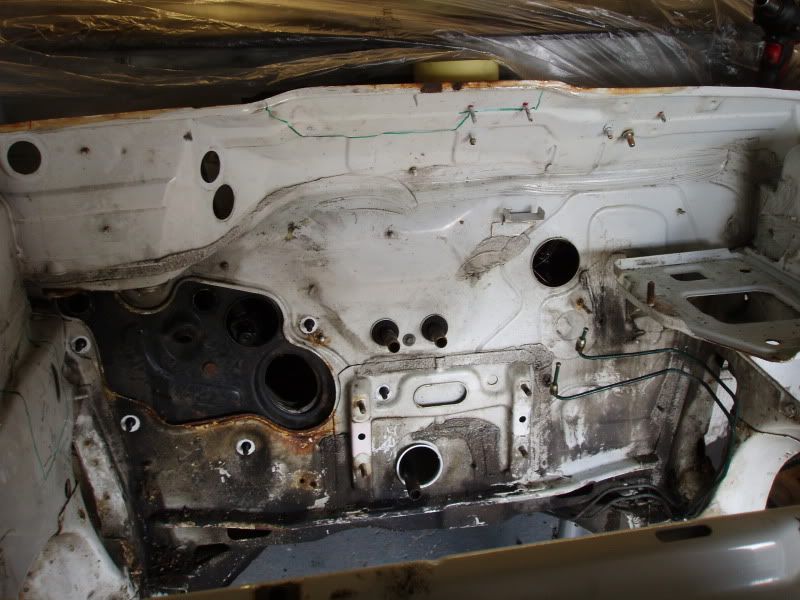
Then the long job and getting all the paint off and getting rid of whatever rust i see
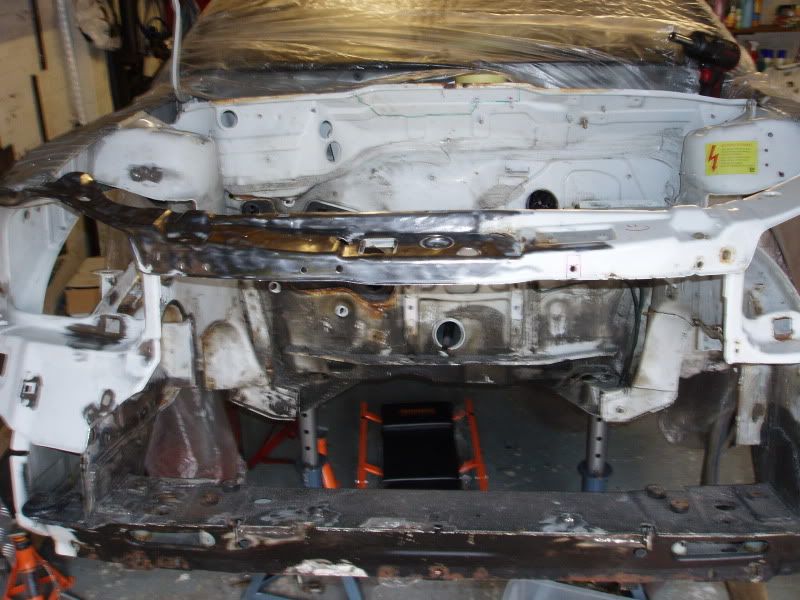
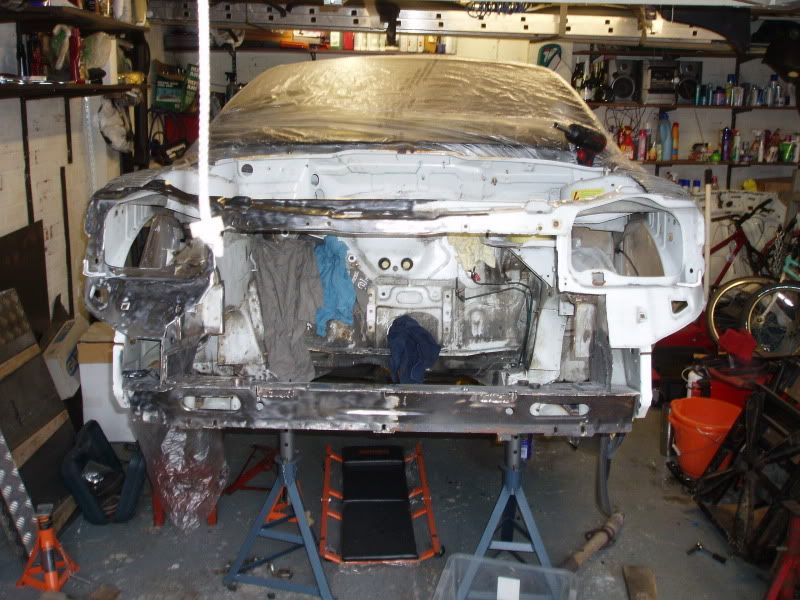
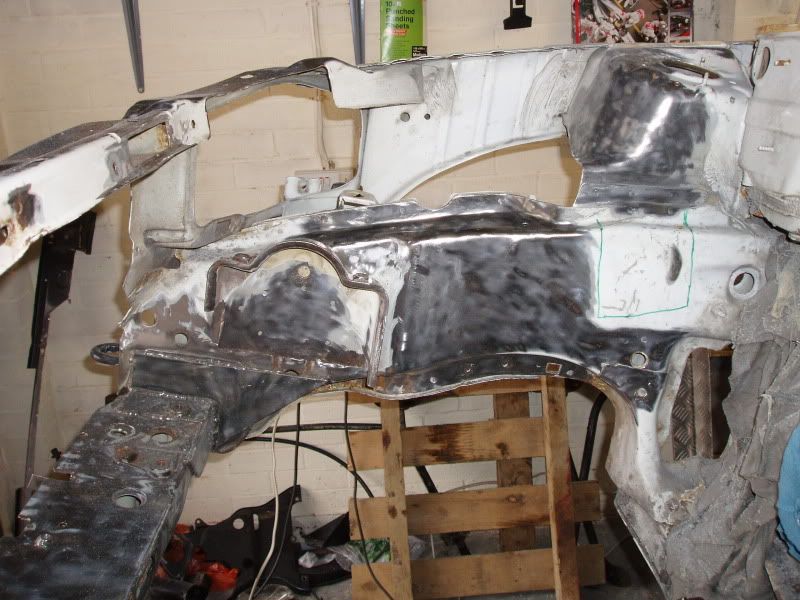
Only got this far as my discs died will get some more tomorrow then crack on in the week
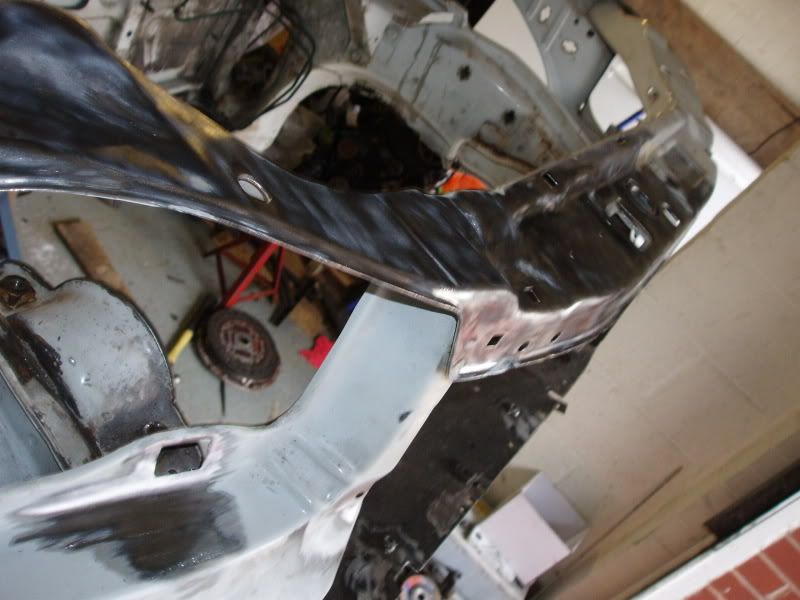
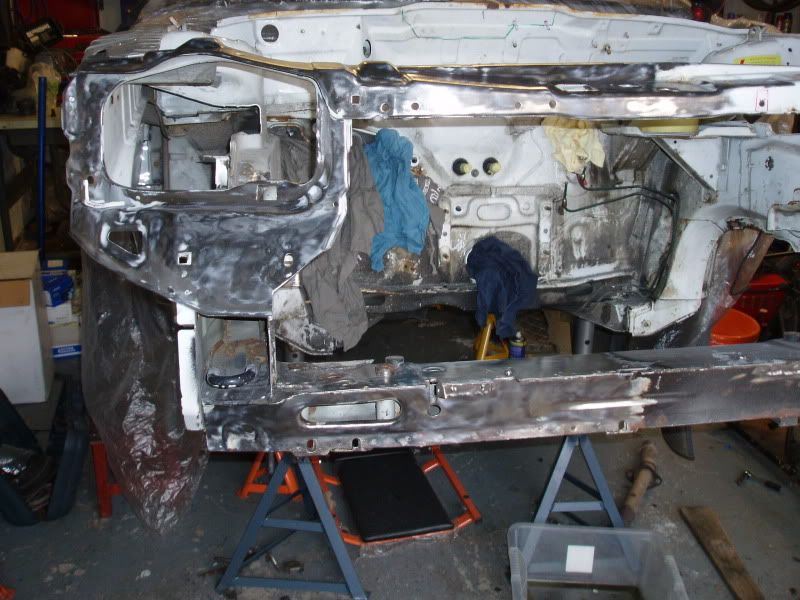
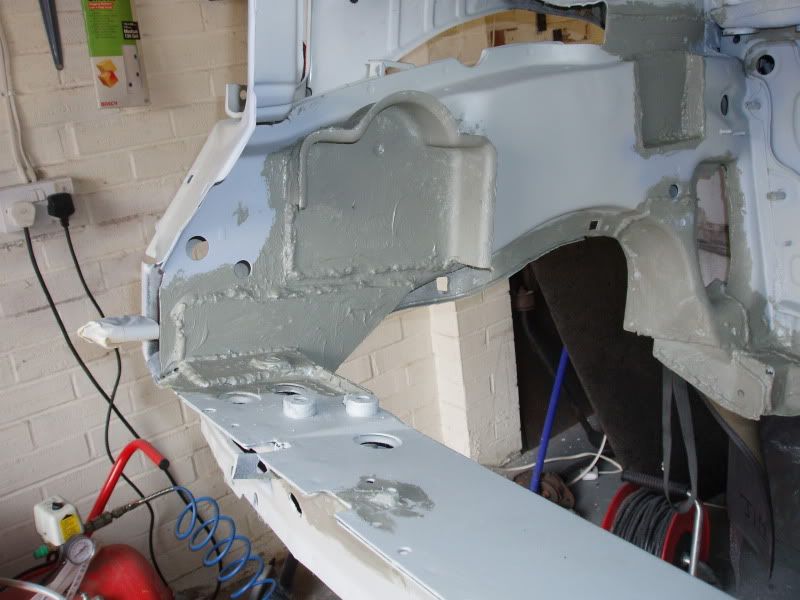
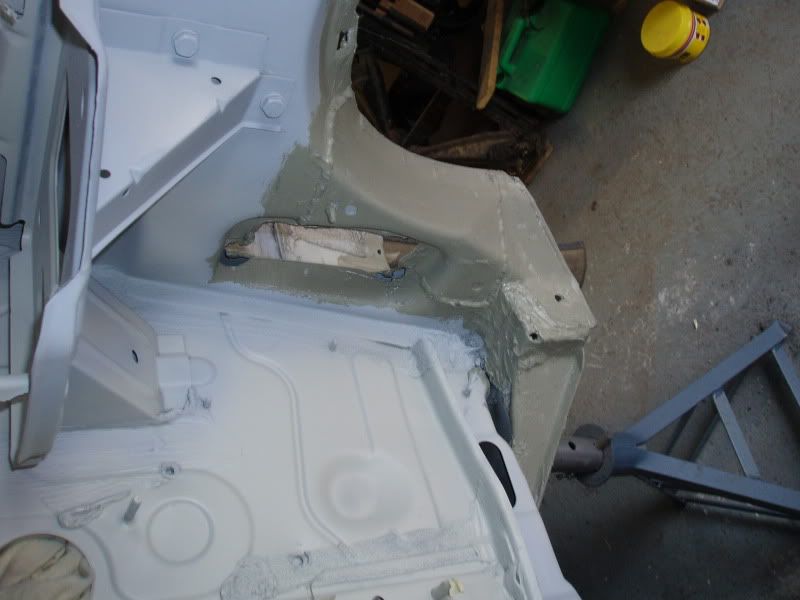
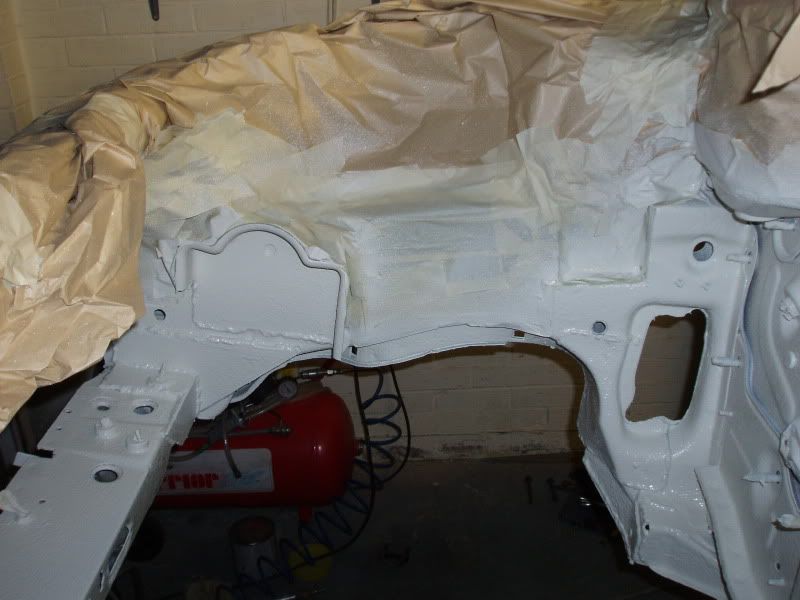
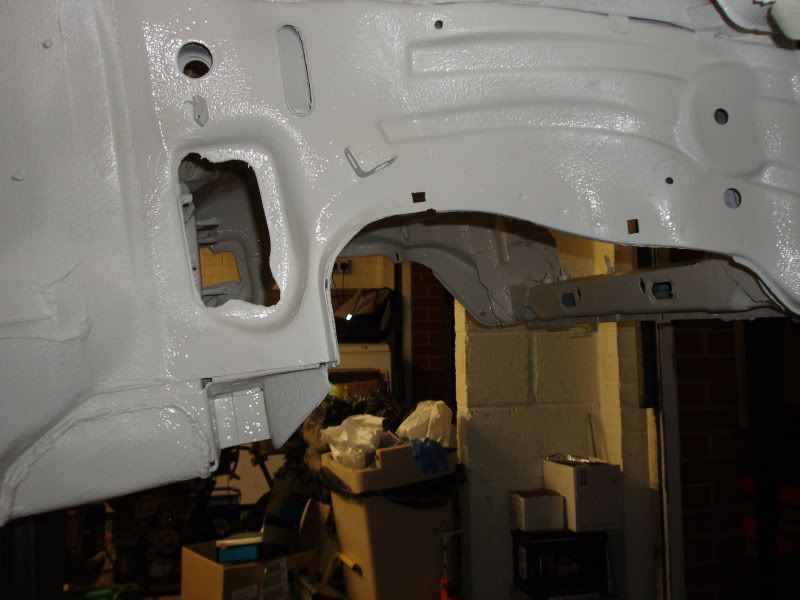
My cut out for the top hat just be safe for clearance
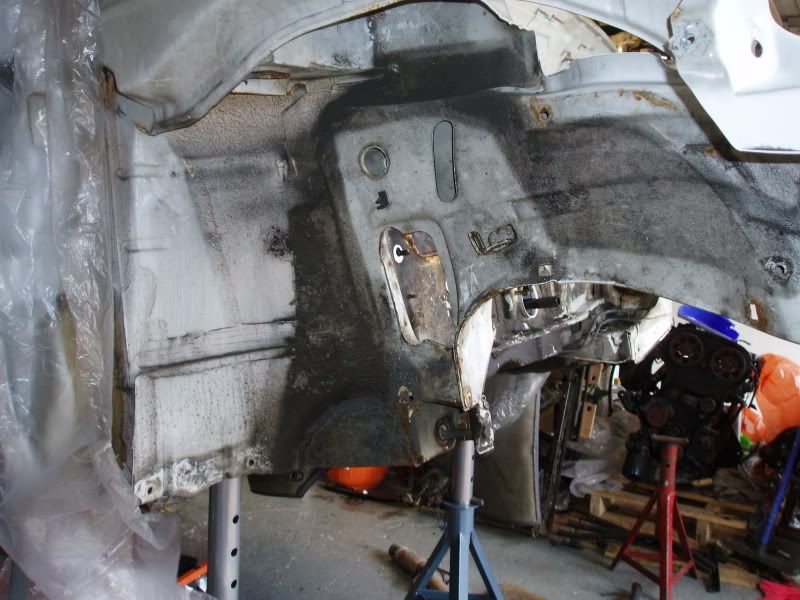
And this will be boxed for clearance of the alternator
Thats all for now more updates soon
Dale
|
GregGsi
Premium Member
 Registered: 6th Jan 08
Location: Leigh, Wigan
User status: Offline
|
boxed for clearance of the alternator
dont no why you have had to do this coz when you had the xe it was ok and now you put the let in it his
the xe and let alternator fit the same
cuting the box out is what you do on the nova
looking good thow
BHP vaux
|
Dale
Member
Registered: 7th Oct 07
Location: Swindon
User status: Offline
|
quote:
Originally posted by GregGsi
boxed for clearance of the alternator
dont no why you have had to do this coz when you had the xe it was ok and now you put the let in it his
the xe and let alternator fit the same
cuting the box out is what you do on the nova
looking good thow
I know you do it for novas, I'm just doing it because i can before it gets sprayed and i want to run multi V and on early models there isn't as much clearance! Not go it fit multi V and then have touch issues and ruin the new paint
Cheers
|
Mark.W
Member
Registered: 3rd Jan 07
Location: County Durham
User status: Offline
|
Top work Dale
|
MatthewR
Member
Registered: 21st Oct 02
Location: Rickmansworth
User status: Offline
|
such a good thread
|
red_top_corsa
Member
Registered: 29th Oct 08
Location: ramsgate kent
User status: Offline
|
great work mate keep it up
|
Dale
Member
Registered: 7th Oct 07
Location: Swindon
User status: Offline
|
quote:
Originally posted by wooly101uk
Top work Dale
quote:
Originally posted by MatthewR
such a good thread
quote:
Originally posted by red_top_corsa
great work mate keep it up
Cheers
|
Dale
Member
Registered: 7th Oct 07
Location: Swindon
User status: Offline
|
Been out in the garage over the easter bank holiday and got more done
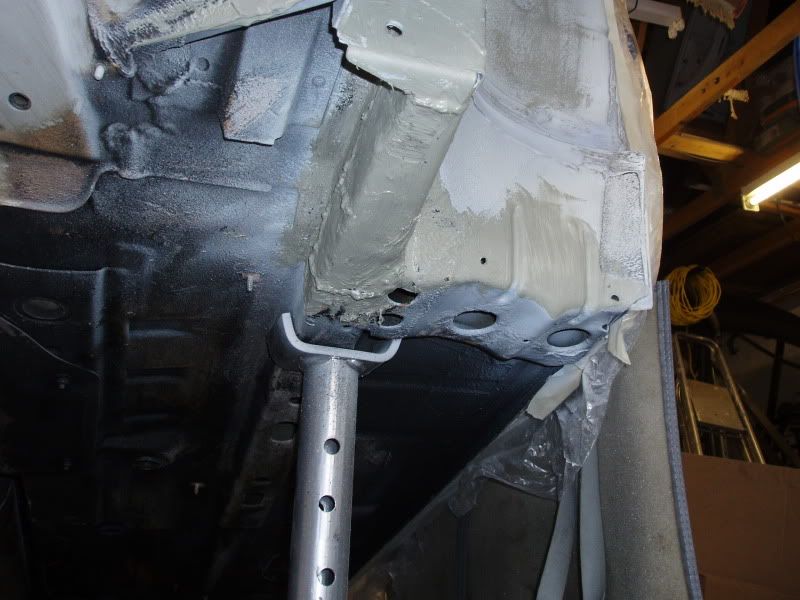
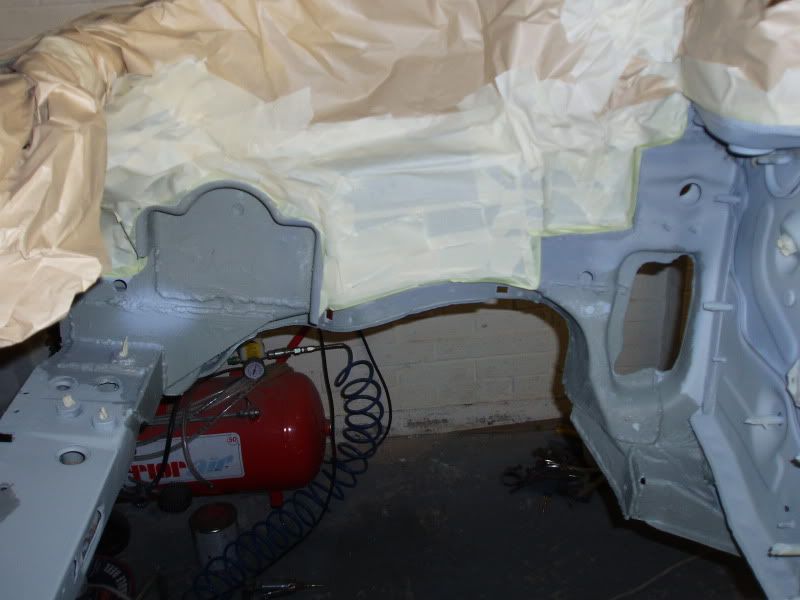
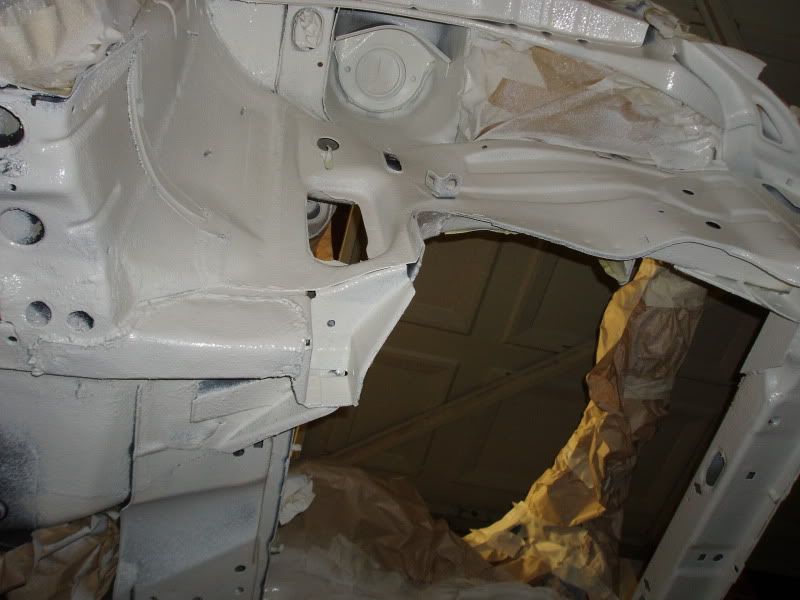
Seem Welded the engine bay
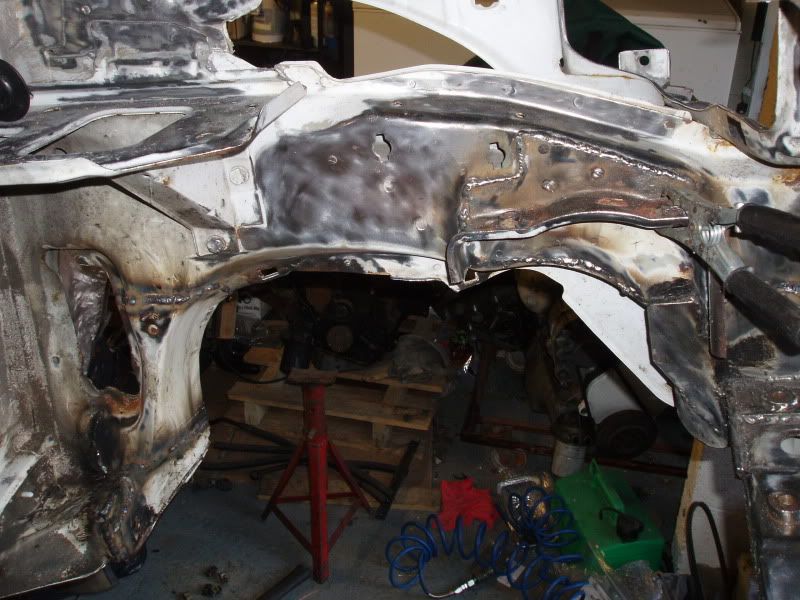
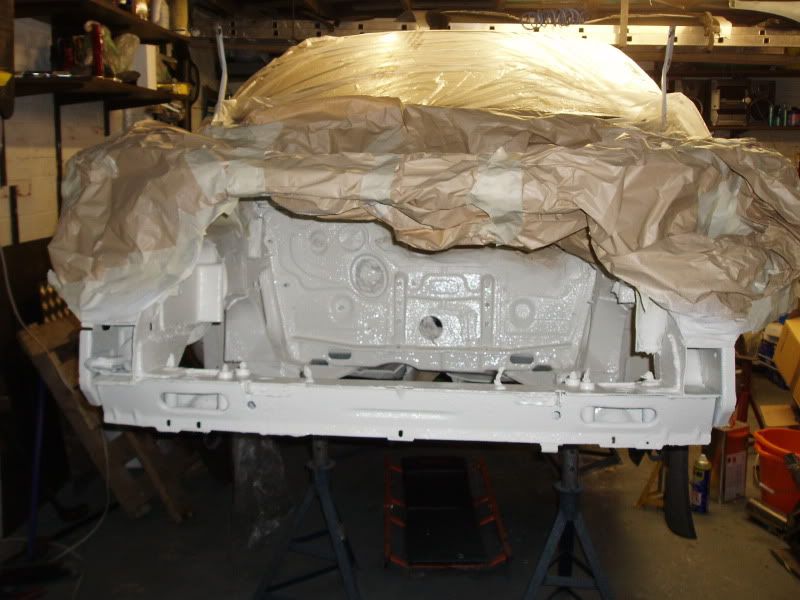
Then primed
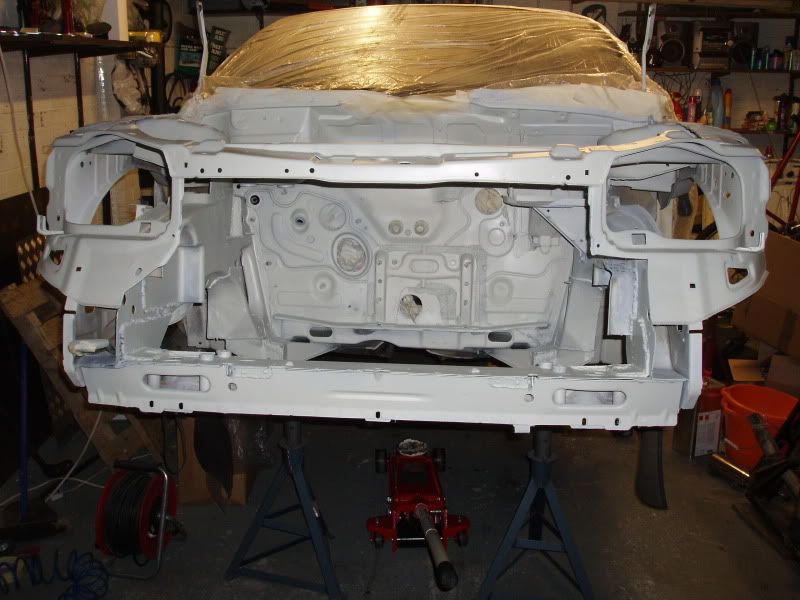
Once dry i seam sealed all seam
I Dropped my engine off to Steve Milton (Steveboyslim) Last Monday to do the block work and i bought a few bits
Block going to be bored to 86.5mm, decked and oil squirter's fitted
z20let GM oil pump and modified pick up
All new gaskets GM
Glyco Bearings (Mains and big end)
ARP Head stud conversion
Cometic Headgasket
Kent vernier Pullys (letting me run XE inlet Cam)
New Forged Mahle pistons 86.5mm, Machined to lower the compression to 8.2:1
Lightened standard flywheel to 5.5kg
ARP Flywheel bolts
Quaife atb diff for the f28
Pick up all the bits on Sunday and then the rebuild begins
Cheers
|
Dale
Member
Registered: 7th Oct 07
Location: Swindon
User status: Offline
|
Got more done on the engine bay tonight
Primer shot
Masked up ready for stone chip
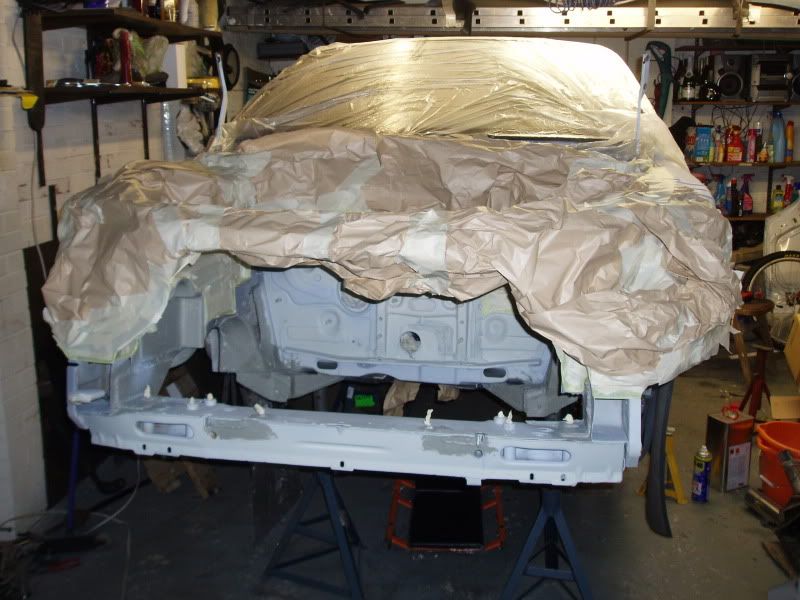
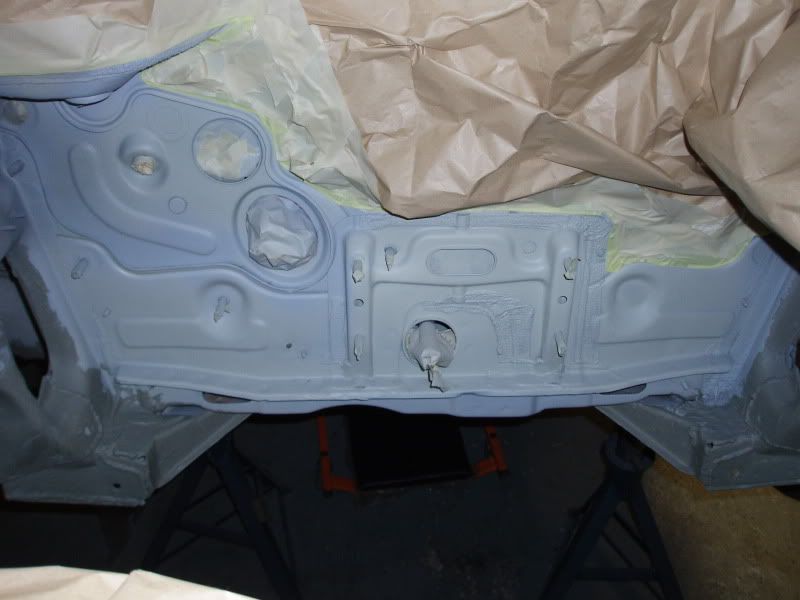
The Stuff i used

and a few after shots
Job done for tonight, if all goes to plan Engine bay will be painted on Thursday
Dale
|
shaunmods
Premium Member
 Registered: 12th Mar 07
Location: Glascote, Staffordshire
User status: Offline
|
Some serious effort going into this! Are you doing the spraying yourself mate? All looks top notch so far
|
Nic Barnes
Member
Registered: 5th Apr 04
Location: nowhere near ginger people
User status: Offline
|
stunner
|
Dale
Member
Registered: 7th Oct 07
Location: Swindon
User status: Offline
|
quote:
Originally posted by shaunmods
Some serious effort going into this! Are you doing the spraying yourself mate? All looks top notch so far
Cheers Shaun, no i'm lucky enough to have a good mate who does bodyshop and is doing all the spraying for me, he is showing me how to do it tho...... and i might have a go on some small bracket etc! I just do the mechanical side of things on his car but i have been lumbered into helping him with his garden this weekend
quote:
Originally posted by Nic Barnes
stunner
Cheers Nic
|


