Tomm R
Member
Registered: 19th Dec 06
Location: Bredhurst, Kent
User status: Offline
|
I first saw this about 2/3 years ago on some forum somewhere but i can not remember where for toffee! Since then i have thought about this quite regularly, always woundered what happened to it.
Now i have found it again i will be keeping a eye on this!
Spot on work!
|
cxe
Member
Registered: 16th Apr 11
Location: Vale of Glamorgan
User status: Offline
|
read all 23 pages.... my god nothing short of epic.... videos of first start are a must!
|
Daniel_Corsa
Premium Member
 Registered: 21st Apr 04
Location: Wigton, Cumbria
User status: Offline
|
Thought it was about time for another litte update on the car.
Hamish hasn't done much to it lately, as he's been working on other cars.
Wheel studs and nuts finally turned up from America after a long wait to get them. Nice and long so he can use spacers if needed, also got 2 sets of nuts one taper seat the other ball seat.

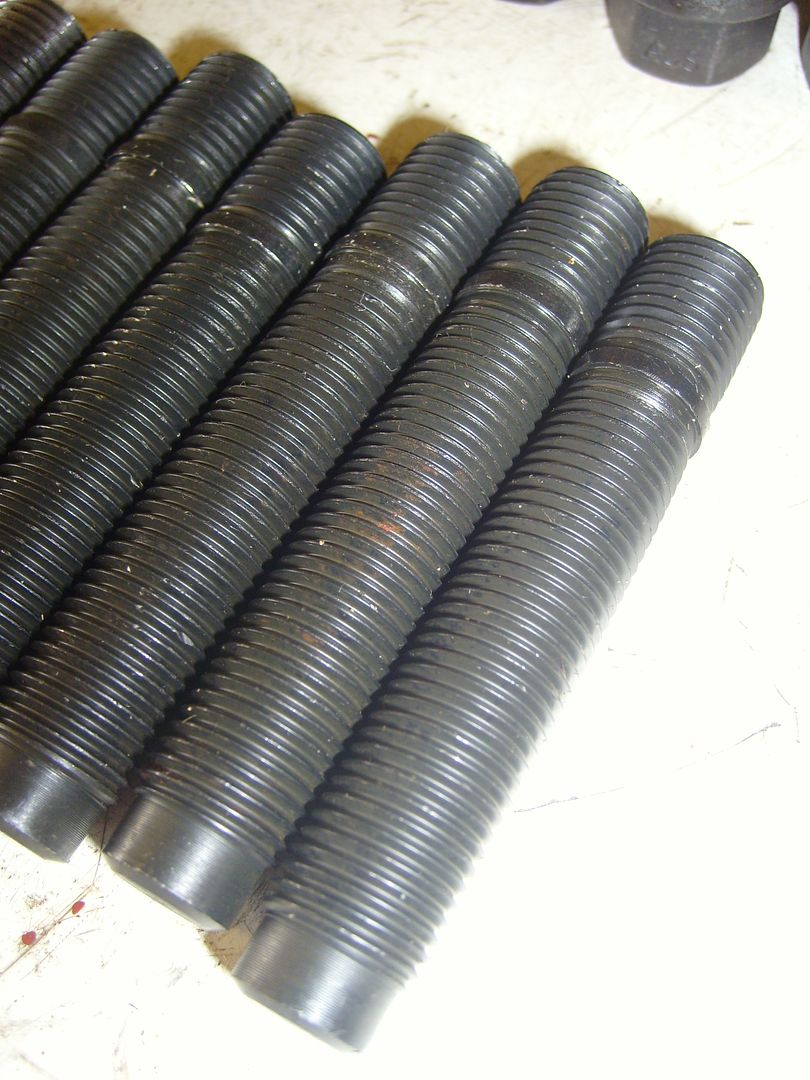
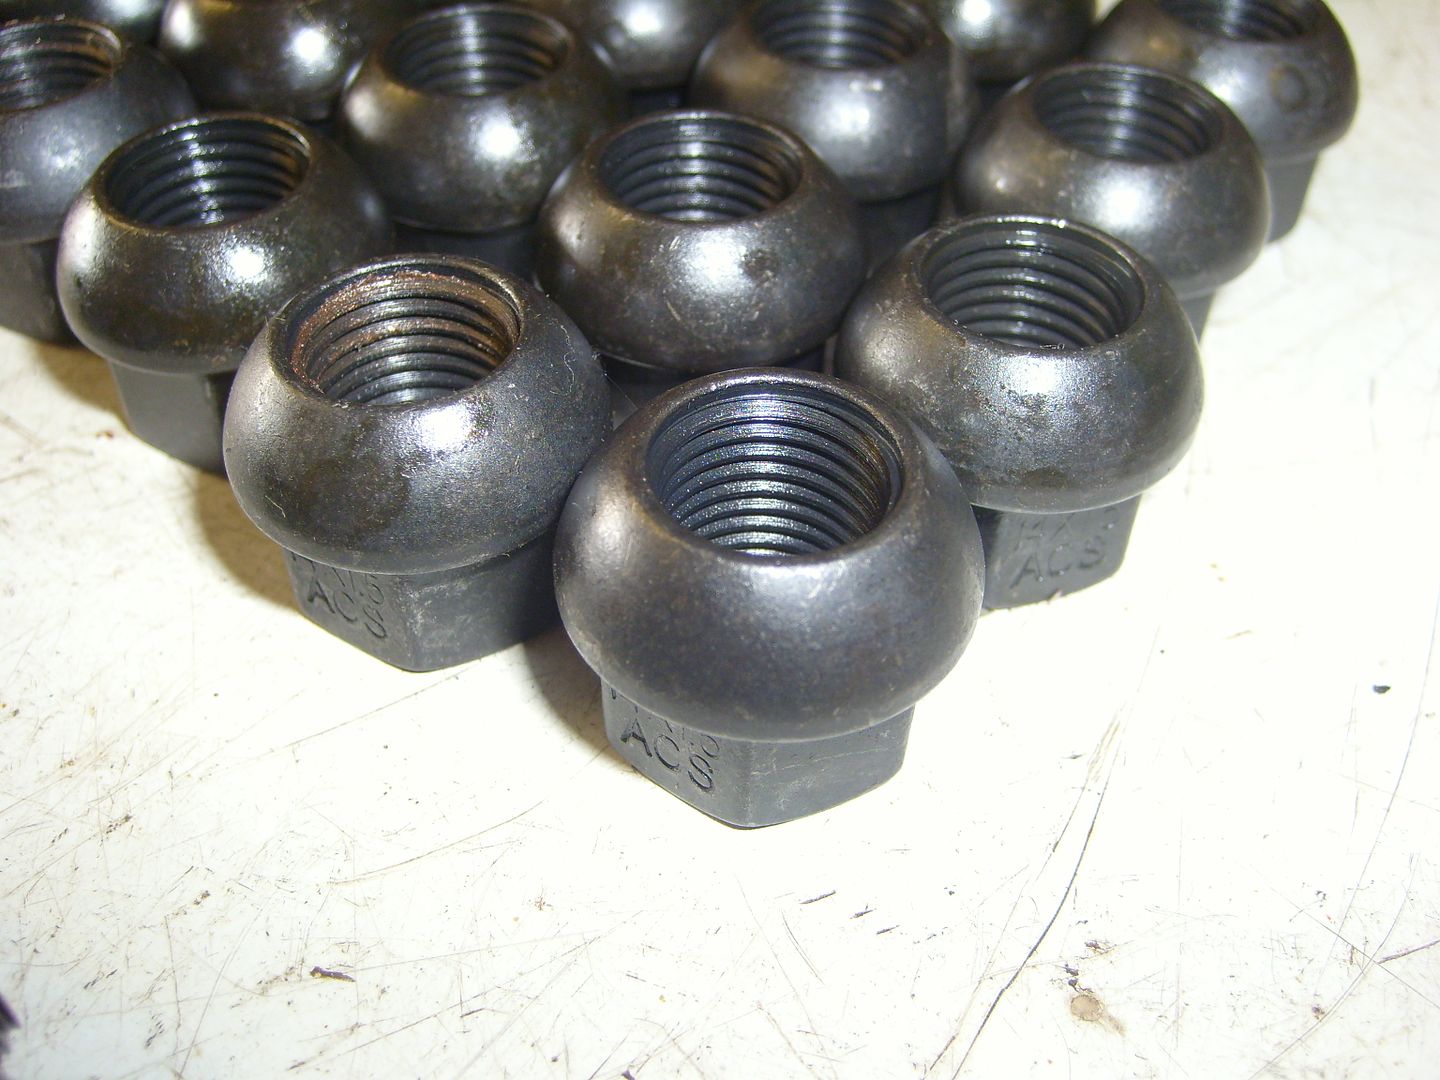
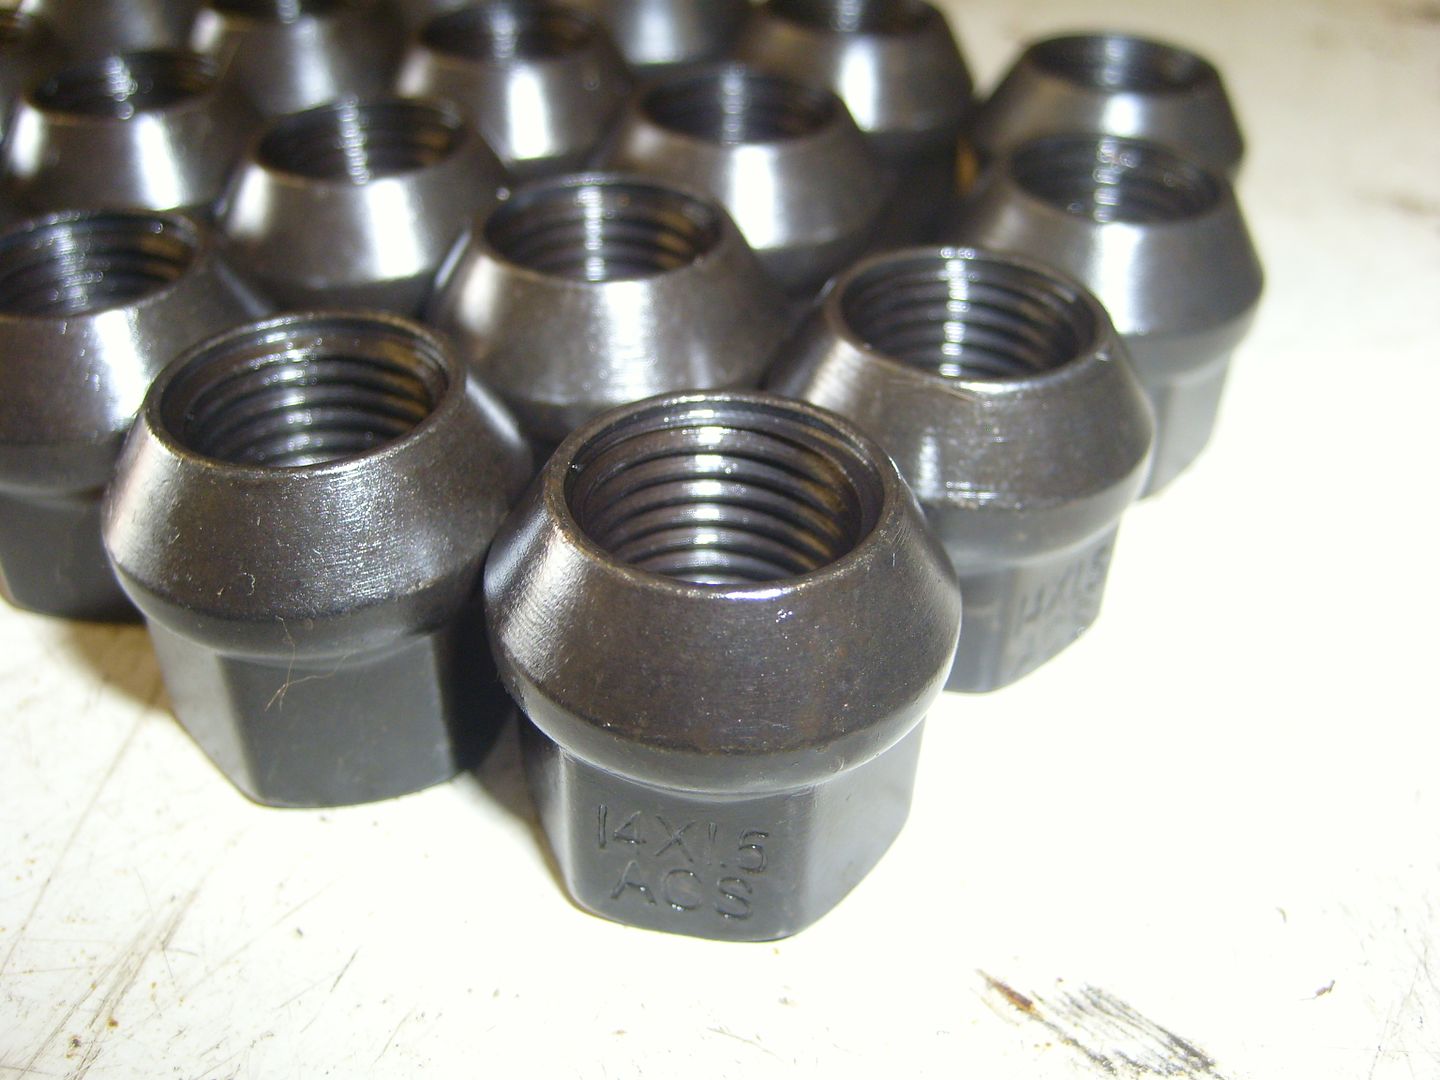
Tightened in with a bit of loctite

He then decided to tighten up everything underneath and get it sitting back down on its wheels. He's going to put it on some skates so it can be pushed around to give some more room for finishing it off. Also got the front towing strap fitted and the front bars painted.
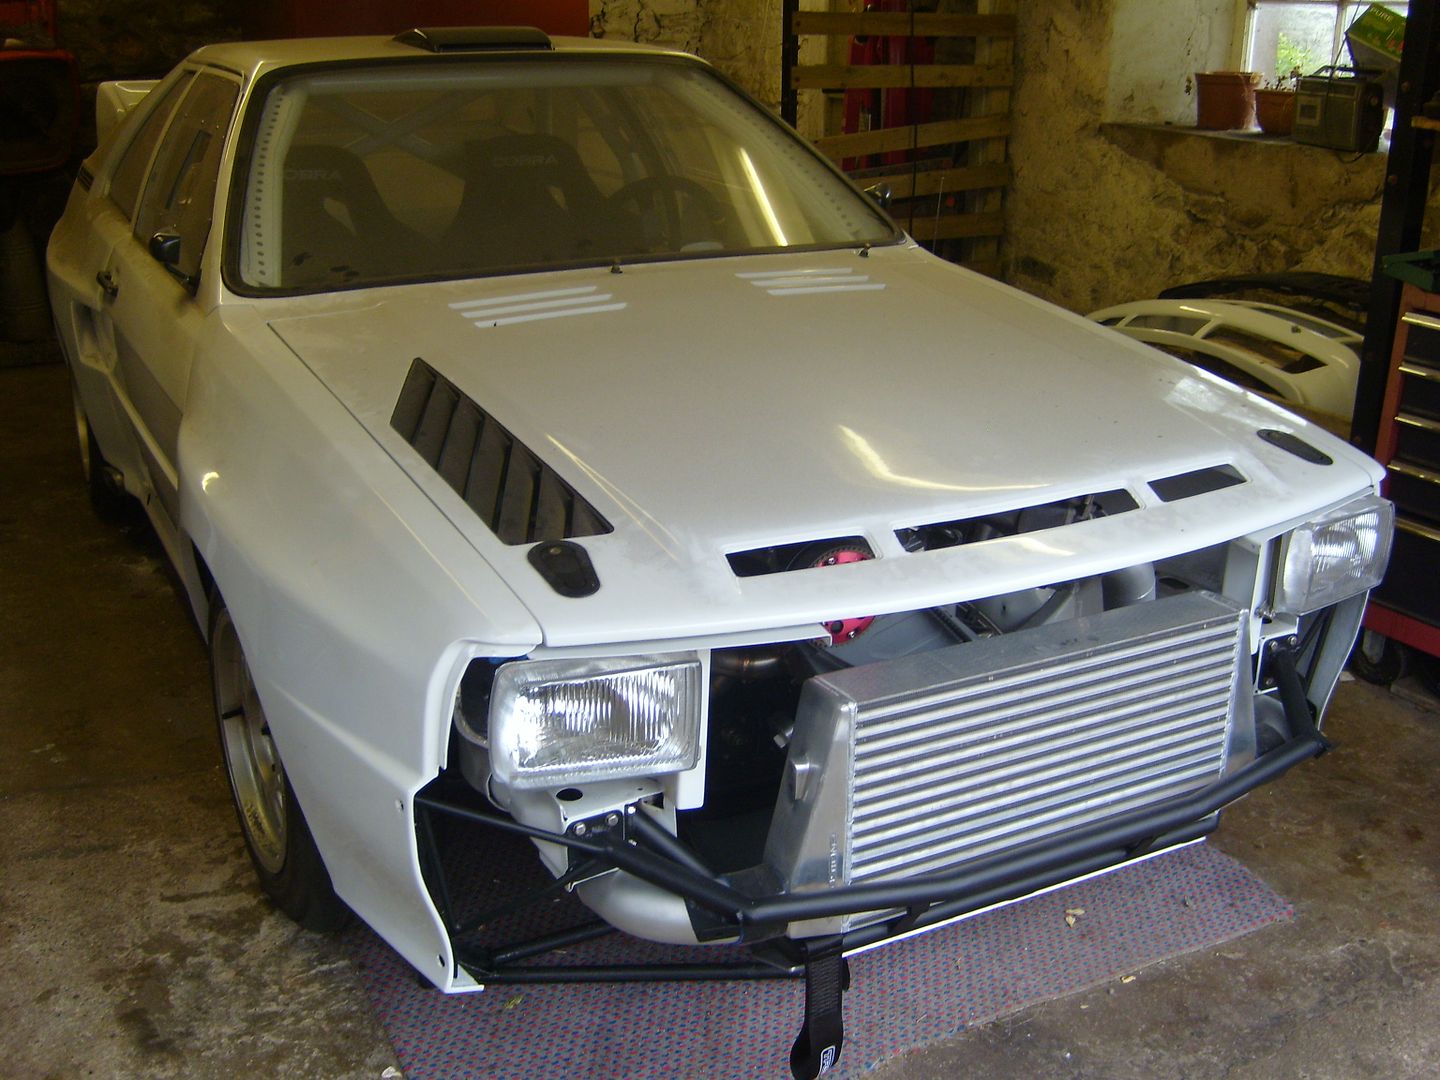

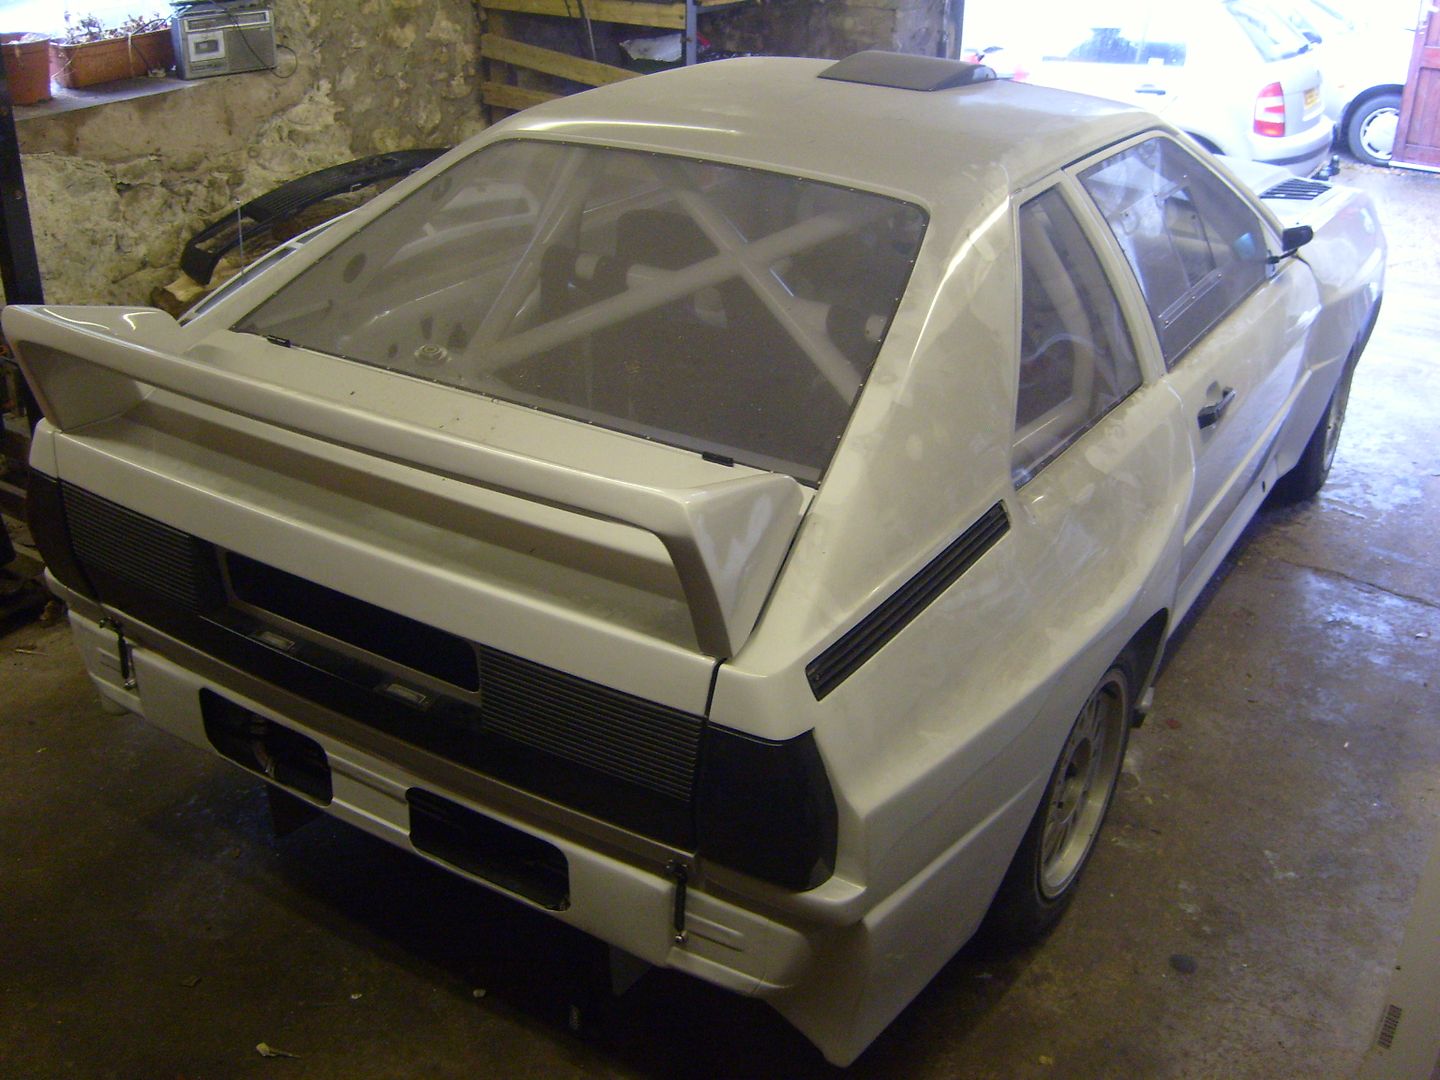
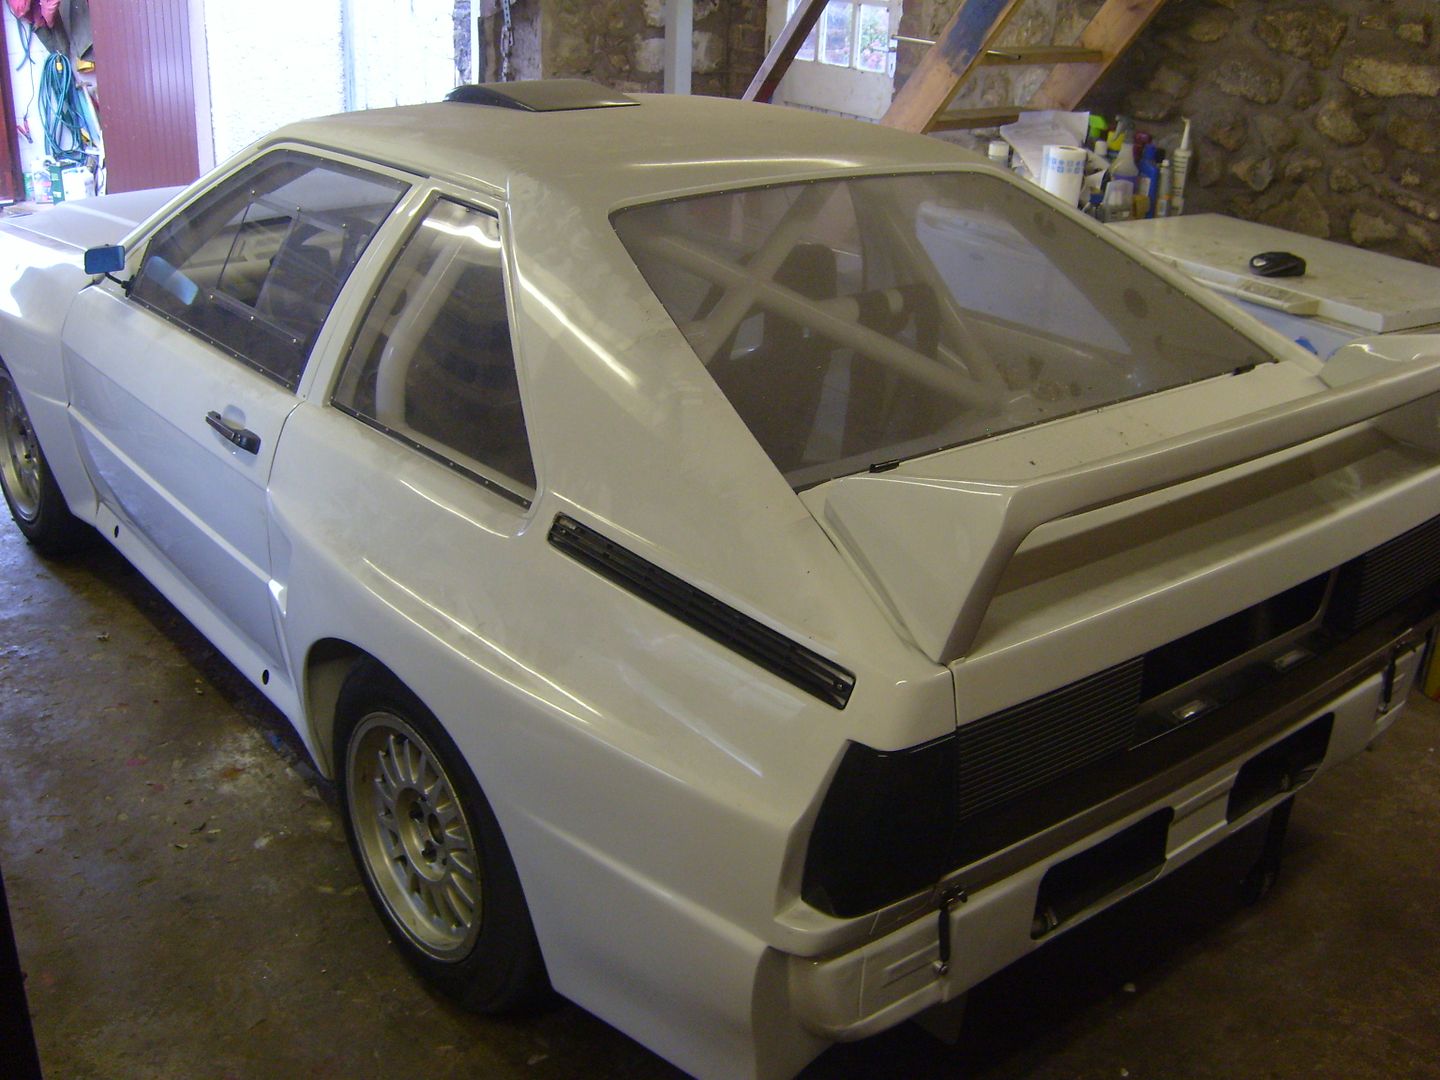
He knows it sits lower at the back than the front, thats to be sorted. He now has the boot to sort, mount the tanks, and finish the plumbing. Then moving back onto the engine untill its up and running.
Loads of stuff on order to get it running. Motec M84 ECU, 1100cc Bosch injectors, RS4 coils, lots of sensors, and an engine wiring loom. Most of it will be here this coming week so its shouldn't be too far away from firing up now!

April '06' Corsasport Feature Car  | Aug '08' Total Vauxhall Feature Car | Spring '09' Fast Car Feature Car | Aug '08' Total Vauxhall Feature Car | Spring '09' Fast Car Feature Car
|
MarkSport
Member
Registered: 22nd May 09
User status: Offline
|

|
Daniel_Corsa
Premium Member
Registered: 21st Apr 04
Location: Wigton, Cumbria
User status: Offline
|
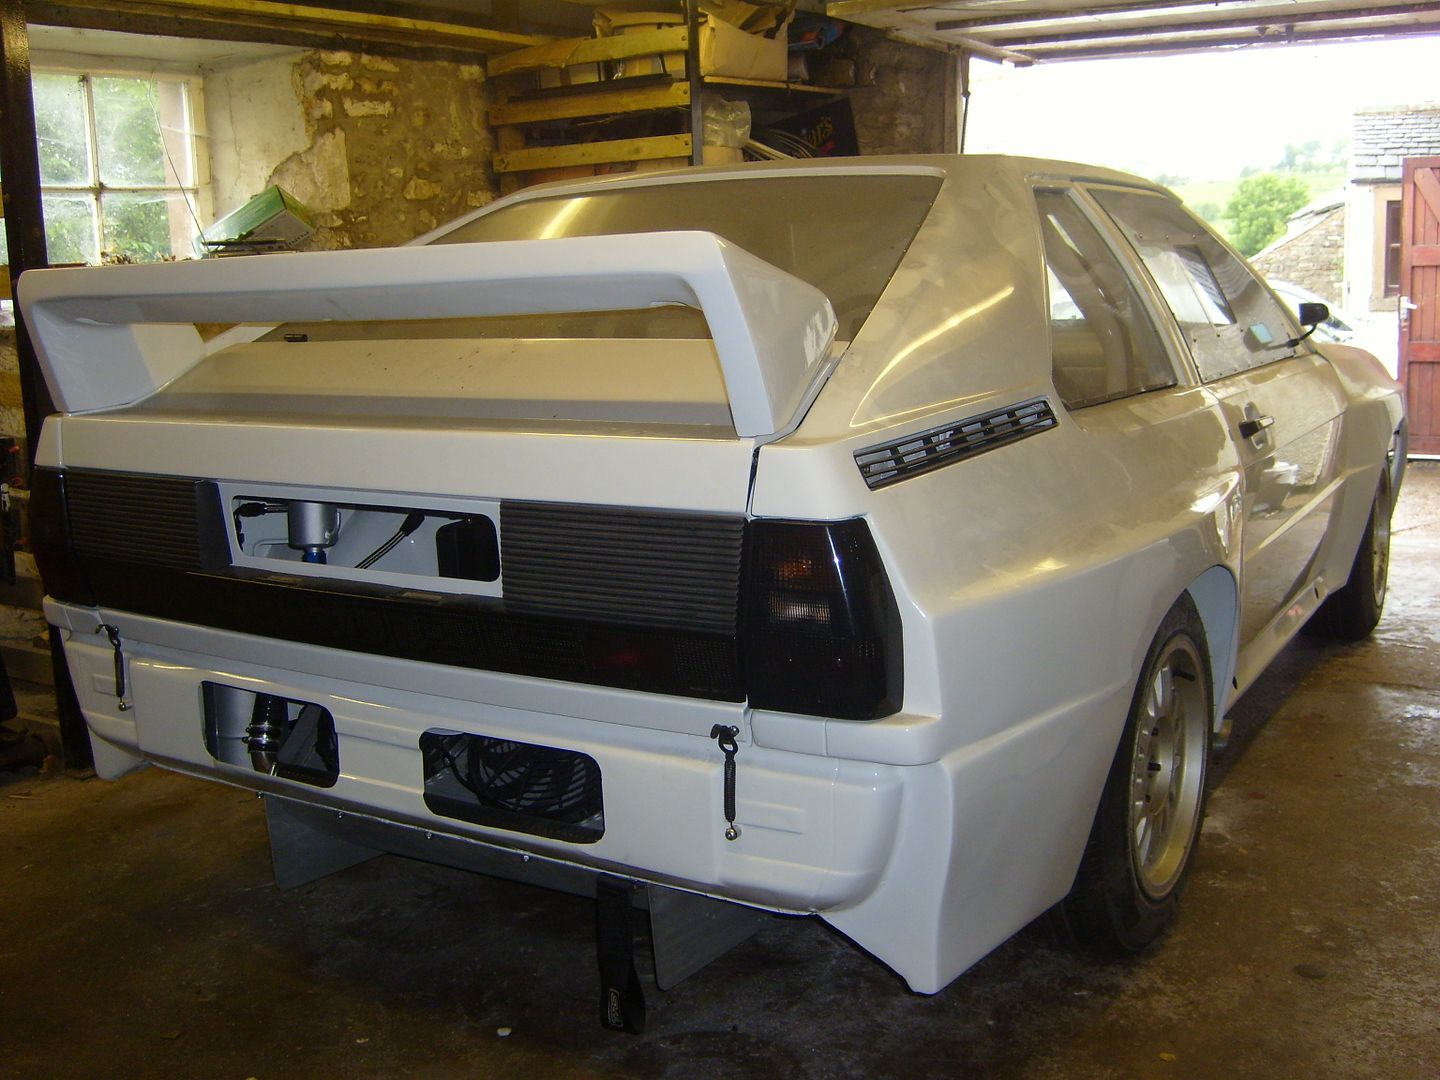
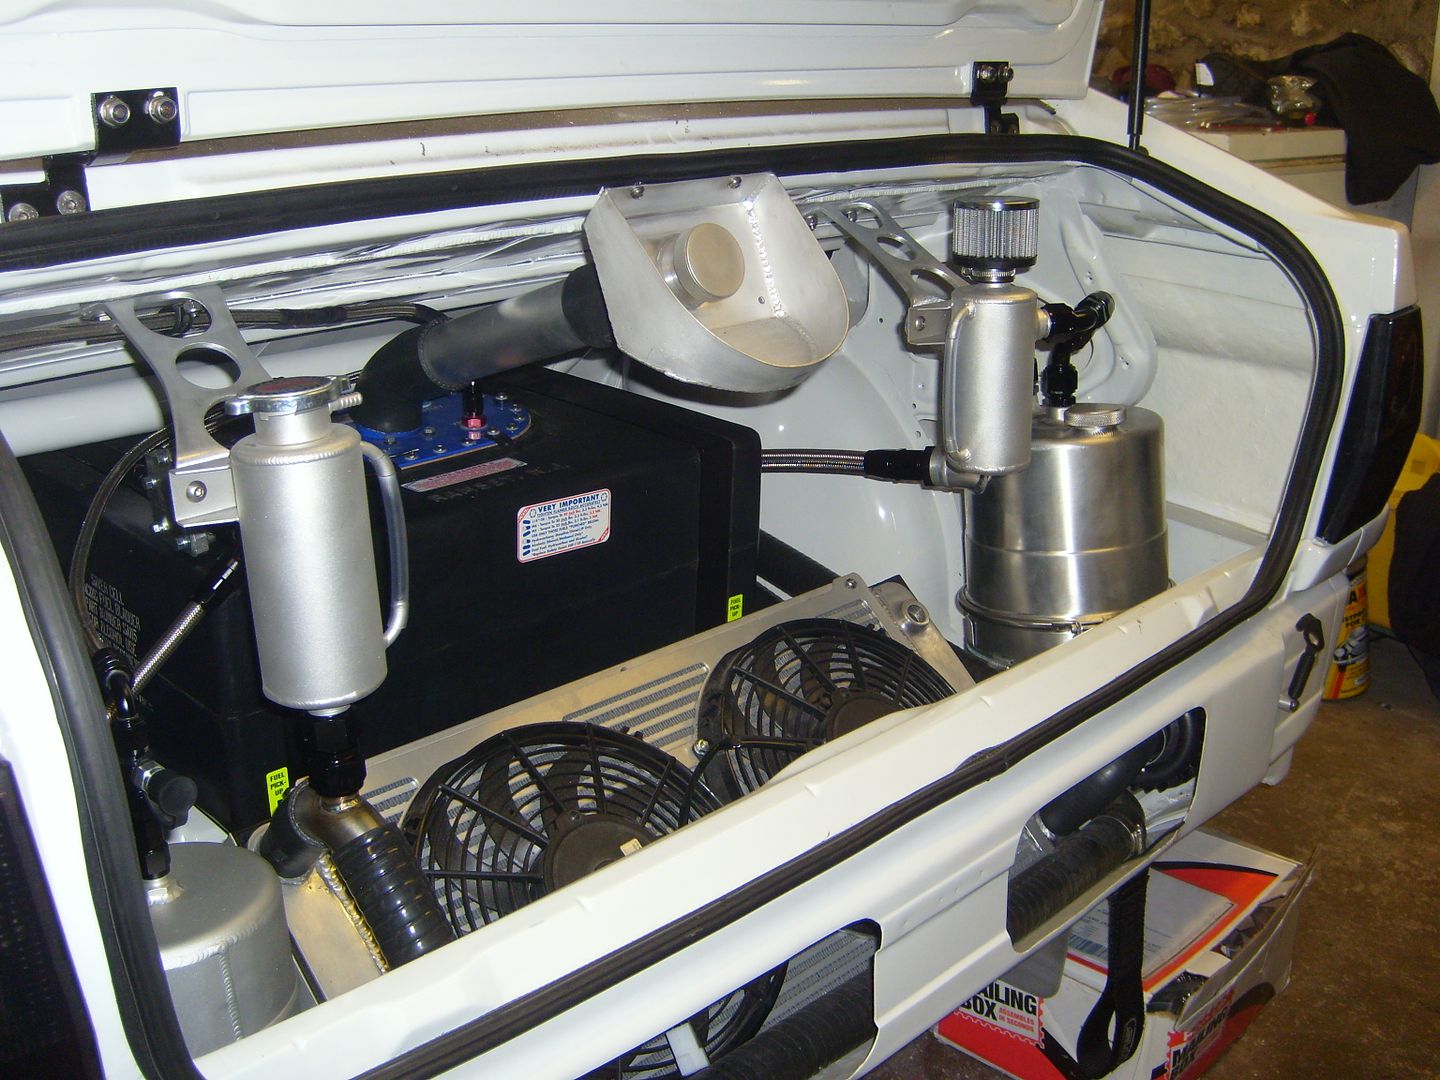
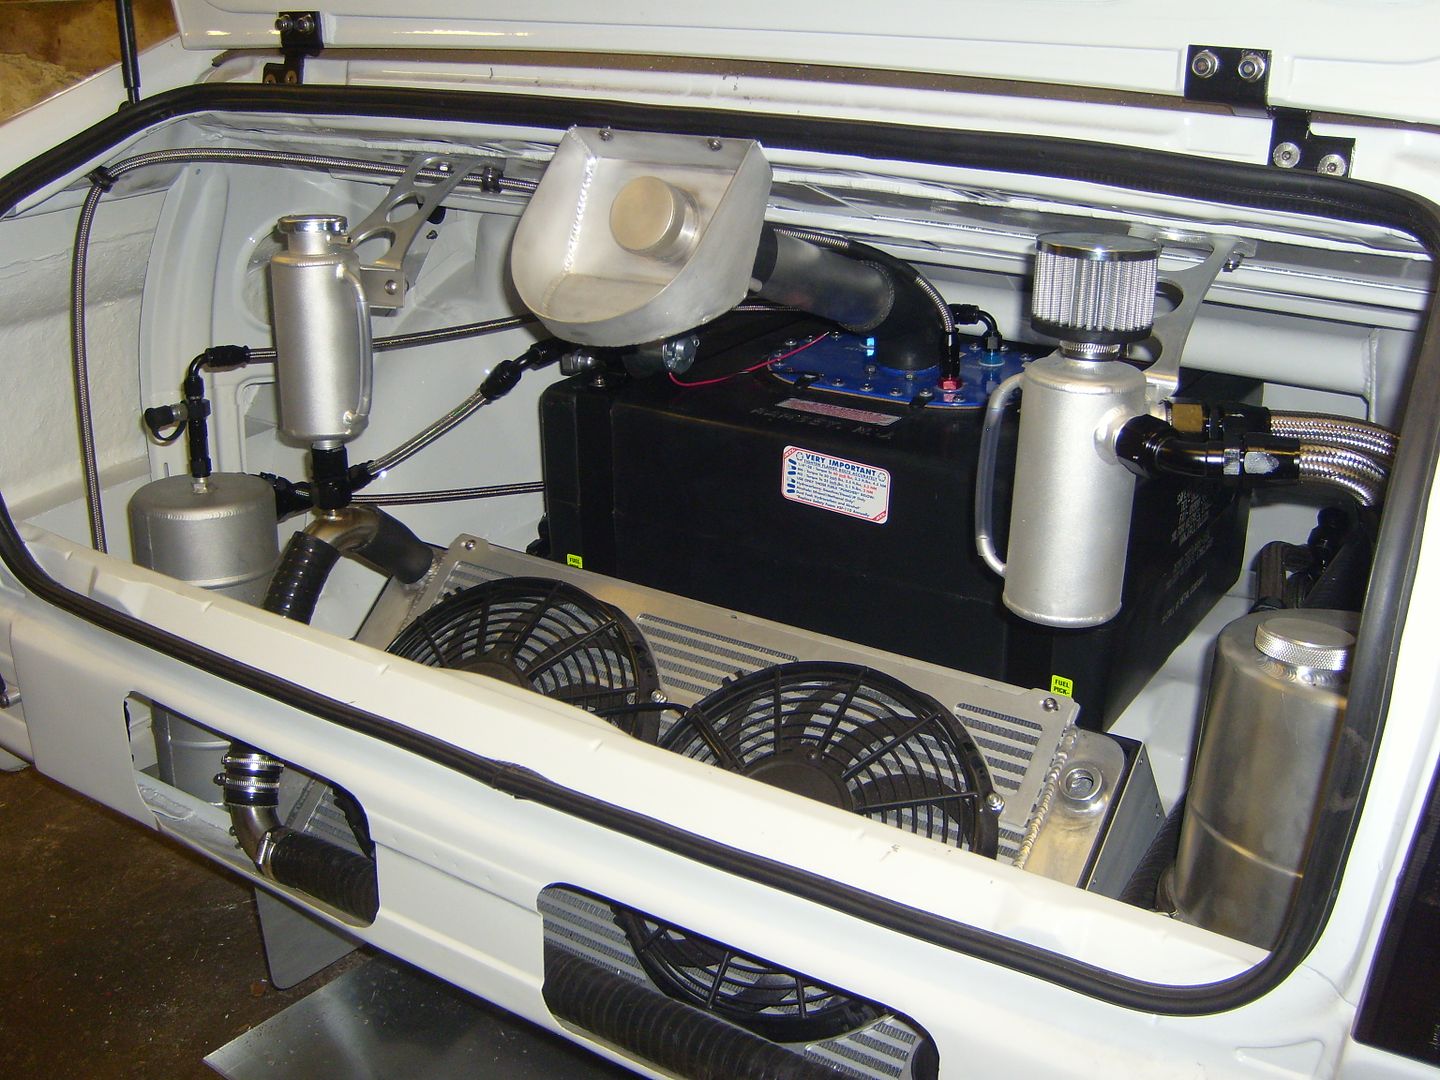
Hamish, got most of the last bits and bobs tied up in the boot.
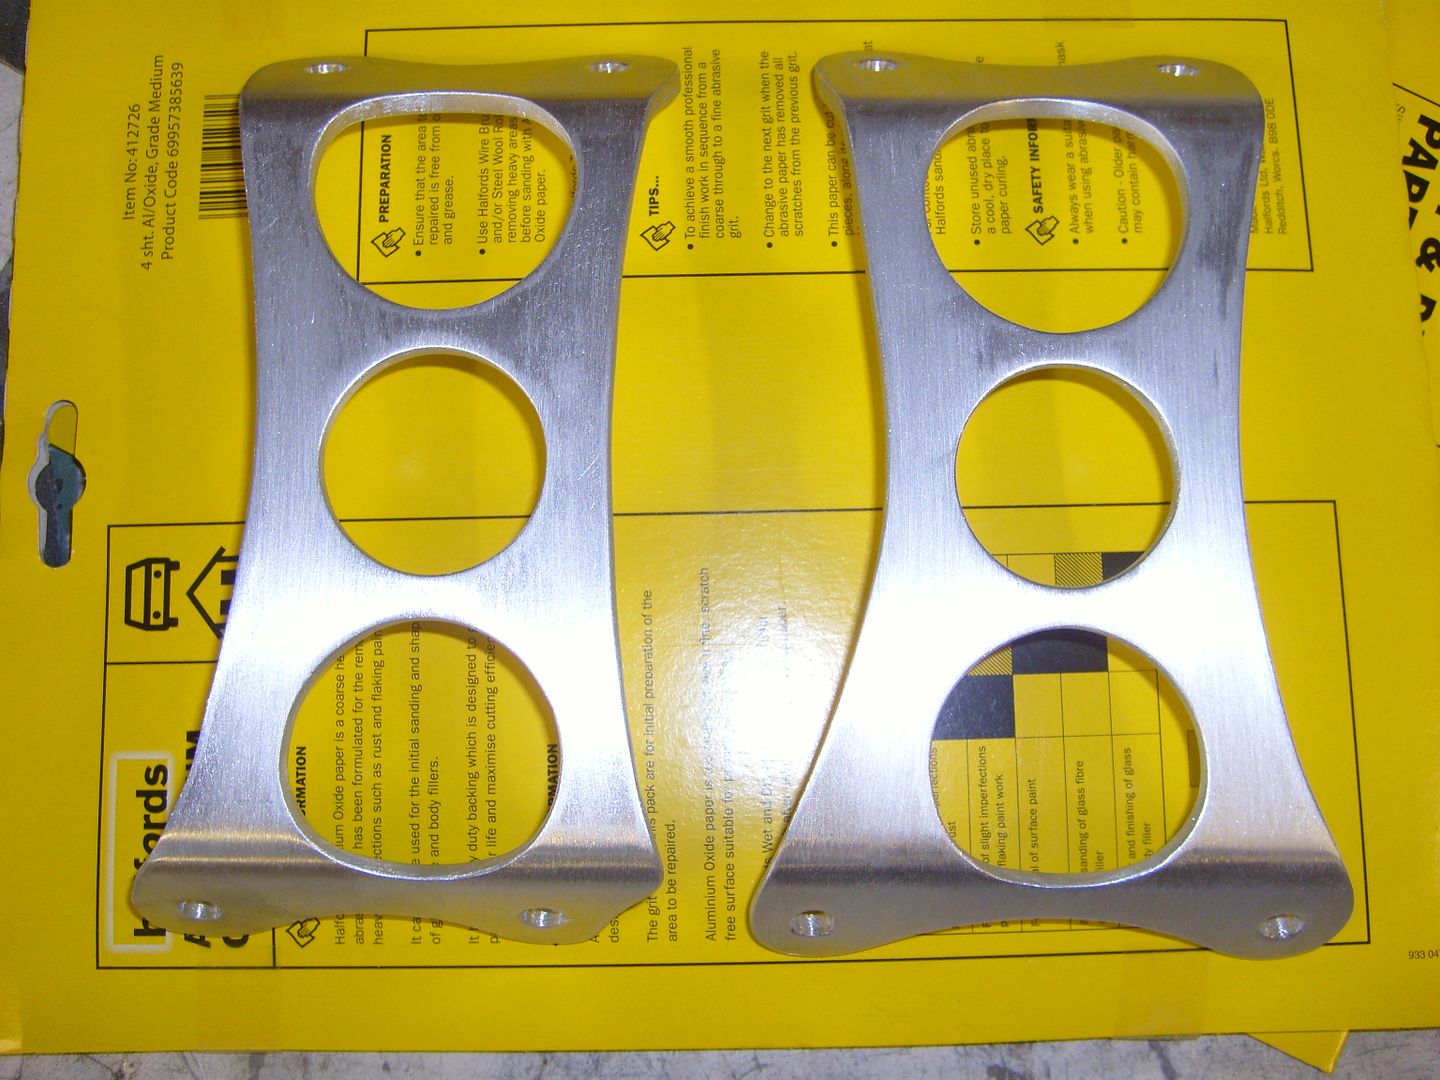
Started by making a couple of alloy brackets to hold the header and catch tanks:
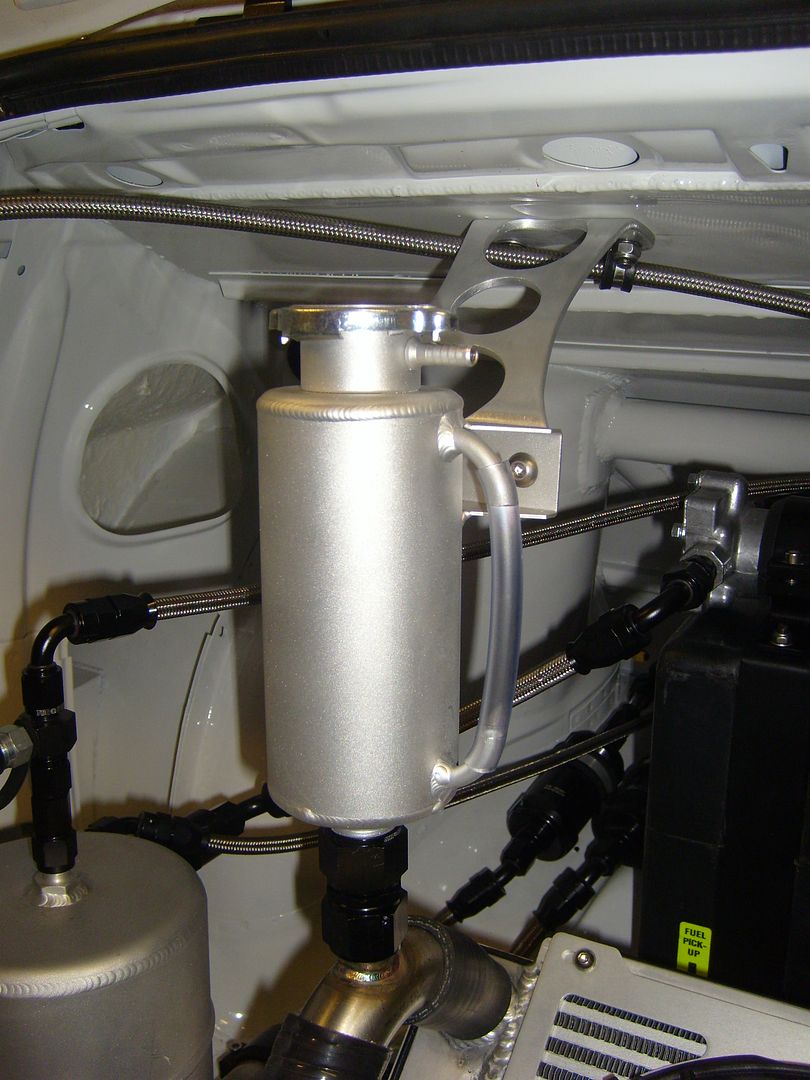
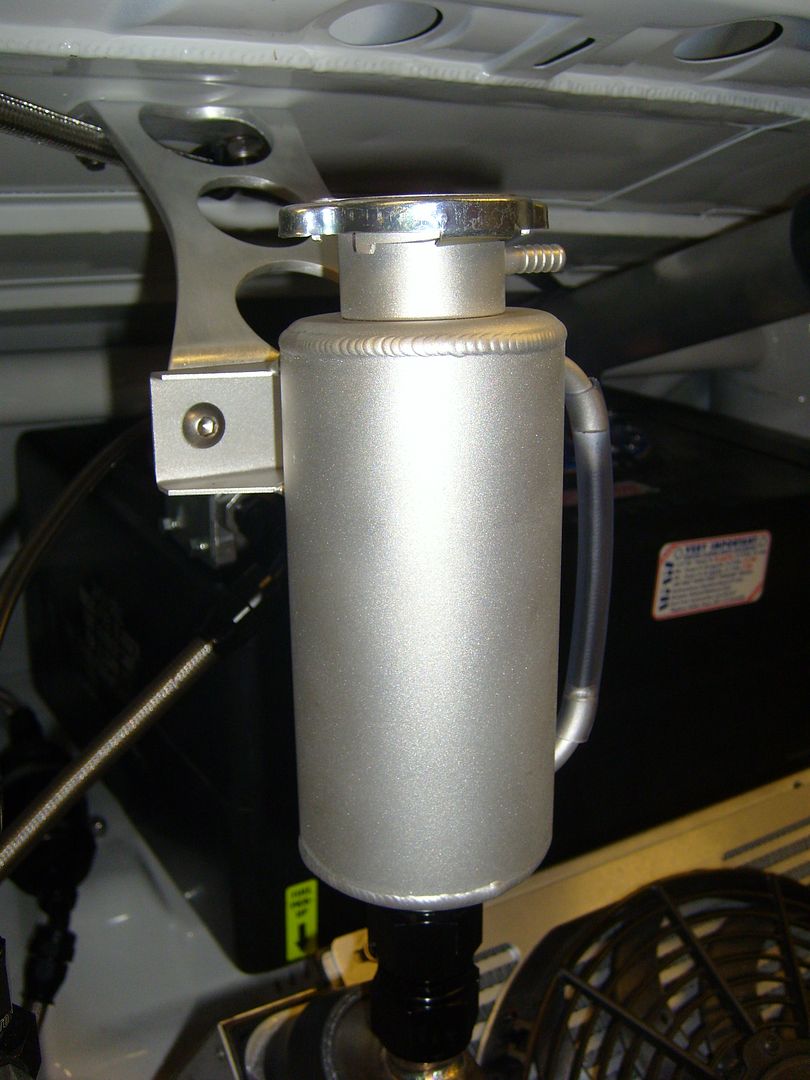
That meant the tanks could be bolted in and plumbed up:
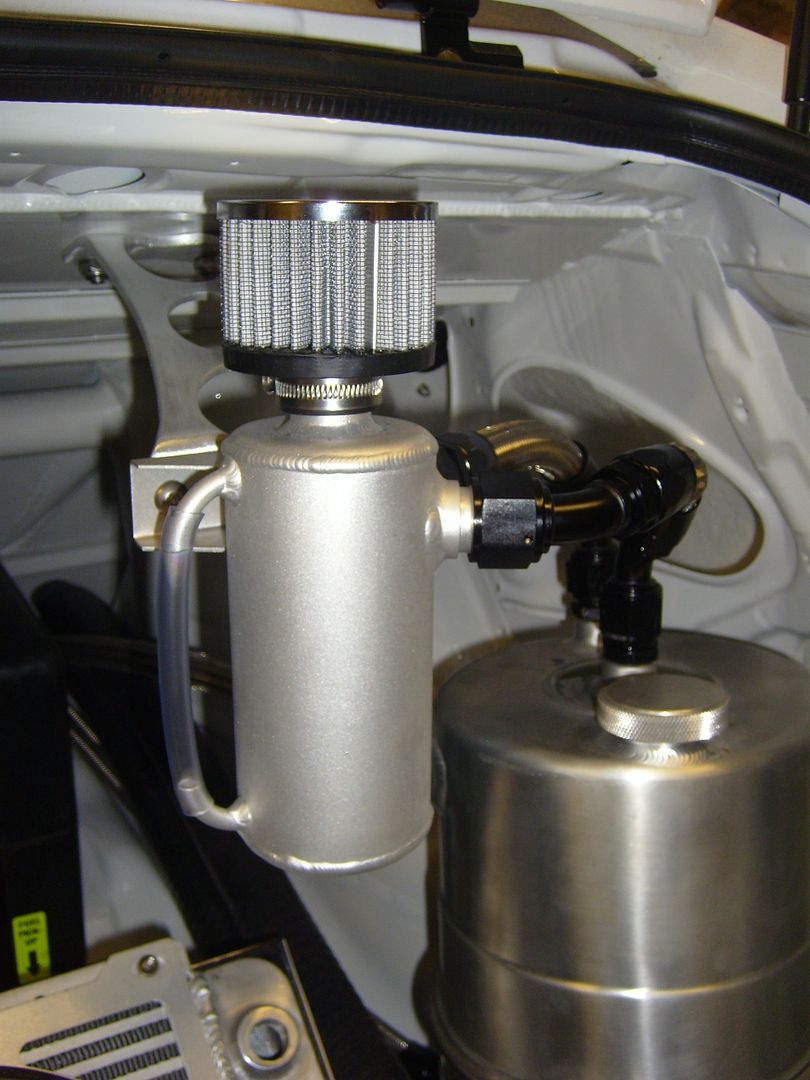

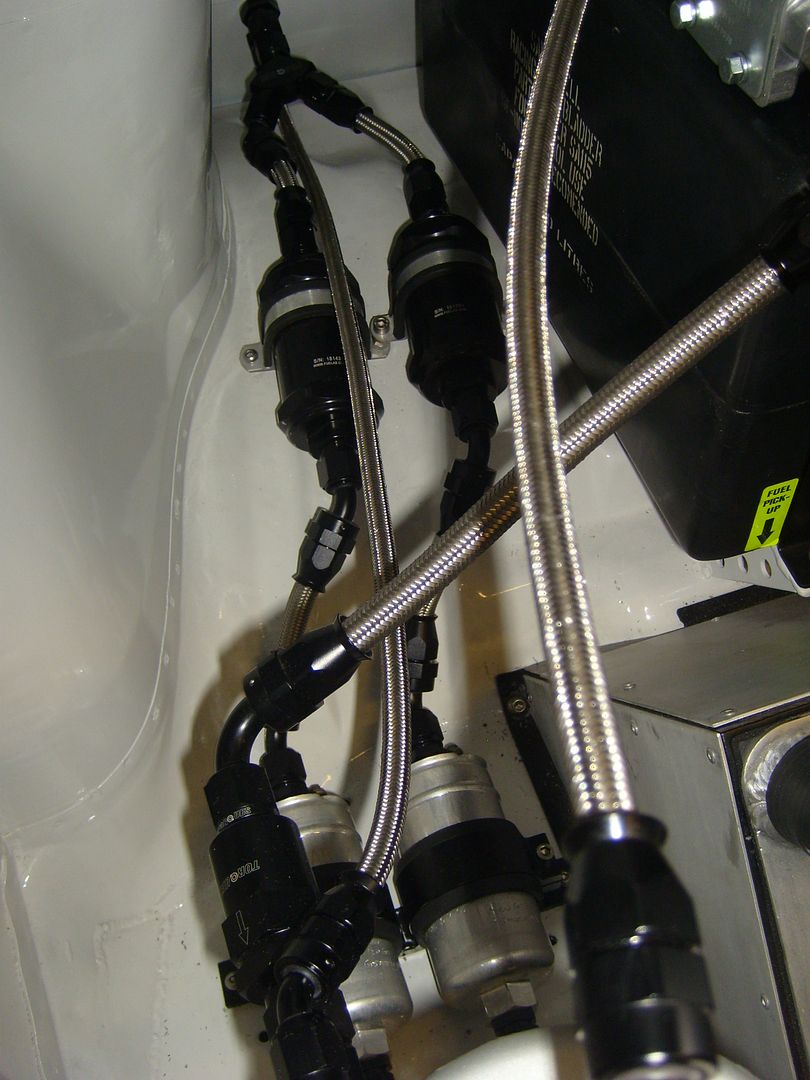
Fuel system all finished up:
Cut a hole in the boot floor for the oil tank:
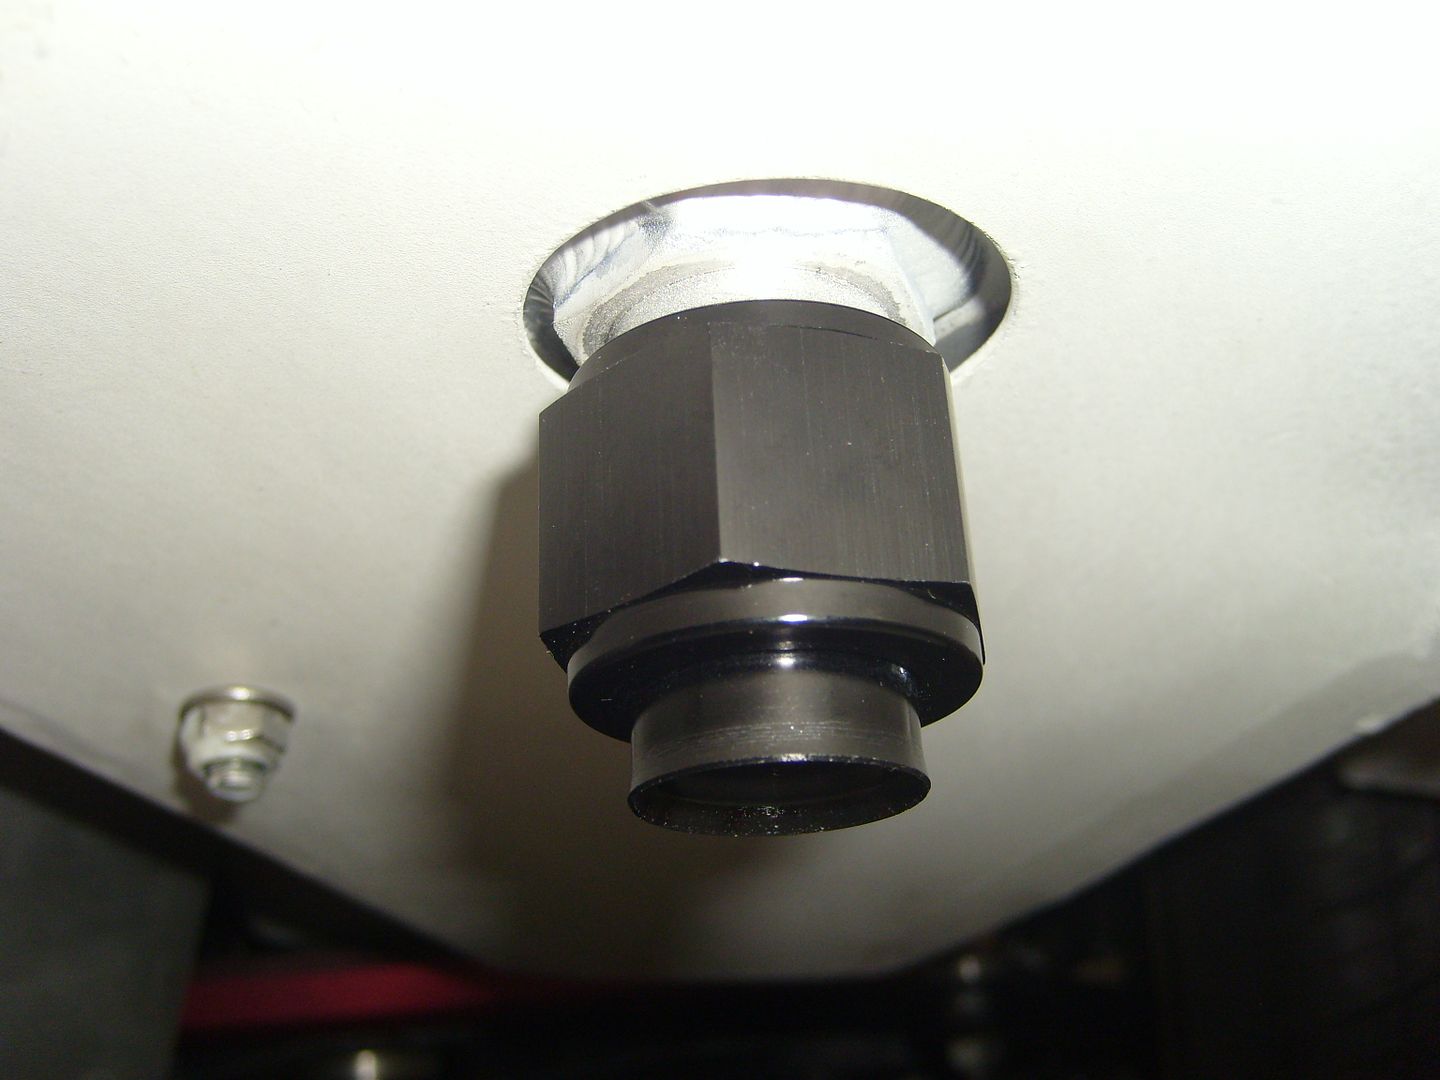
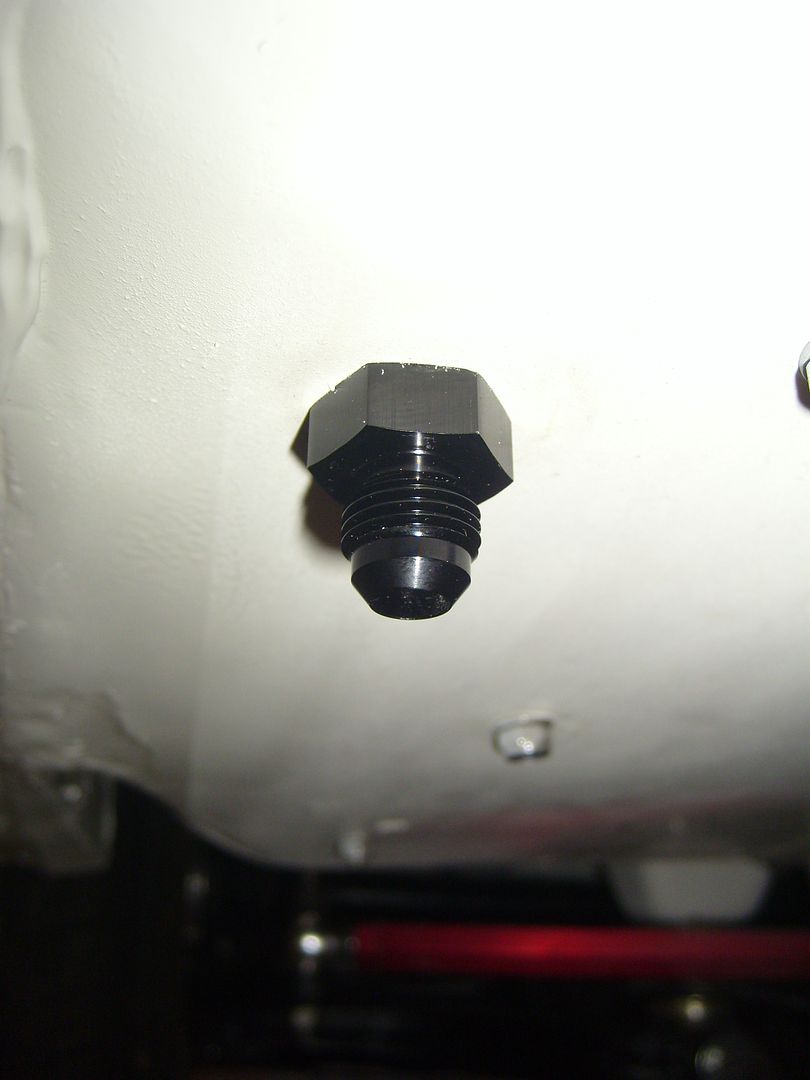
One on the otherside for the fuel tank vent:
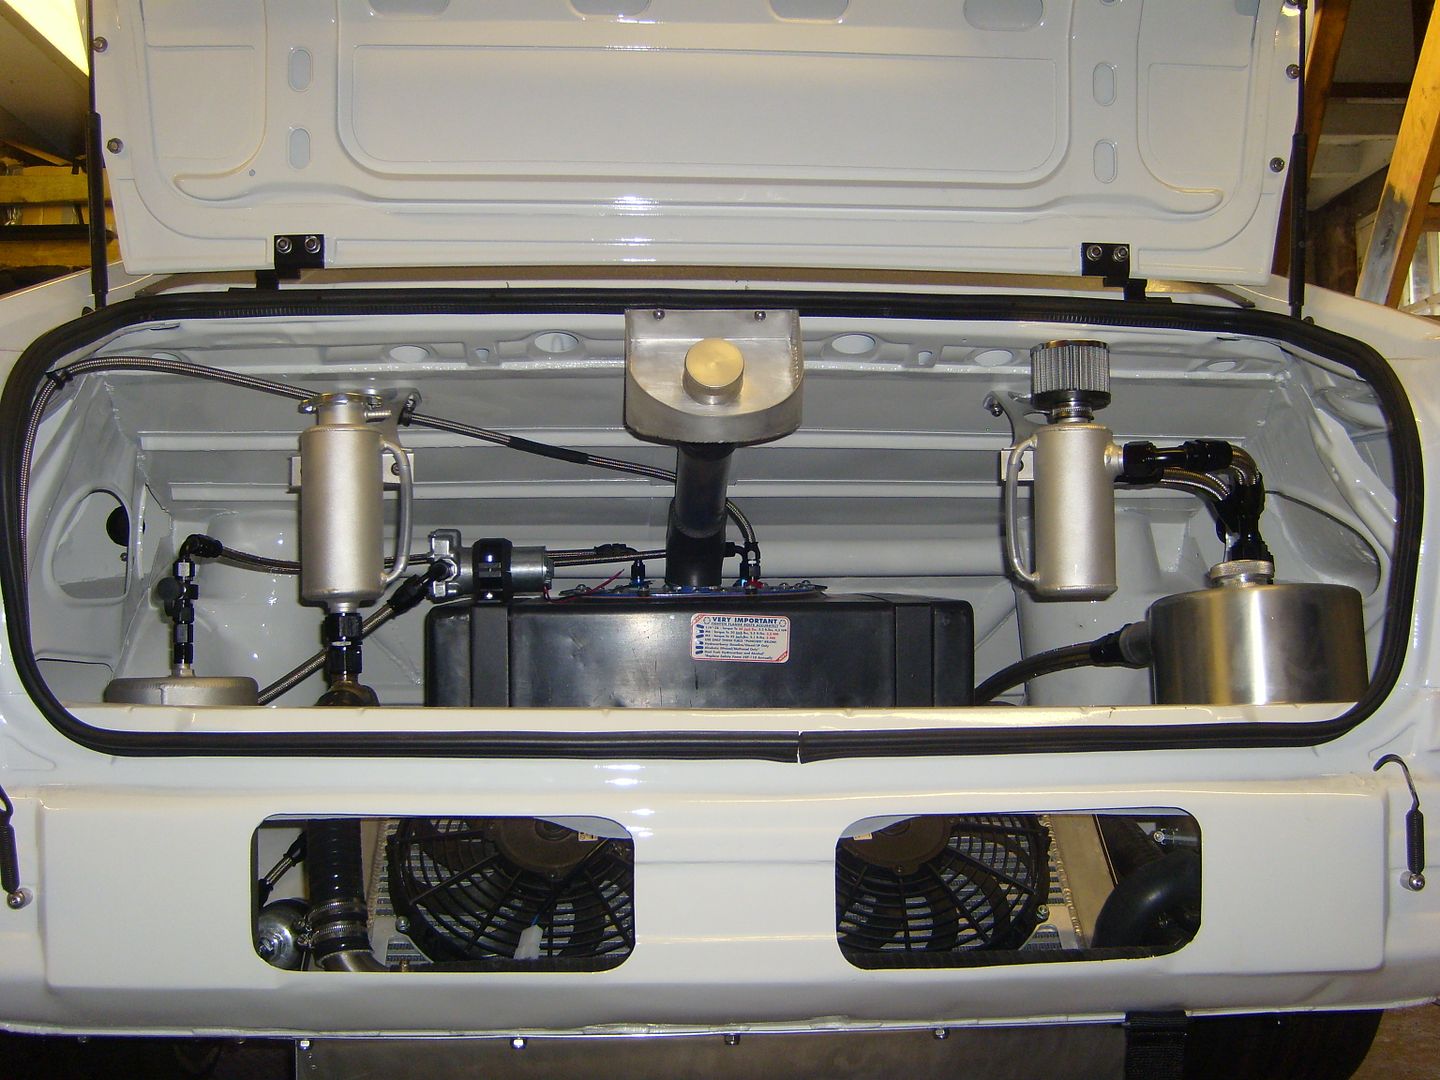
How it looks now. You can see the fuel tank vent running across under the firewall:
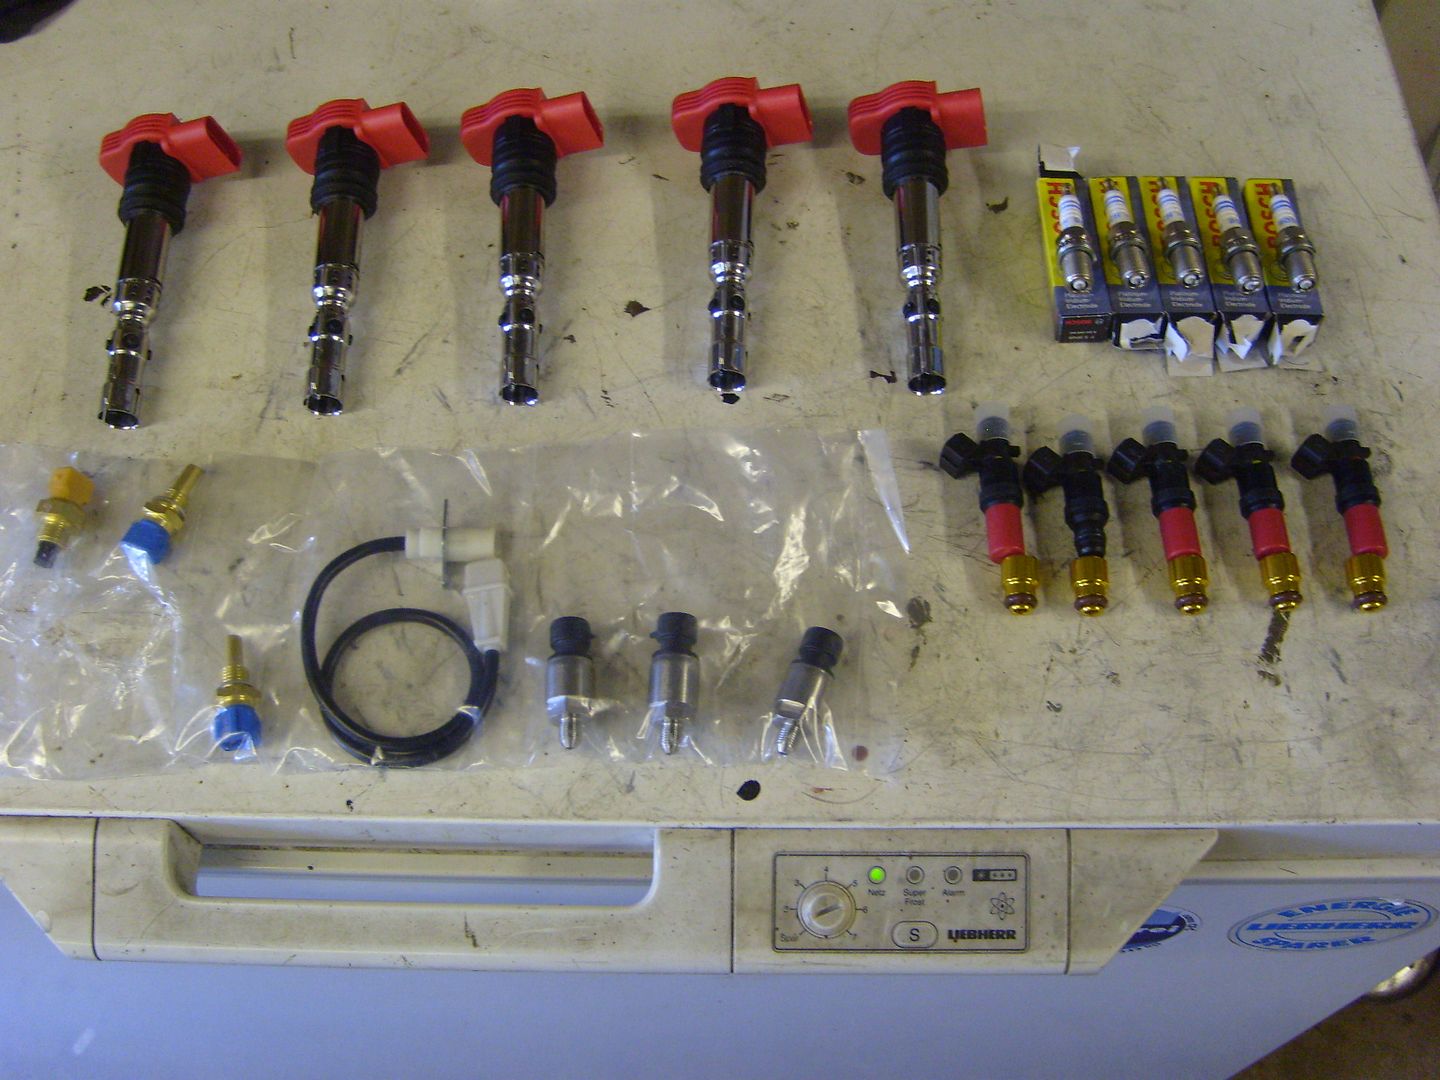
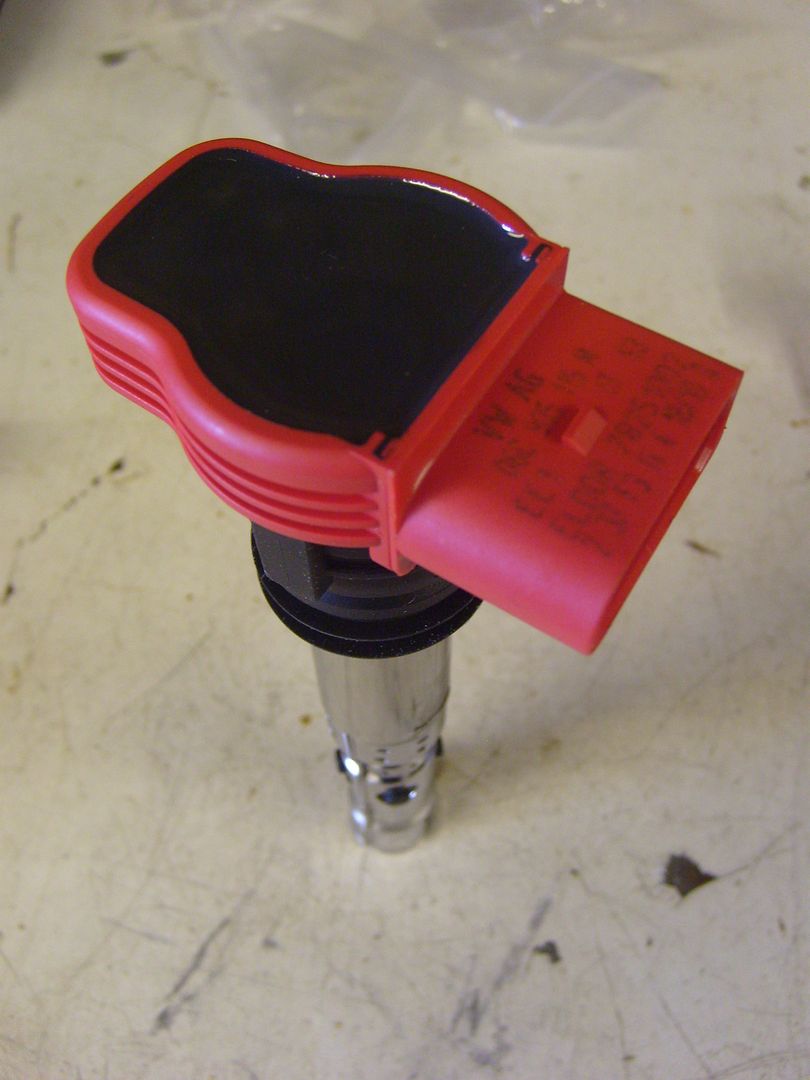
He also had a few more parts turn up; Bosch 1100cc injectors, RS4 coils, Bosch spark plugs, and a load of sensors:
So he's now back to working on the engine untill its up and running. Hopefully it shouldn't be too long now!
April '06' Corsasport Feature Car | Aug '08' Total Vauxhall Feature Car | Spring '09' Fast Car Feature Car
|
Tom
Member
Registered: 3rd Apr 02
Location: Wirral, Merseyside
User status: Offline
|
Thanks for the update, got to be starting soon this!!
|
Matt L
Member
Registered: 17th Apr 06
User status: Offline
|
missed this last up date, looks like its all strarting to come together now 
|
Daniel_Corsa
Premium Member
Registered: 21st Apr 04
Location: Wigton, Cumbria
User status: Offline
|
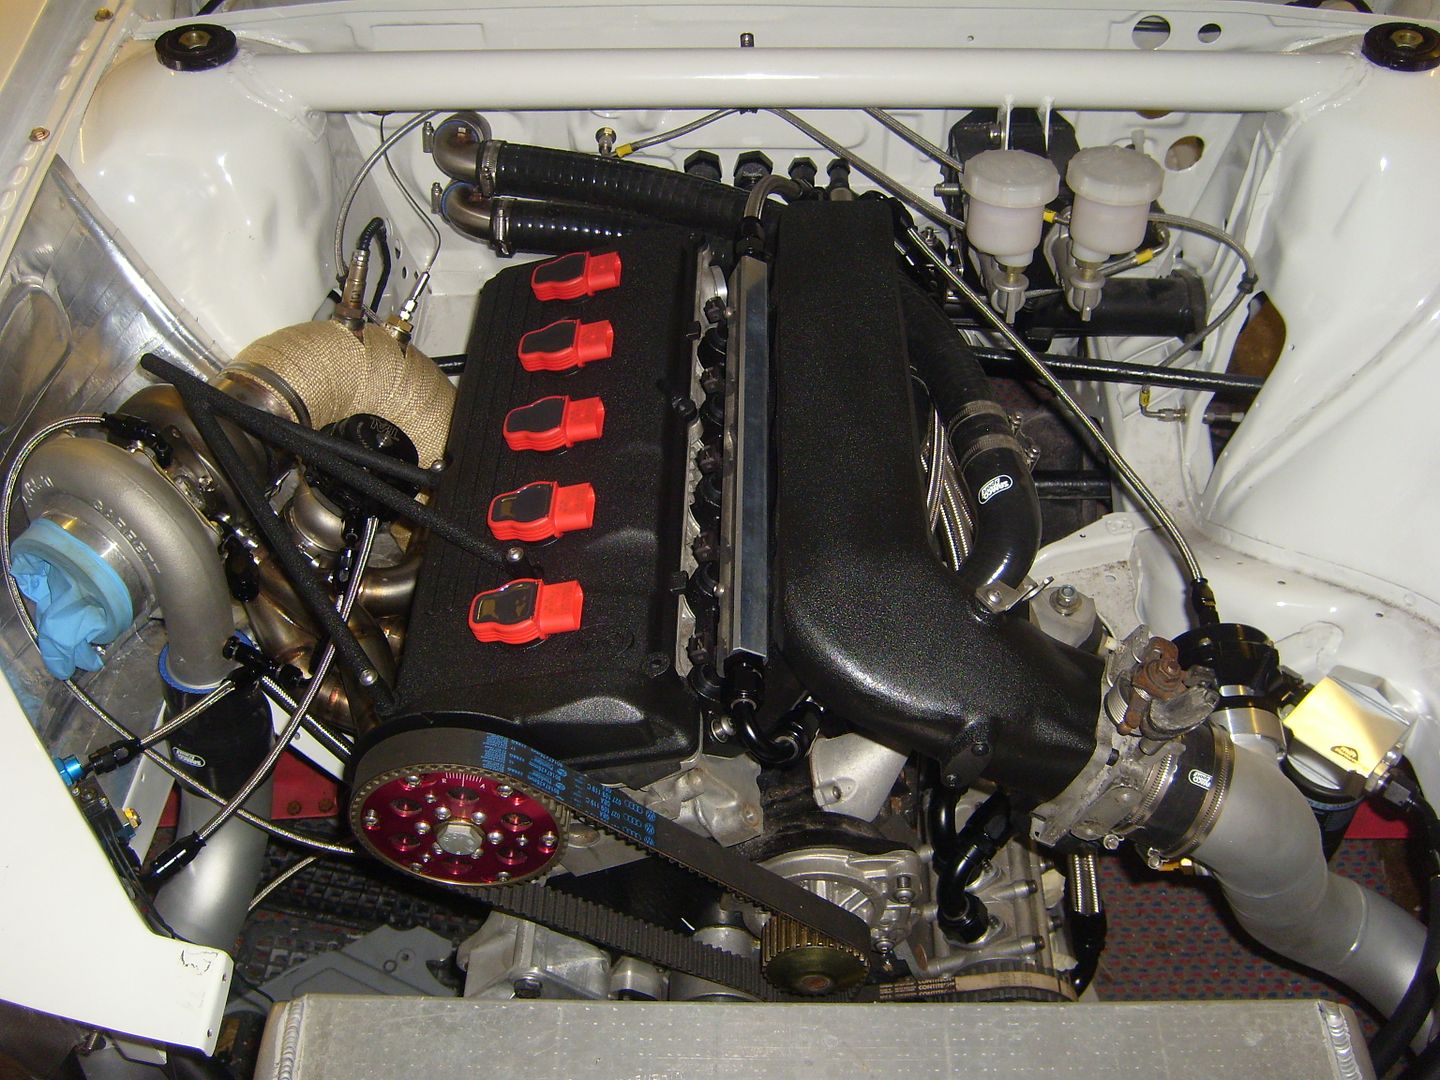
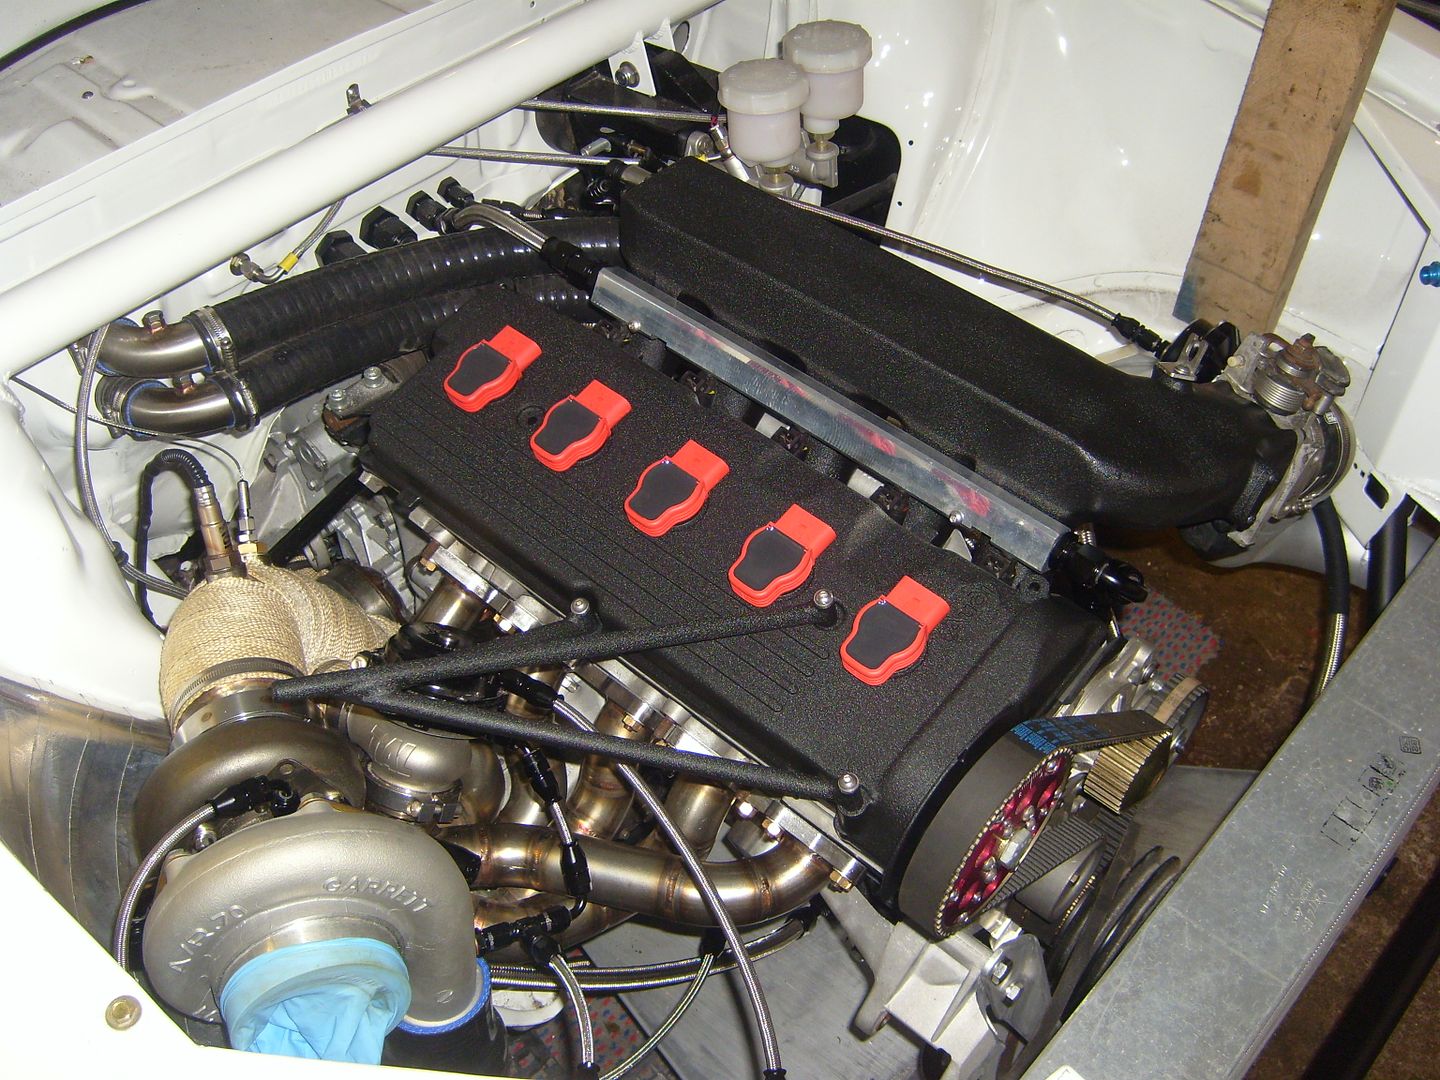
Hamish has been on with the engine getting it ready to fire up. As with the rest of the car nothing is standard and just bolts up!
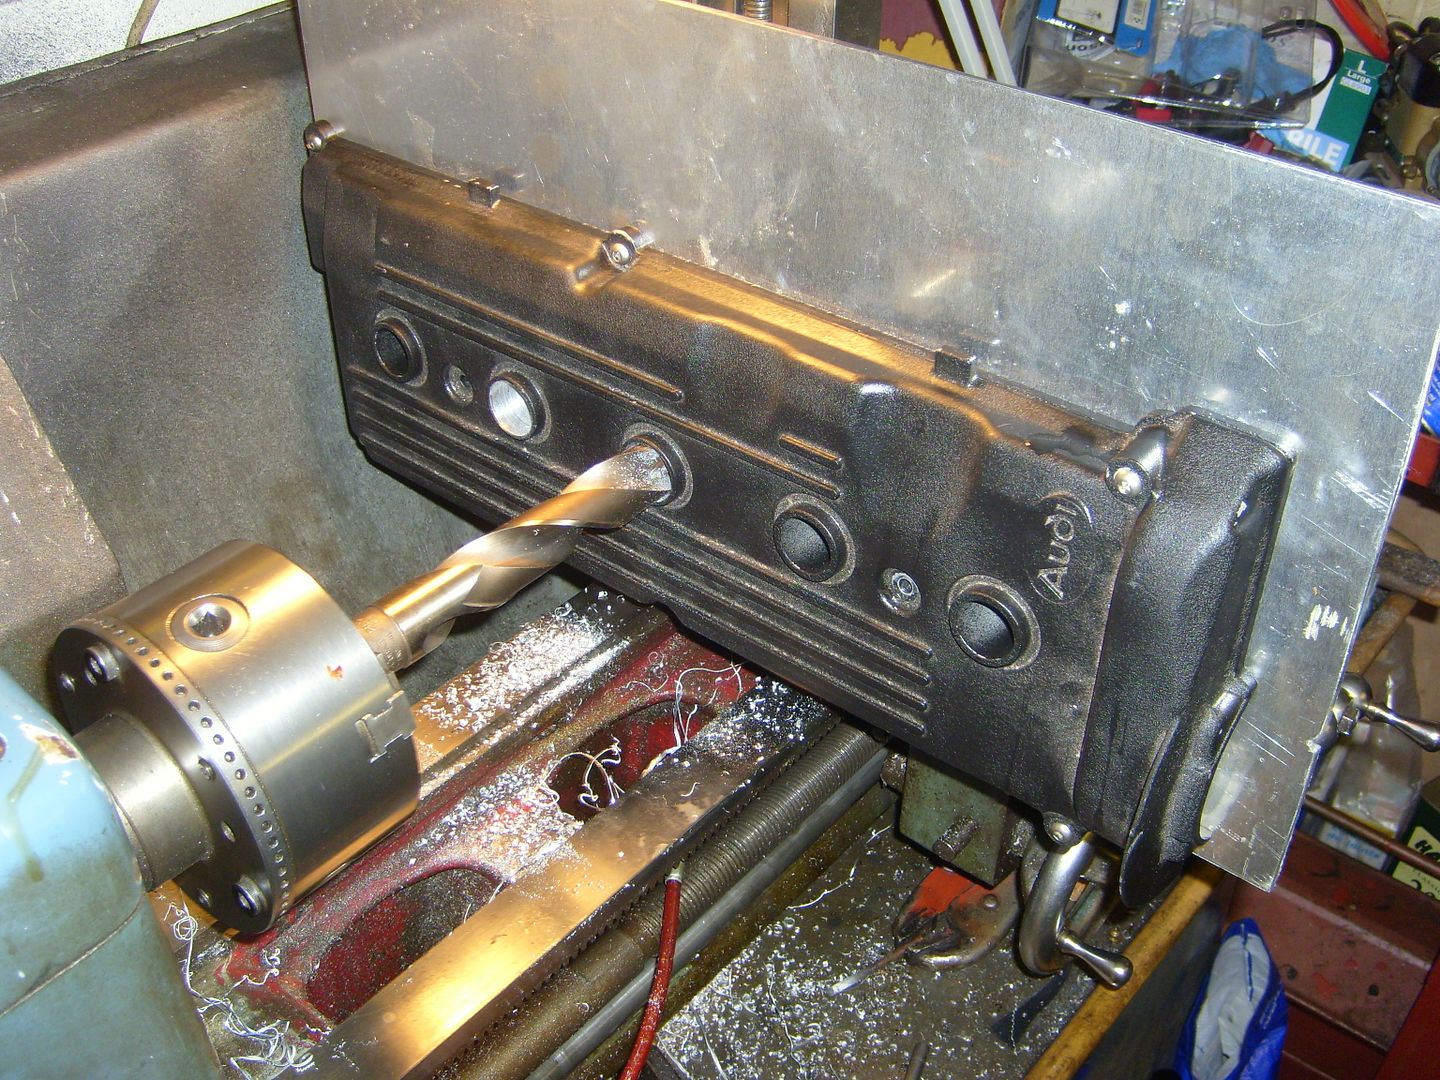
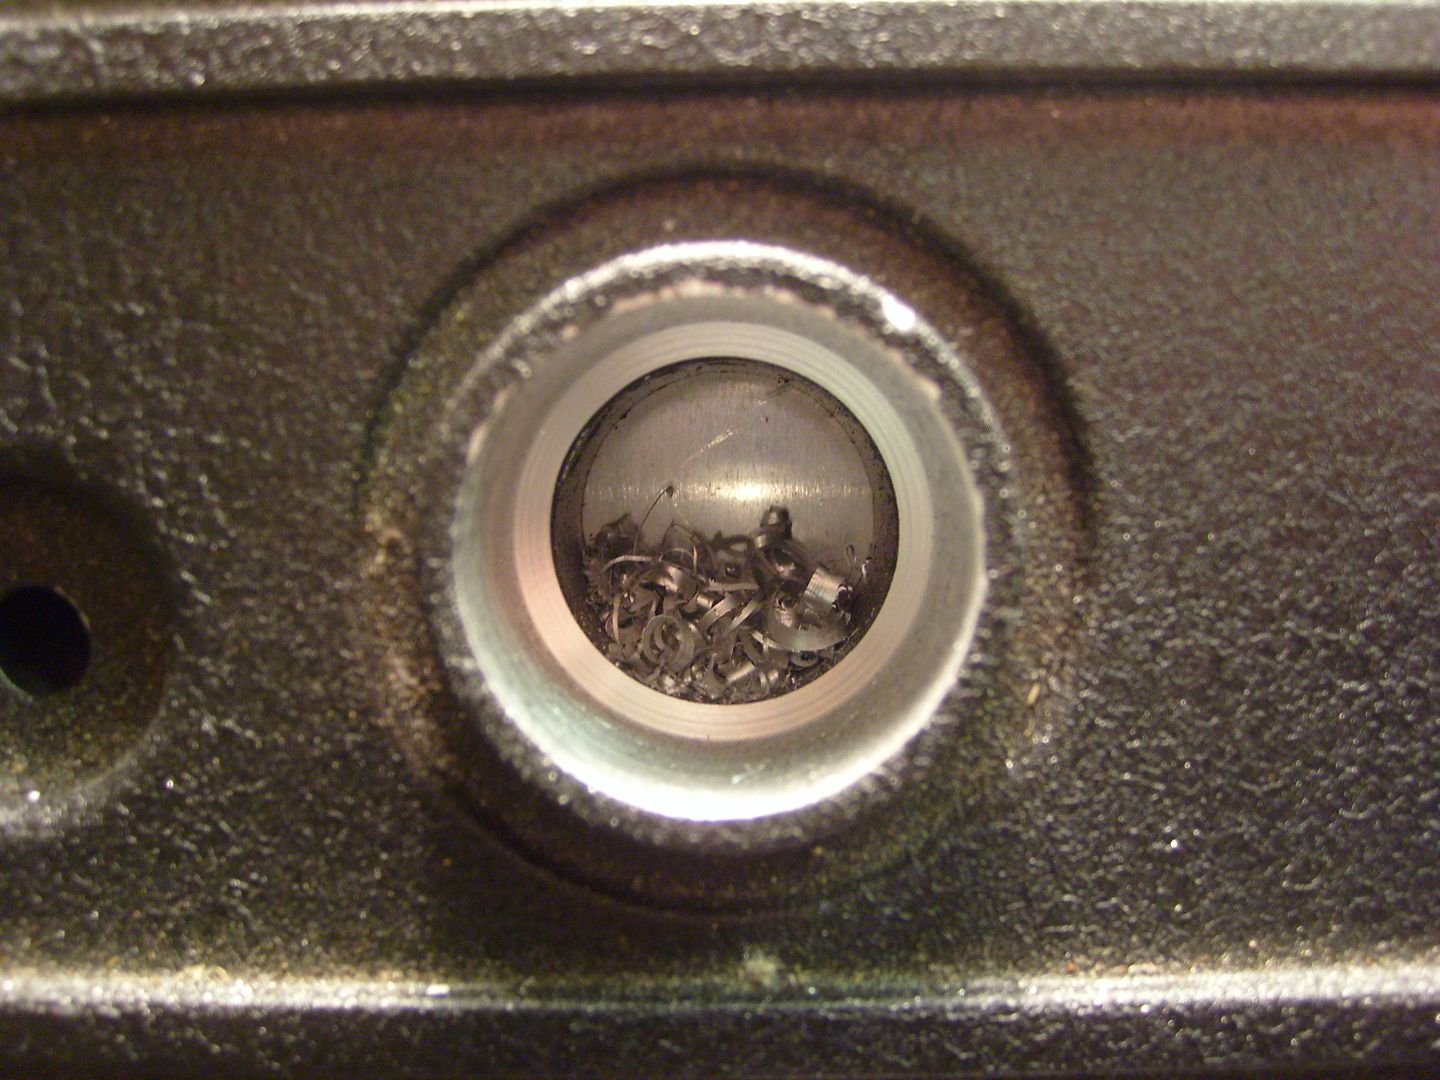
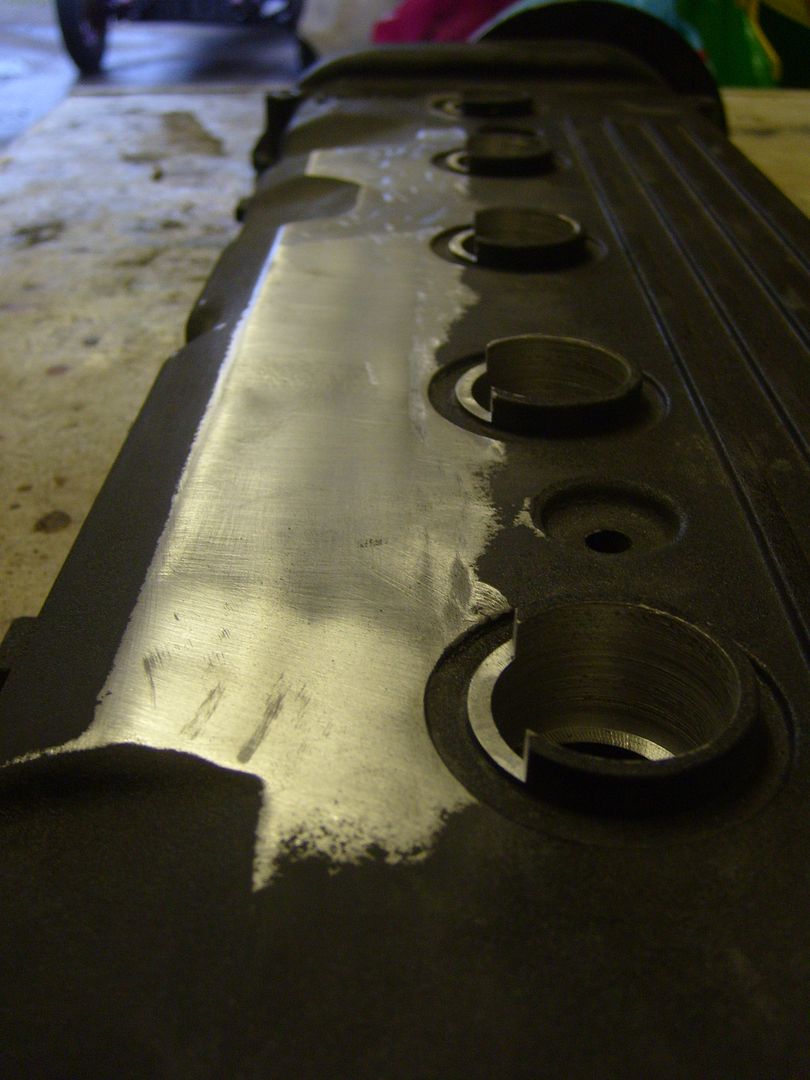
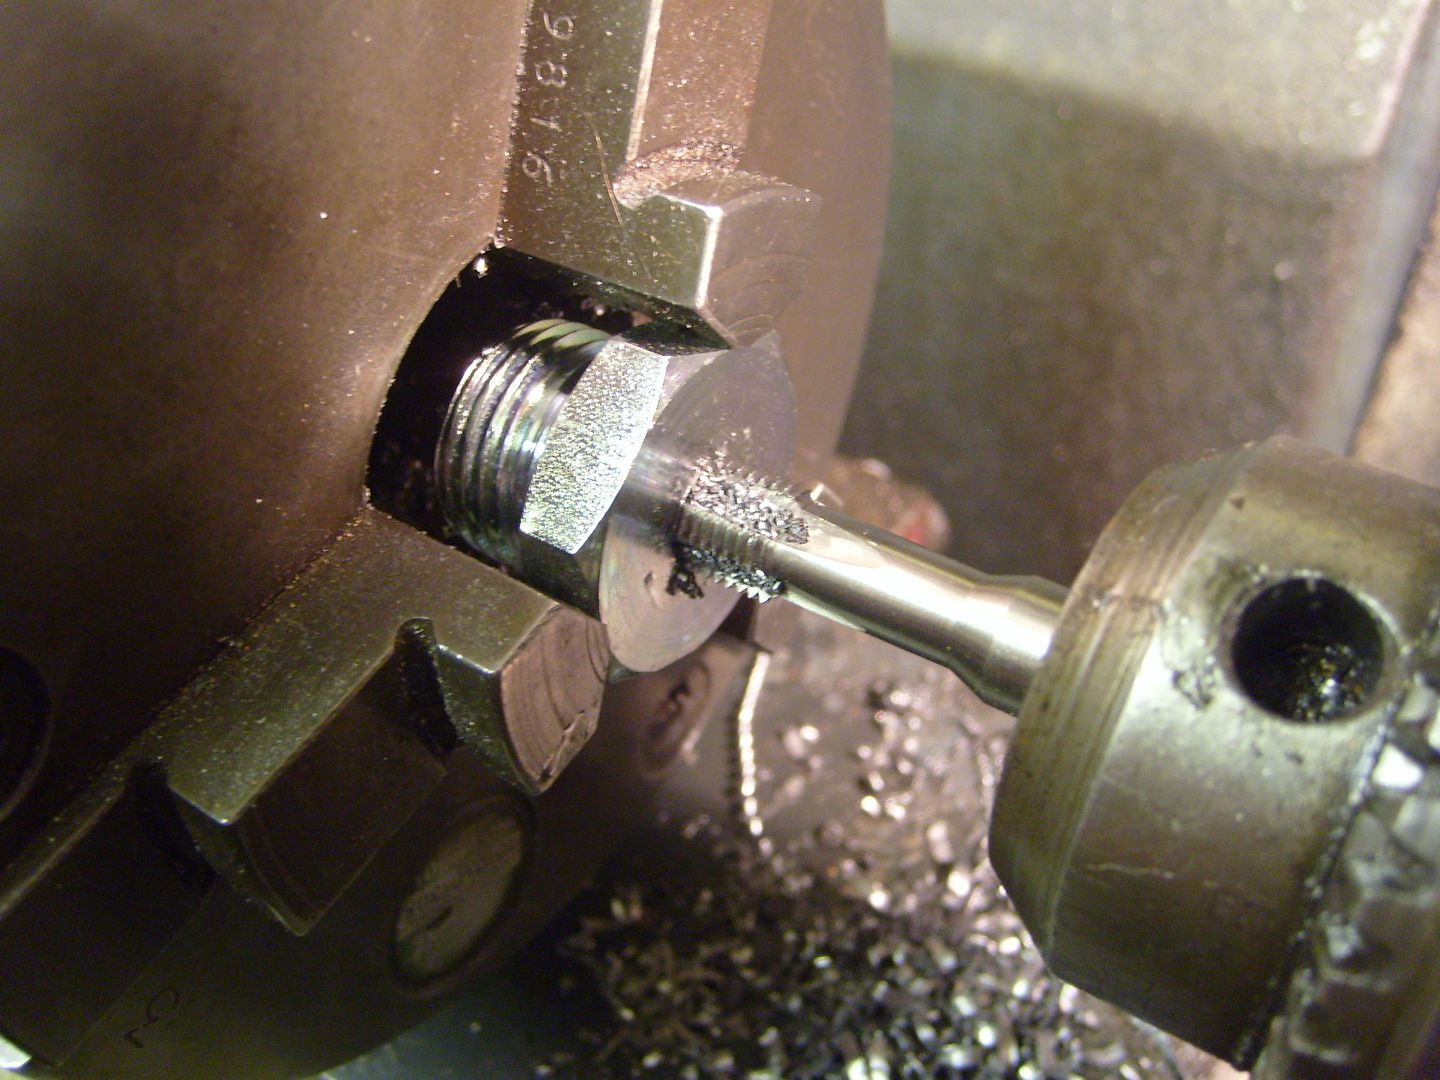
Started with the cam cover and getting the RS4 coils to fit. The coils needed to sit a lot further down to get onto the plugs, firstly the holes needed to be enlarged to 28mm. He borrowed a drill bit off a mate unfortunatly it was a morse taper, which took a good while to true up in the chuck. Then mounted the cam cover onto a piece of alloy left over from the sump guard.
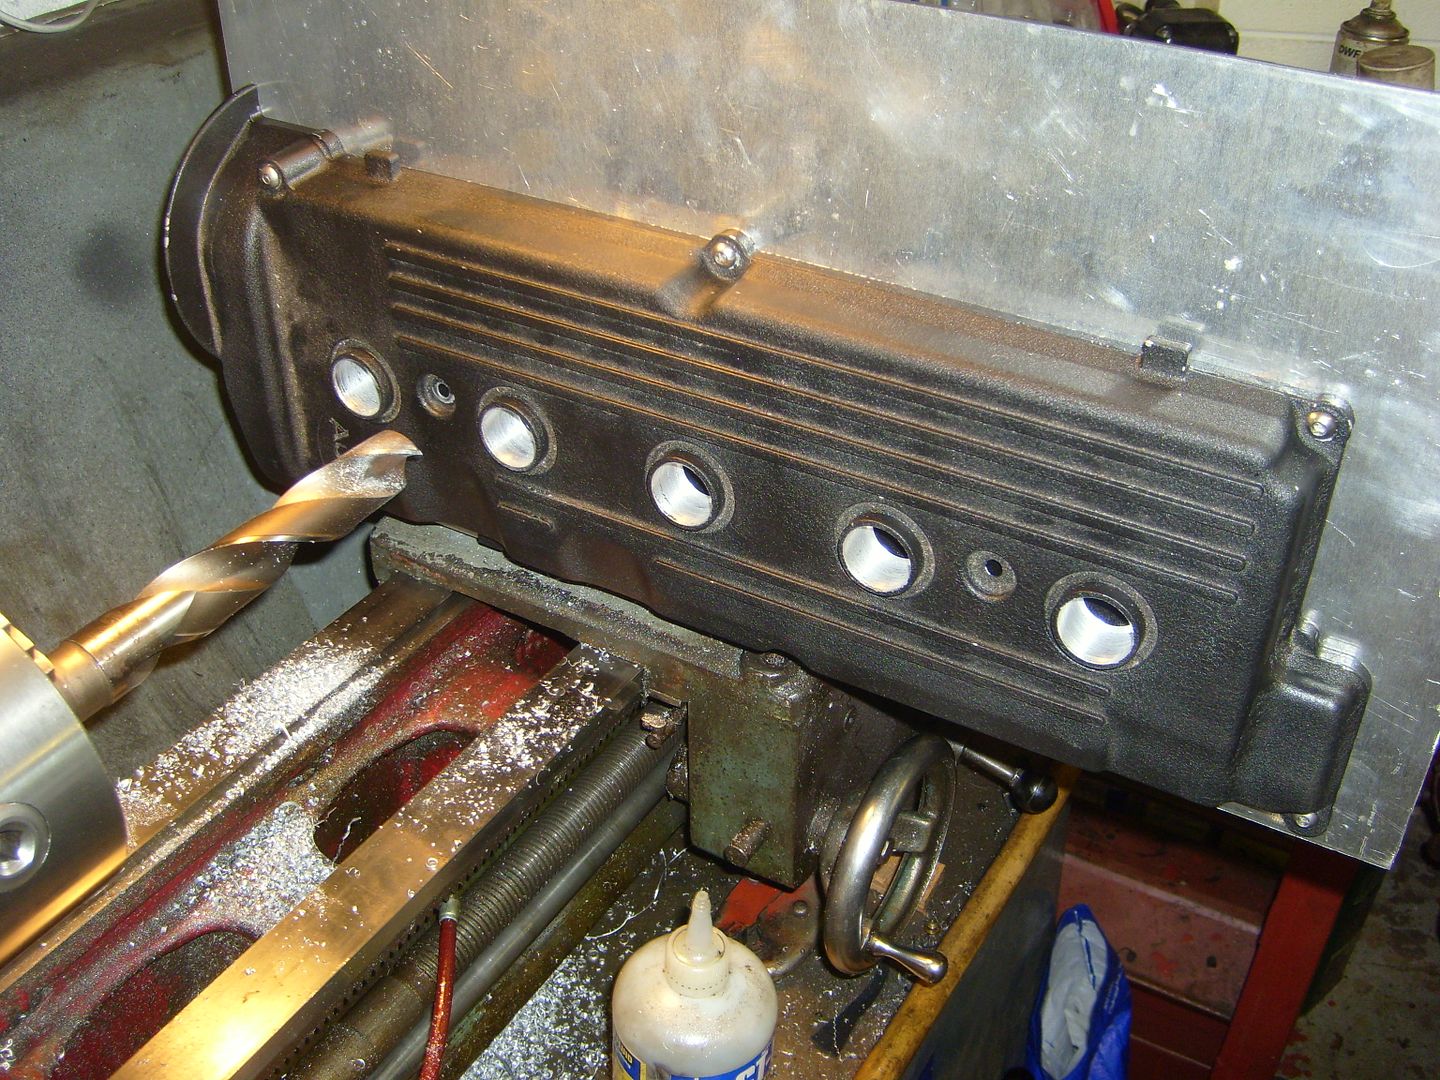
Then changed over onto a milling bit to relieve the side to get them sitting even lower.
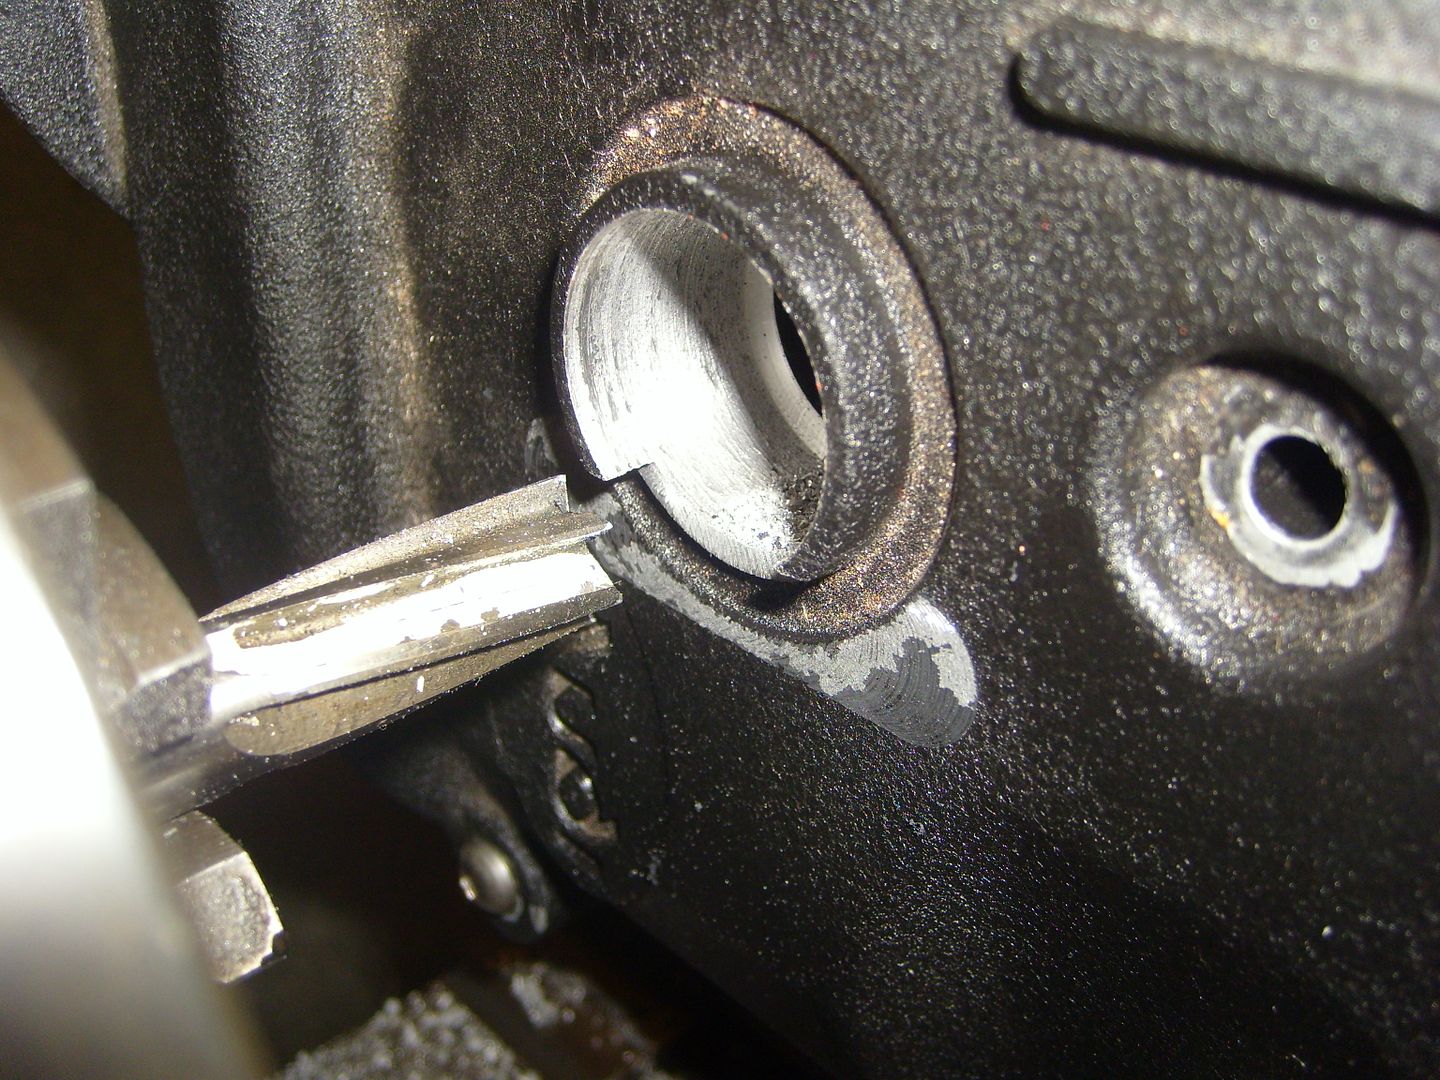
and milled off the ridges to clear the plugs for the coils
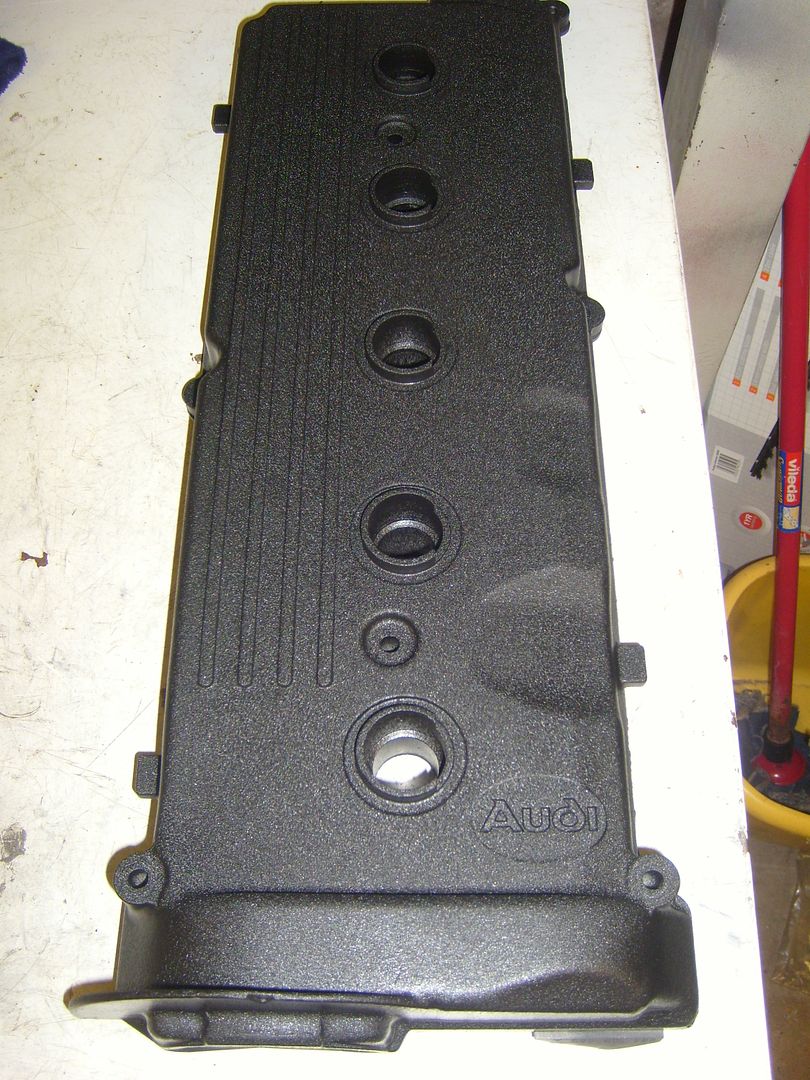
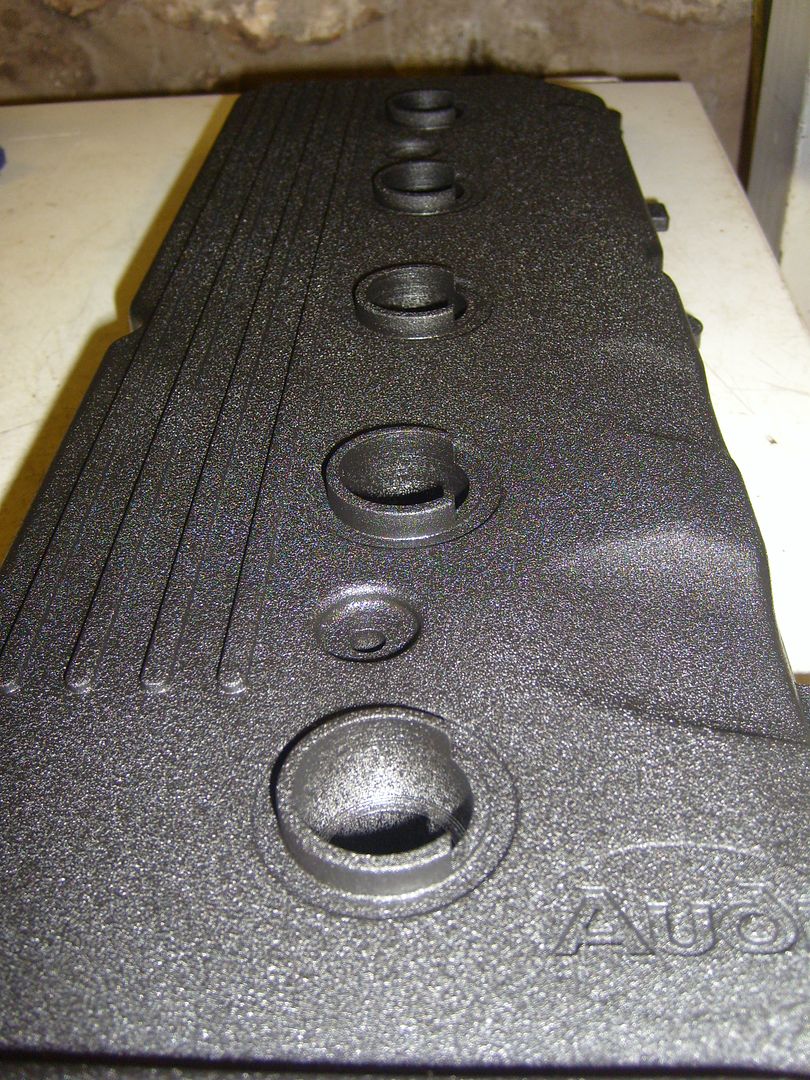
After a lick of paint
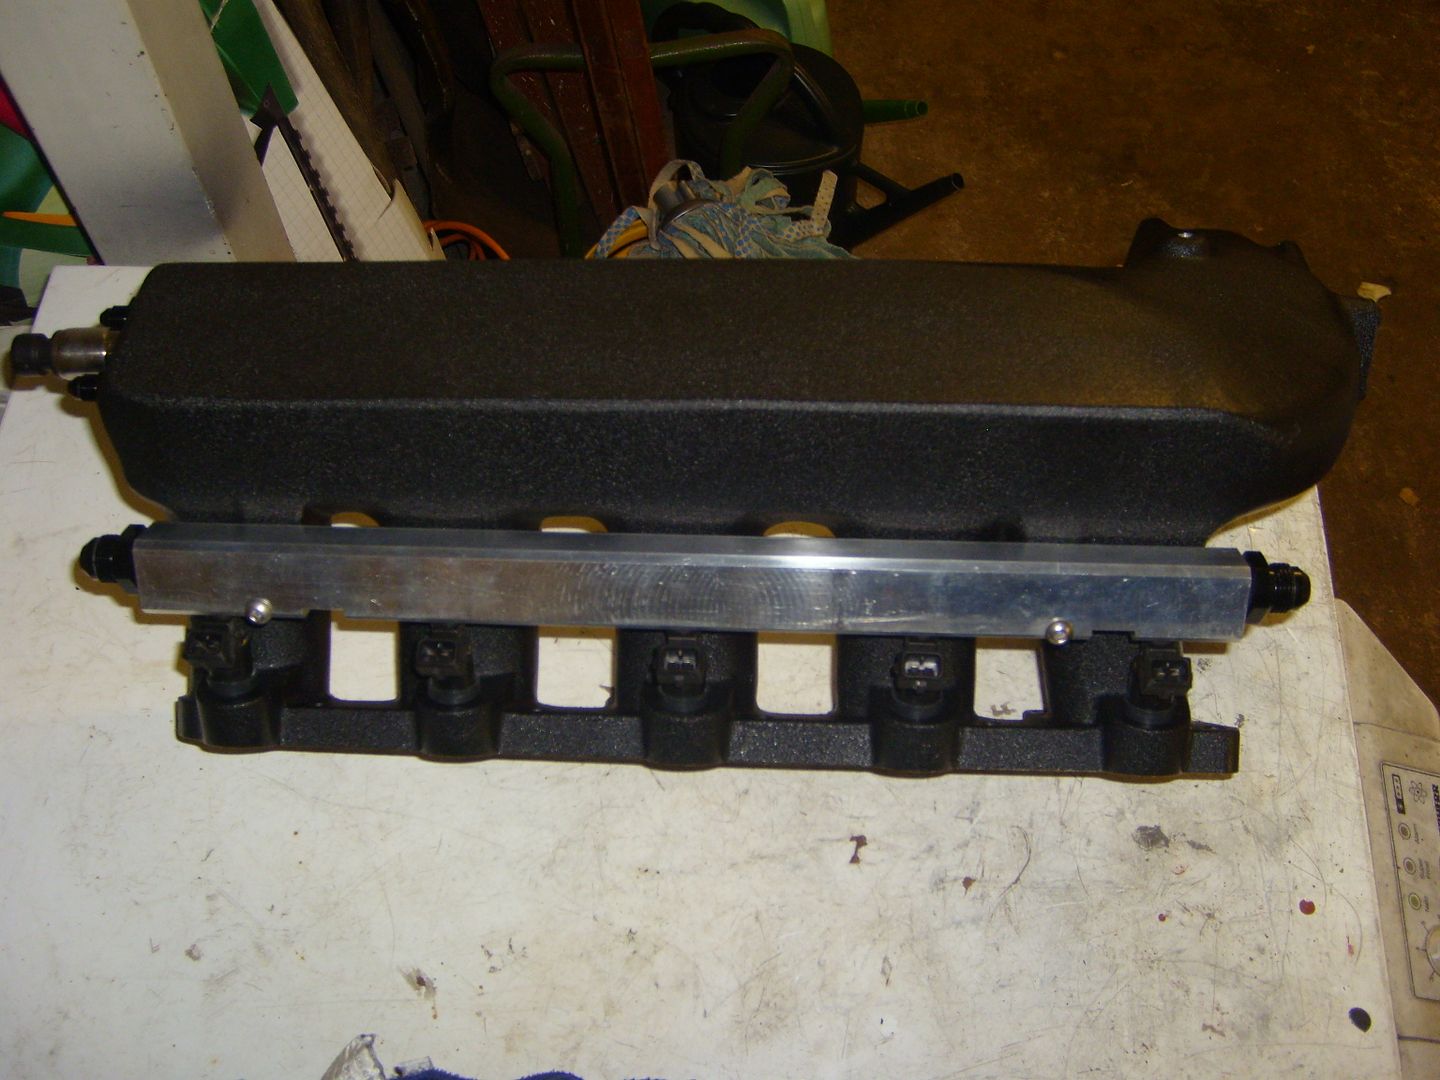
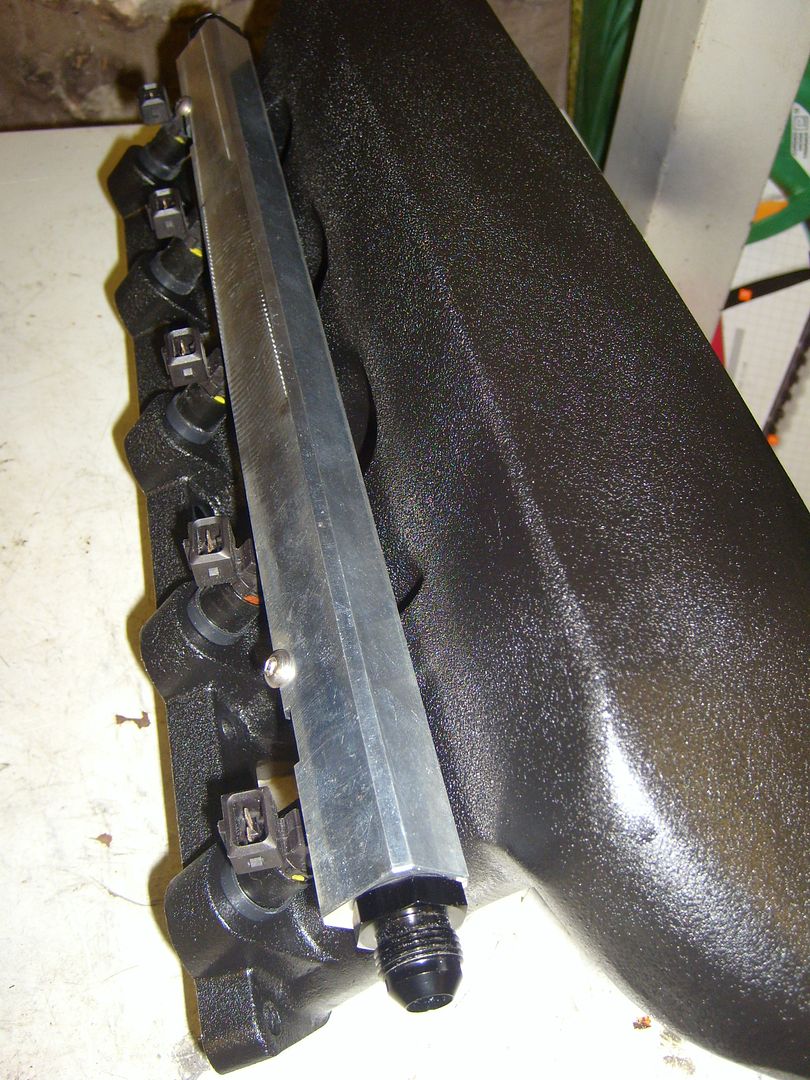
Next it was onto the fuel rail. Thought about a couple of different brackets but in the end decided to drill through the bottom of the rail as there was just enough meat in it. He had to re-drill the holes on the inlet manifold to suit as well.
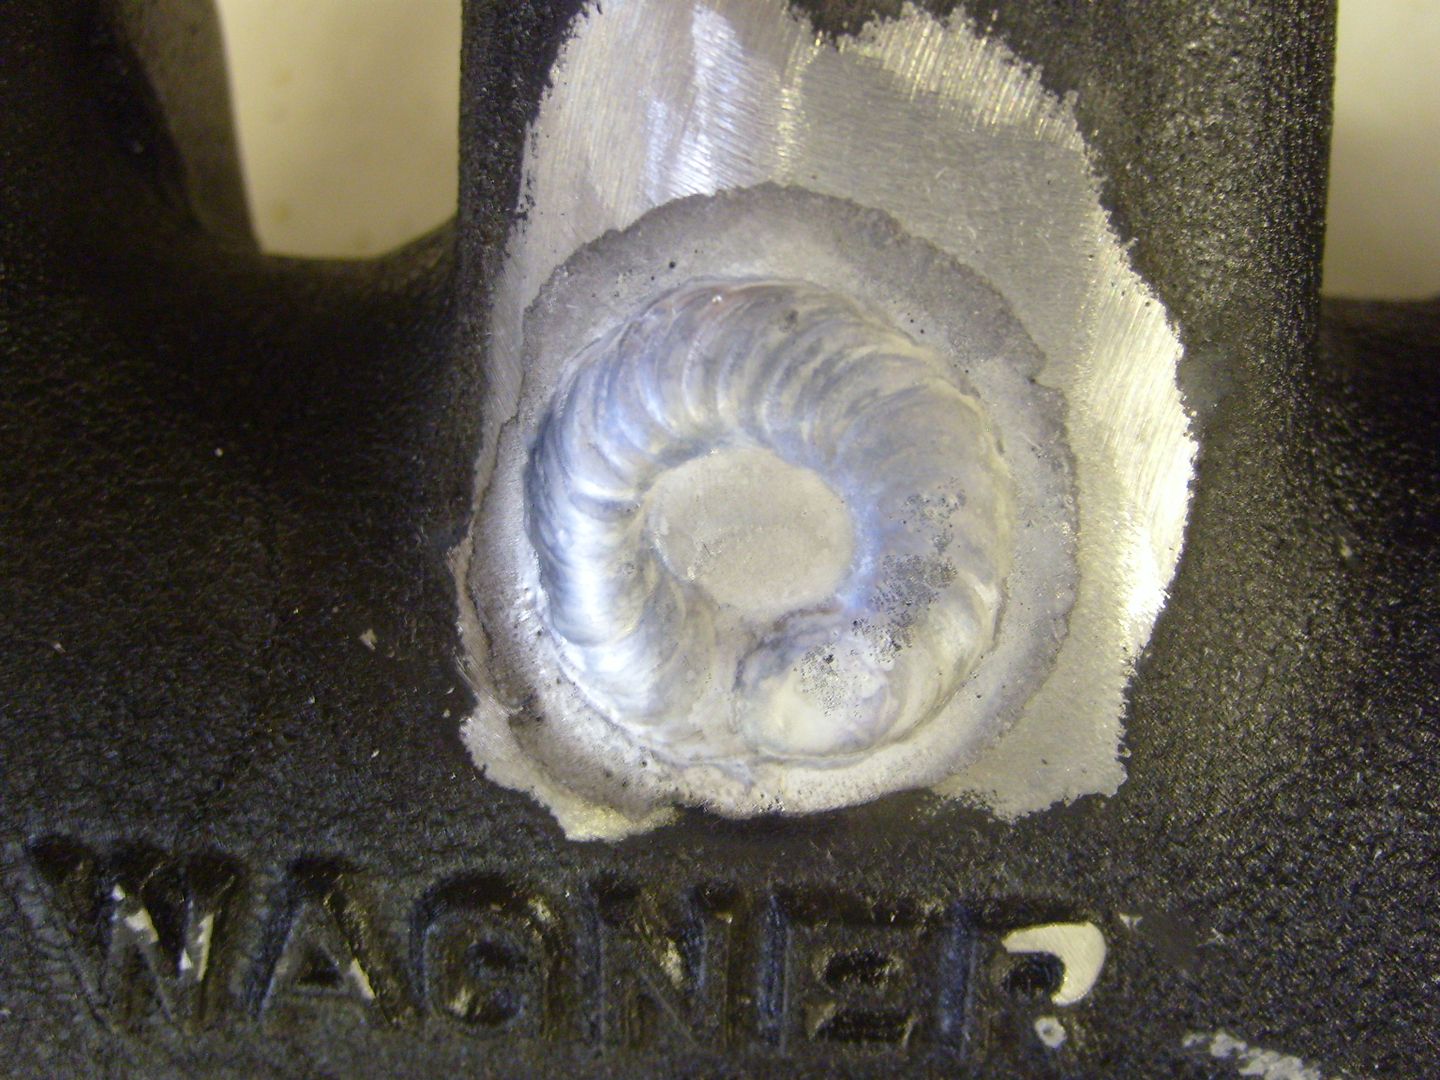
Welded up the ISV outlet as its not needed:
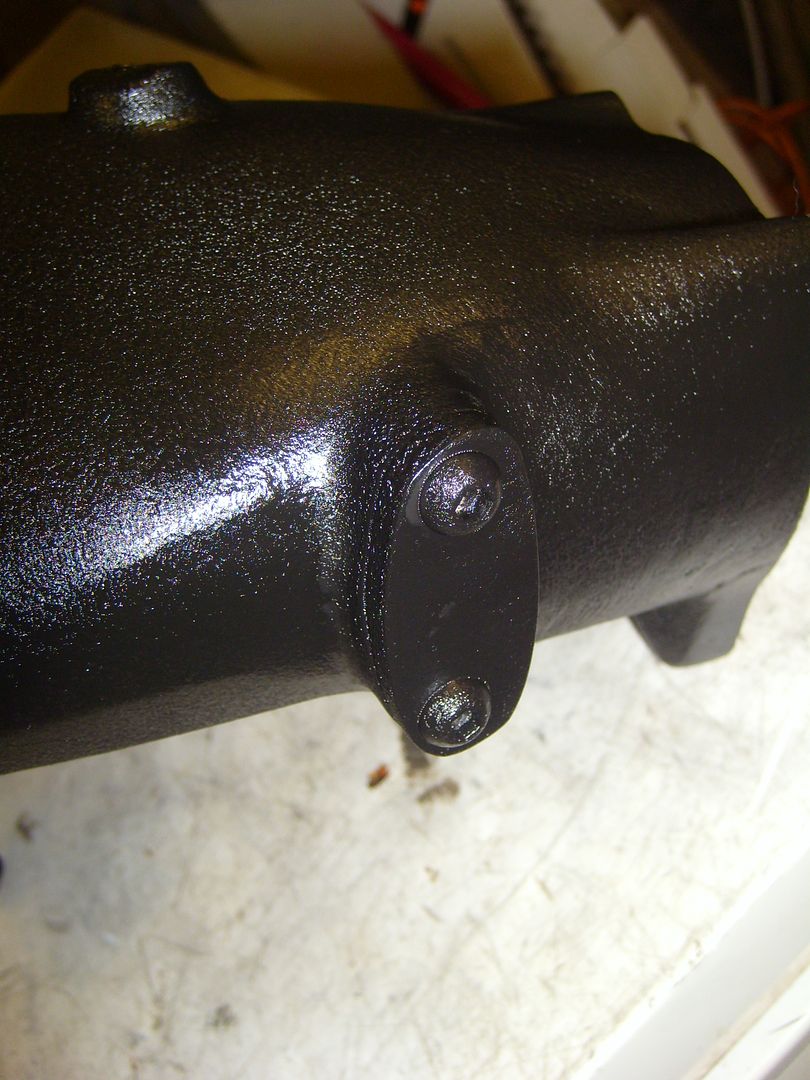
Capped off the standard air temp sensor location
Drilled and tapped for AN vacuum lines, and the Motec map sensor
Then it was onto mounting the sensors not one of which mounts the way it did on the standard engine!
First up was the crank sensor bracket

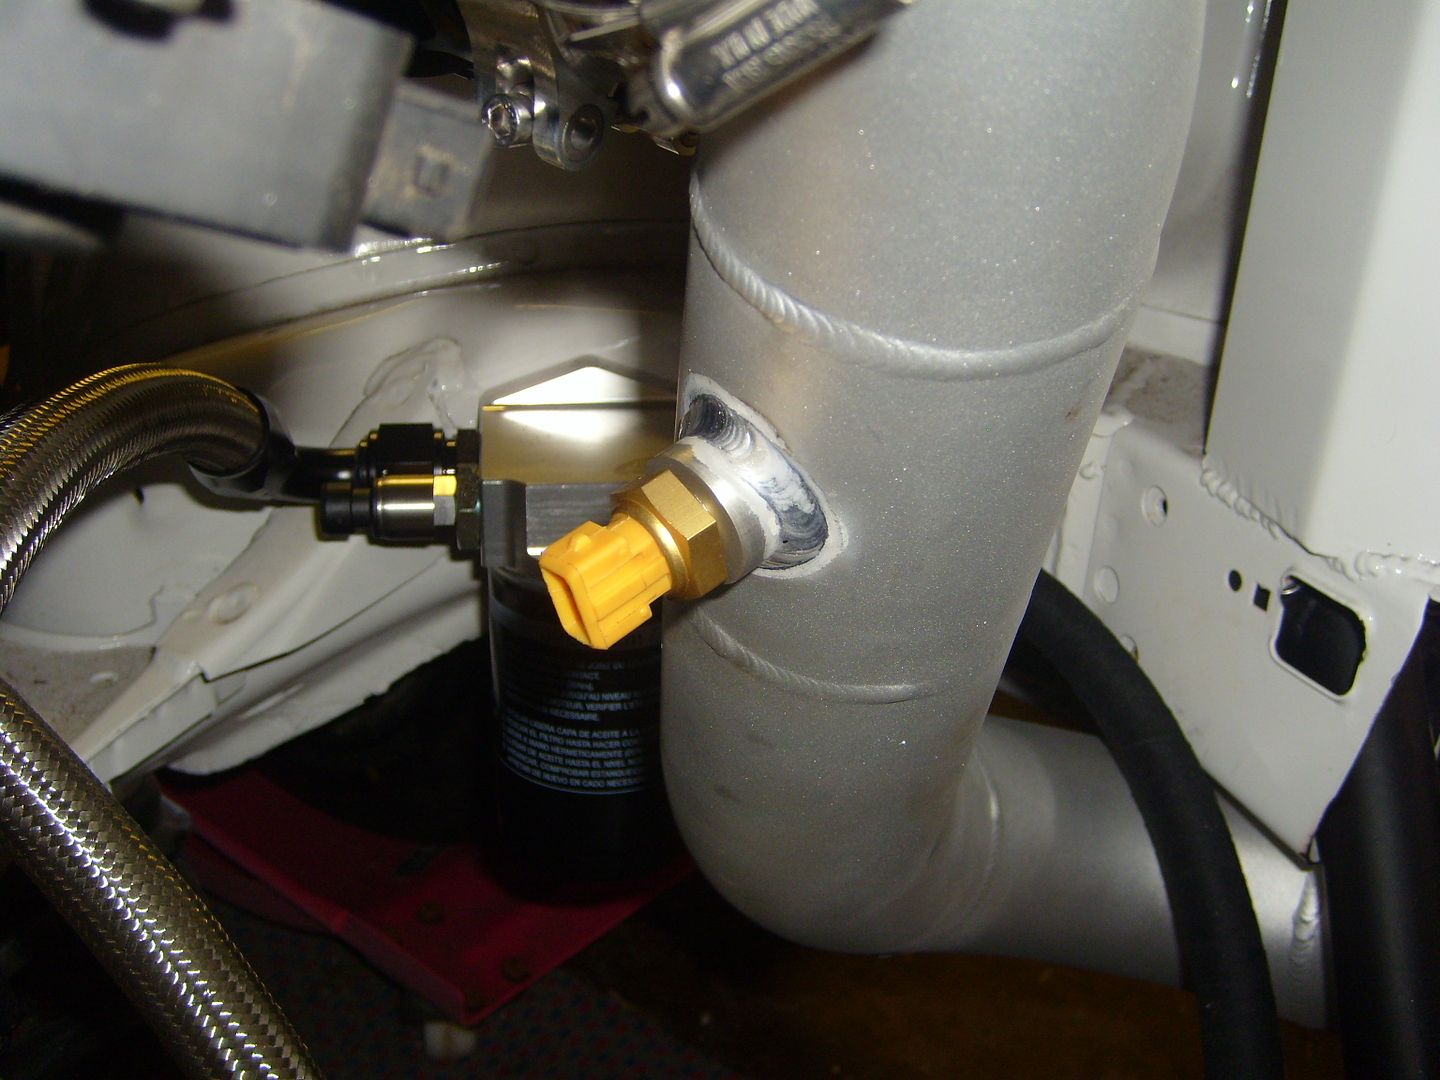
Oil pressure sensor, he put on the outlet of the remote filter head. Bought a plug and drilled and tapped it for the Motec sensor.
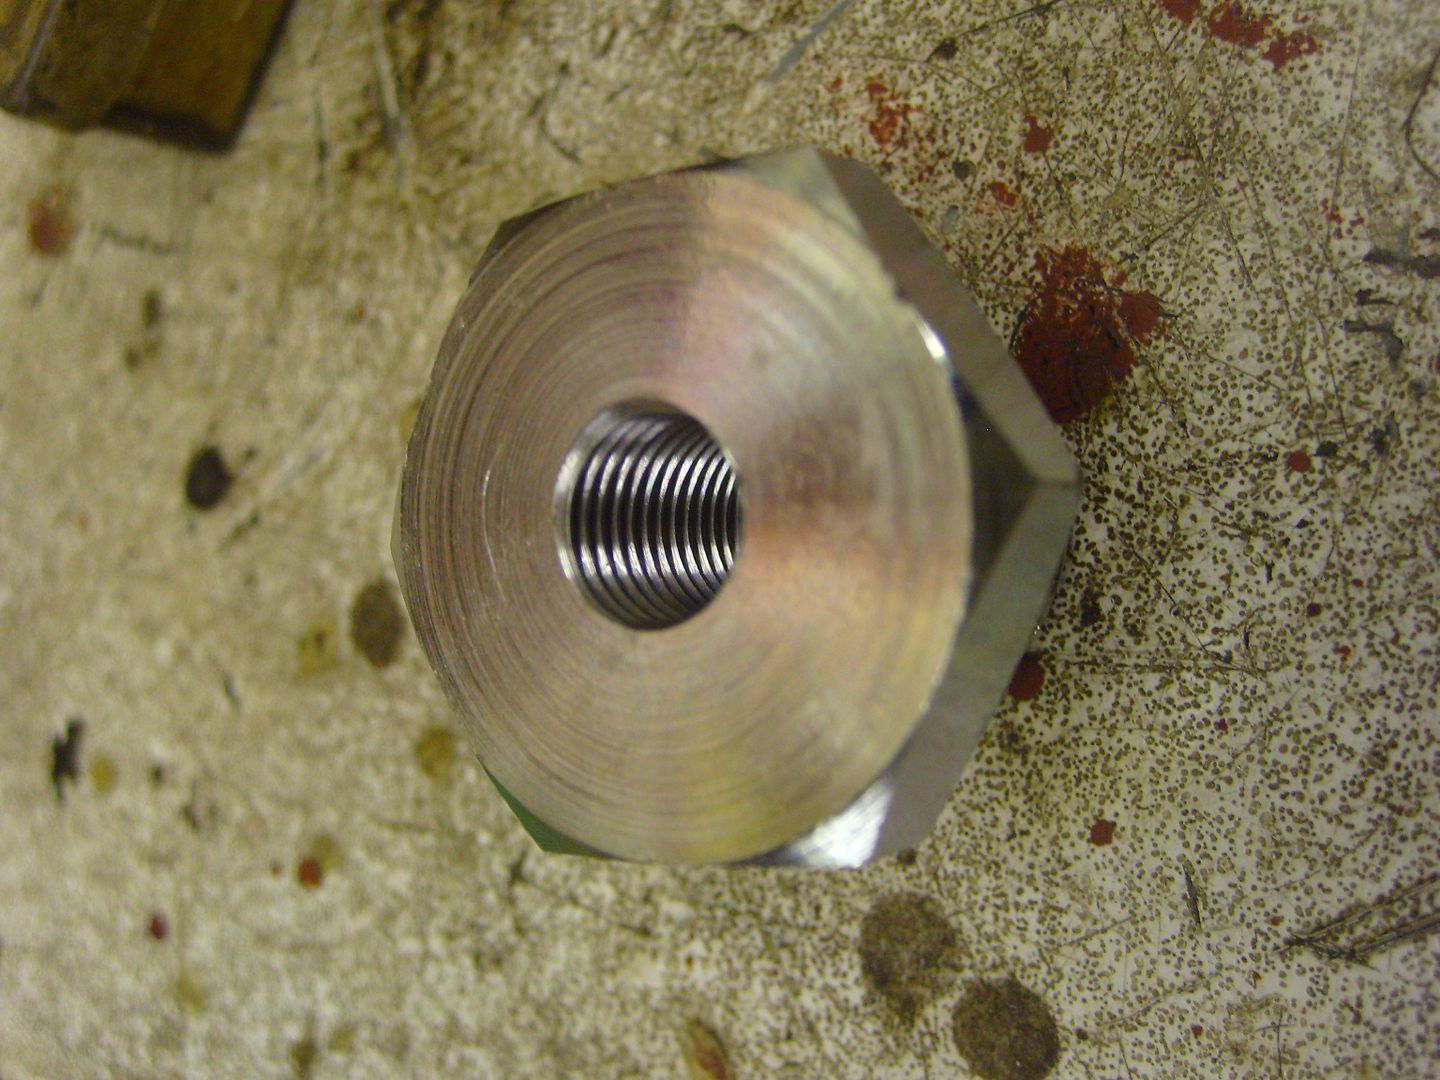
Obviously fitted the remote filter housing at the same time.
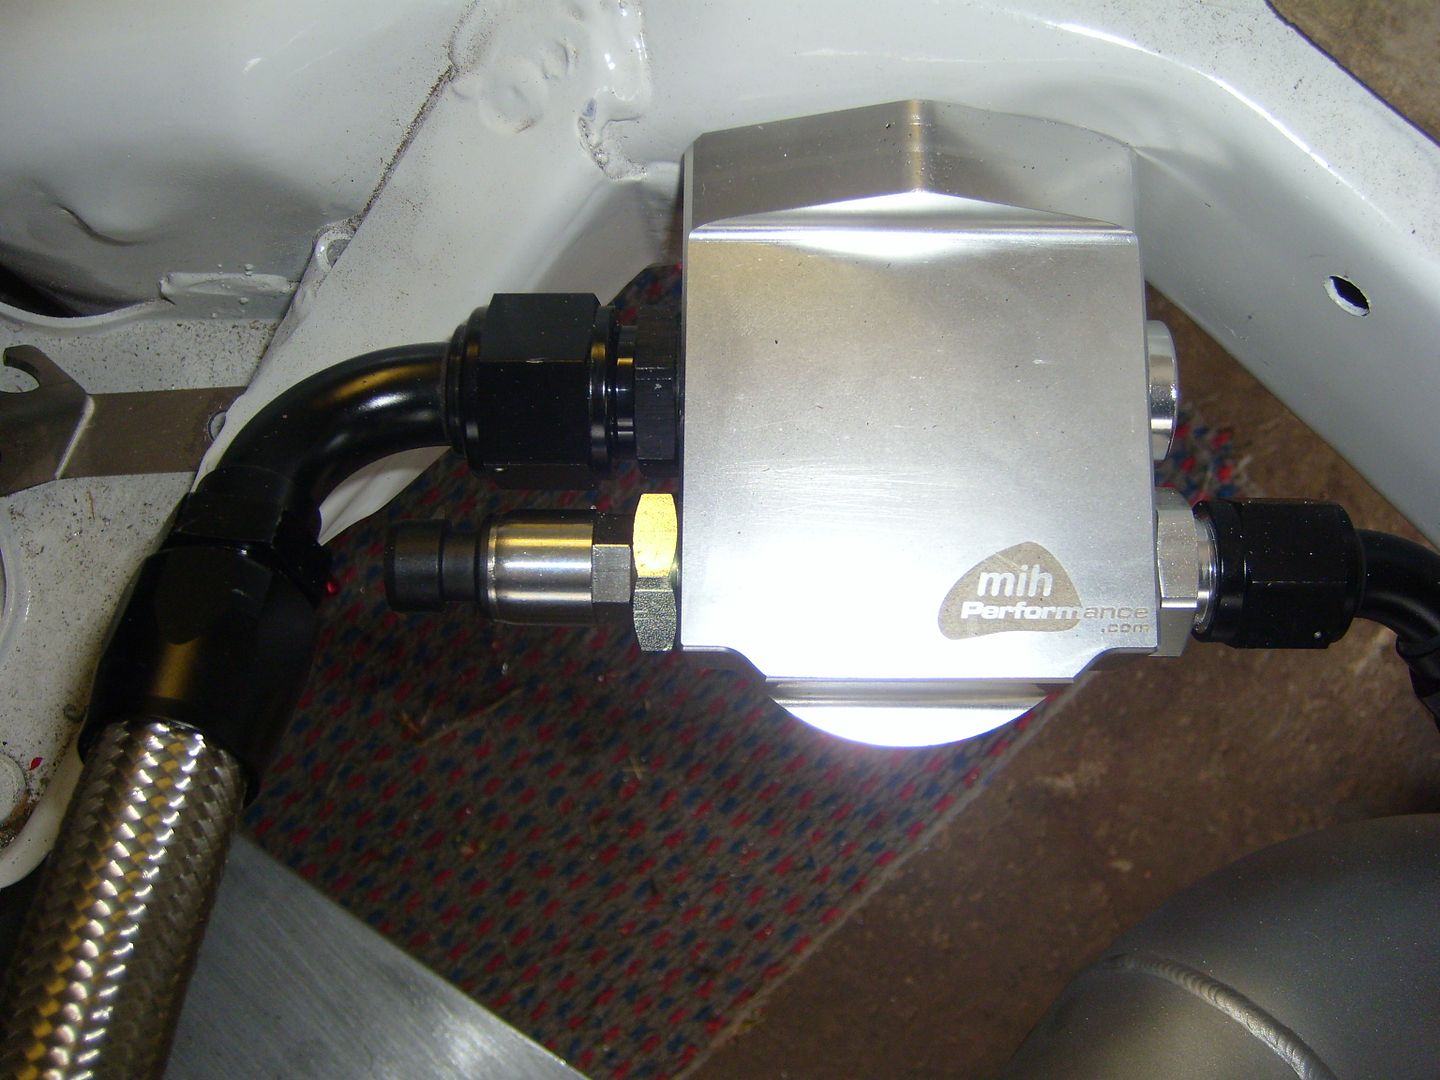
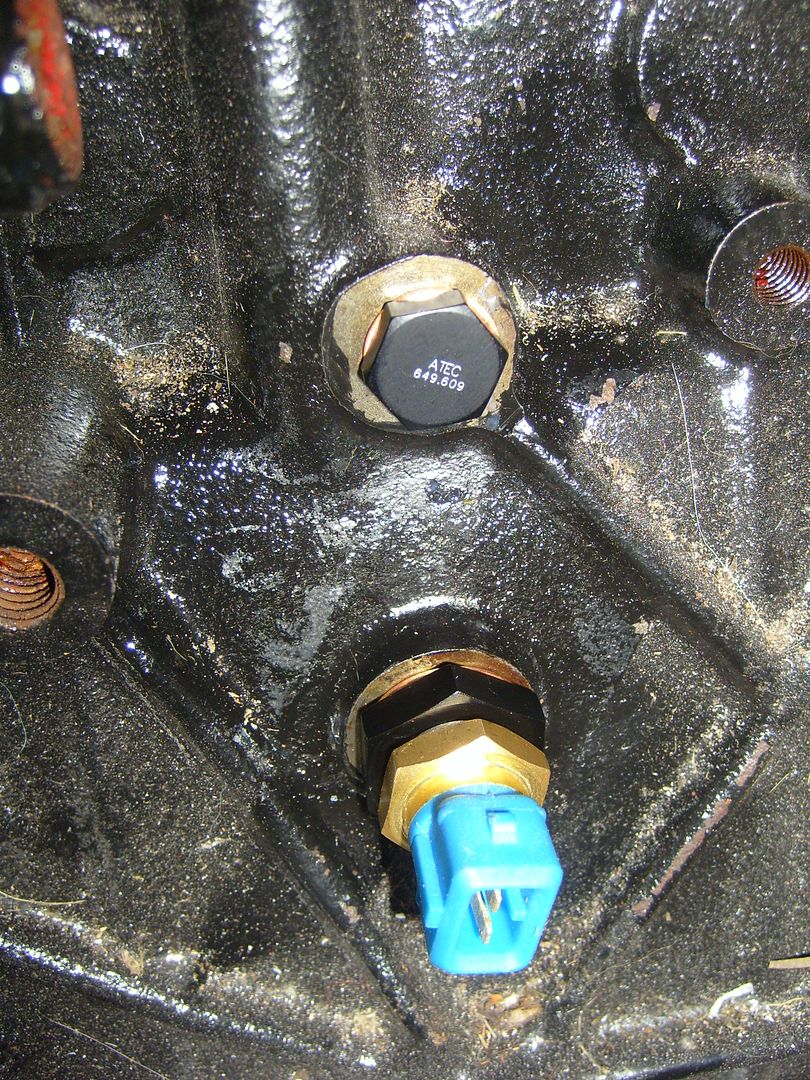
Into the main gallery through the front plate
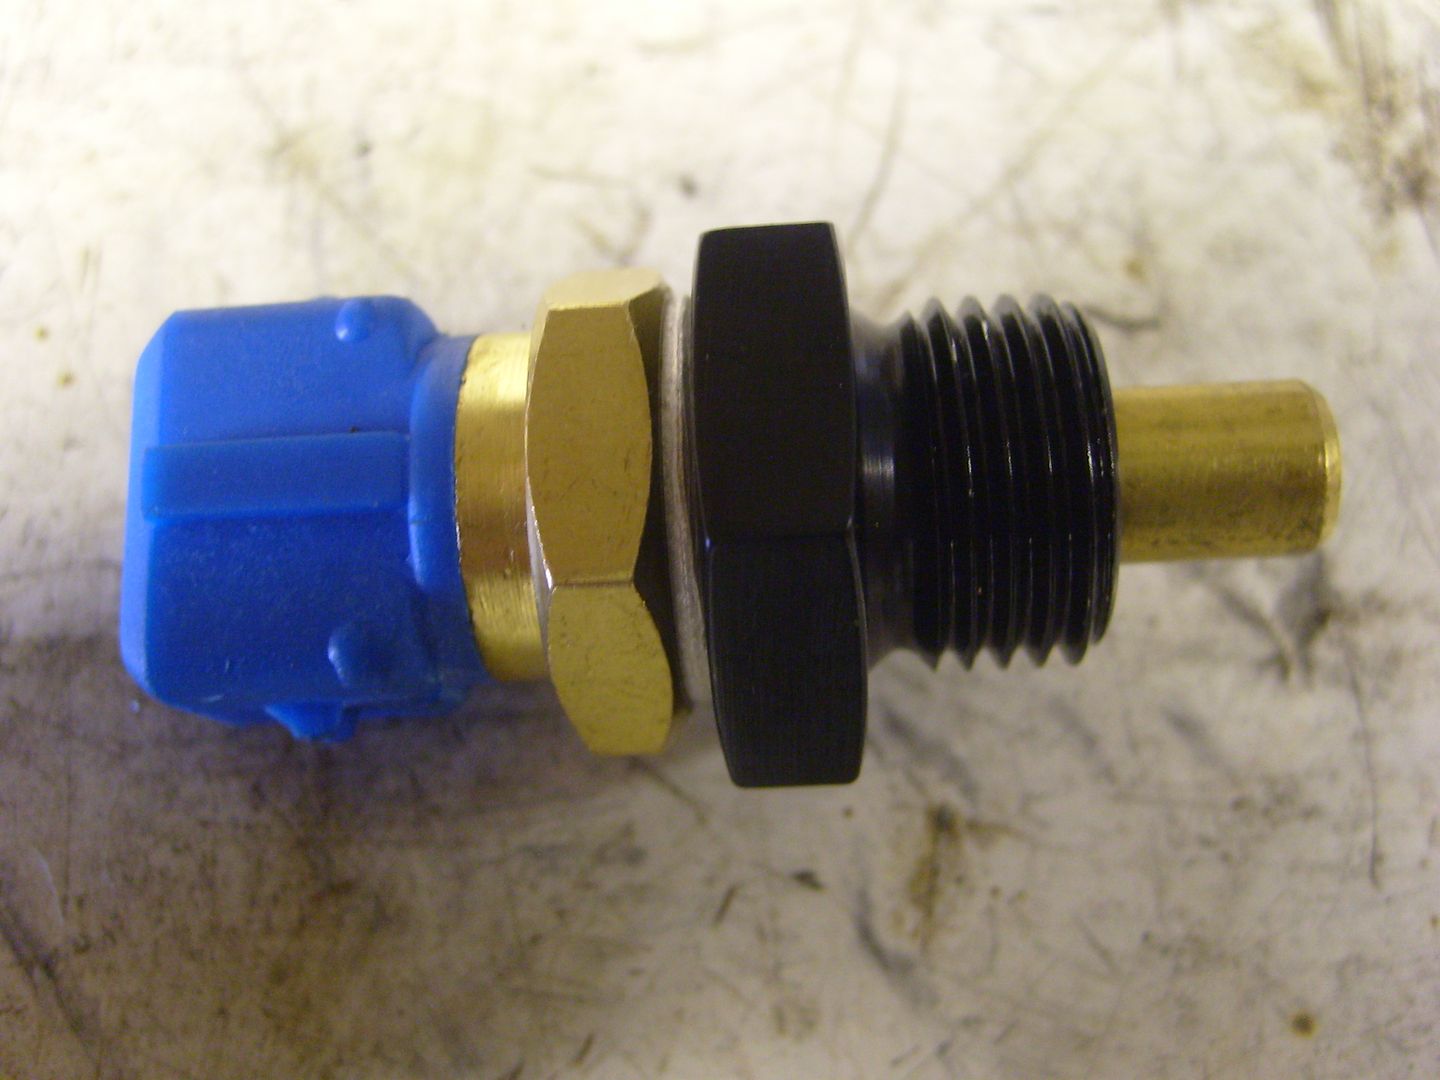
Bought a few more plugs. 2 were drilled and tapped one each for water and oil temp.
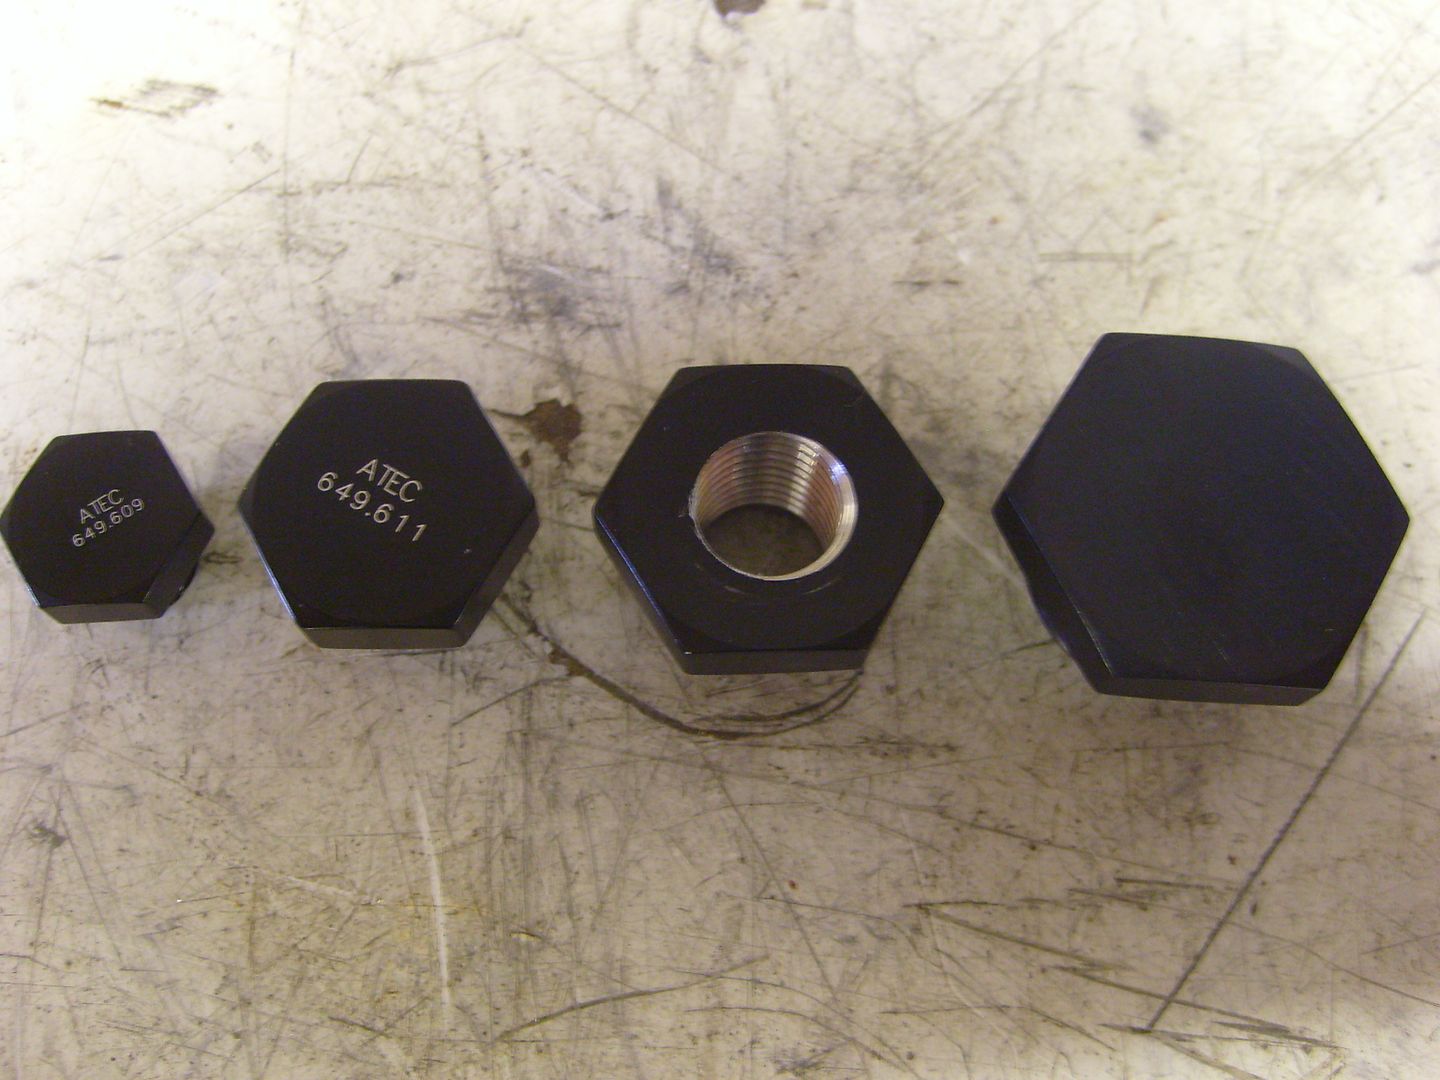
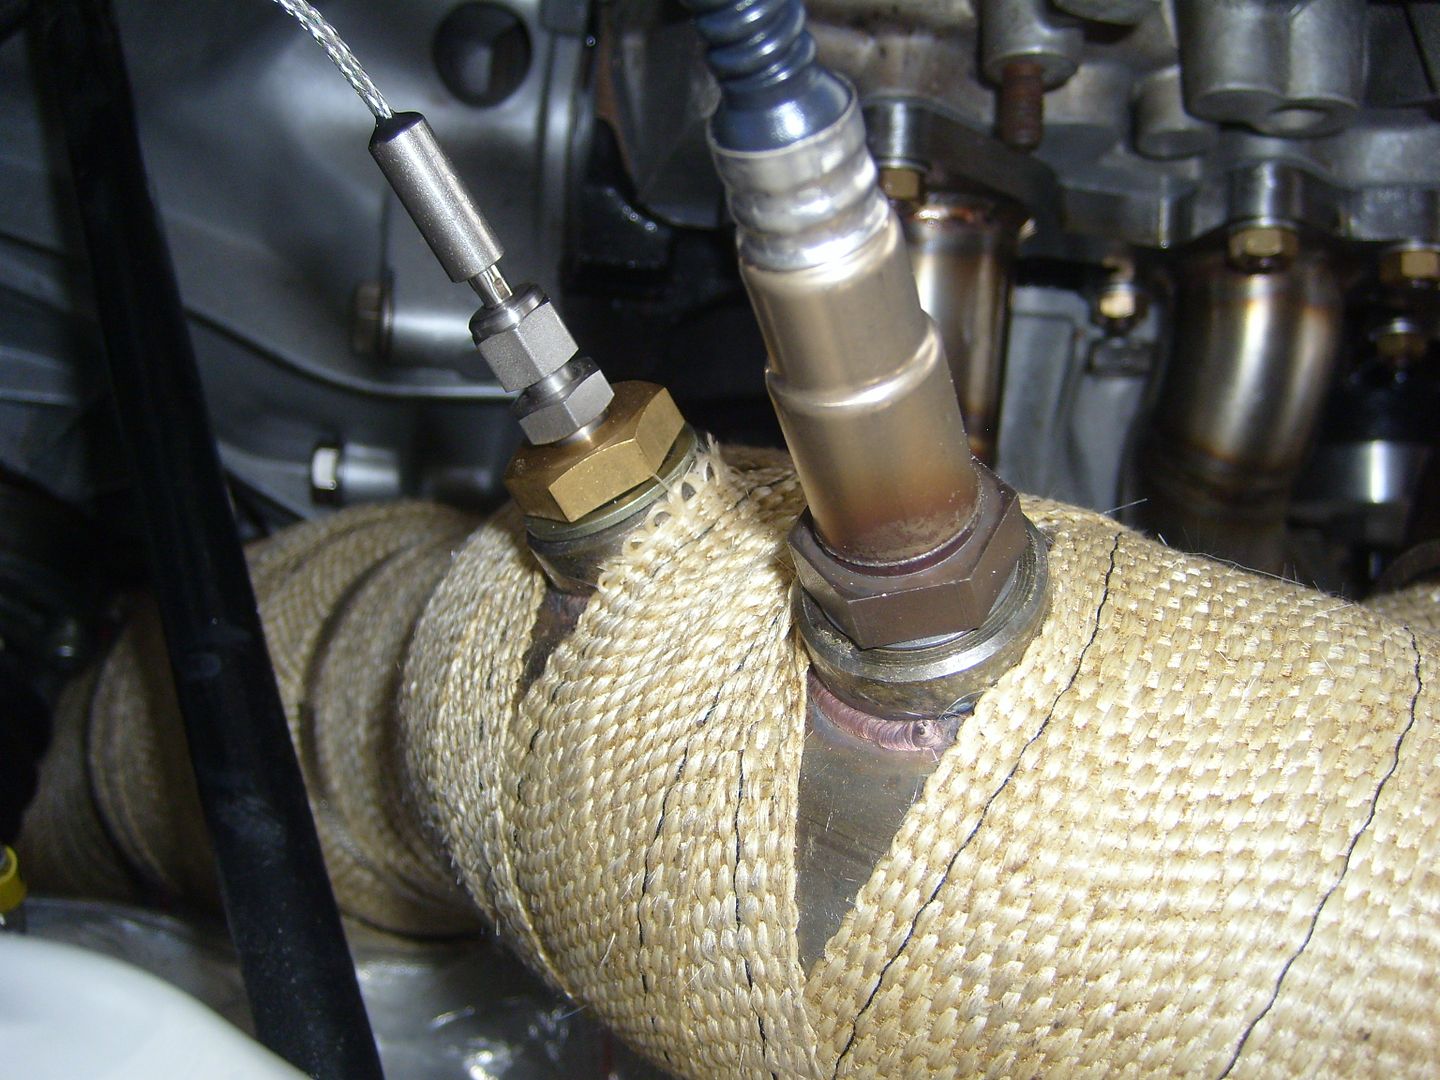
Lambda and EGT sensor. The latter also had to have a plug machined to sleve it down.
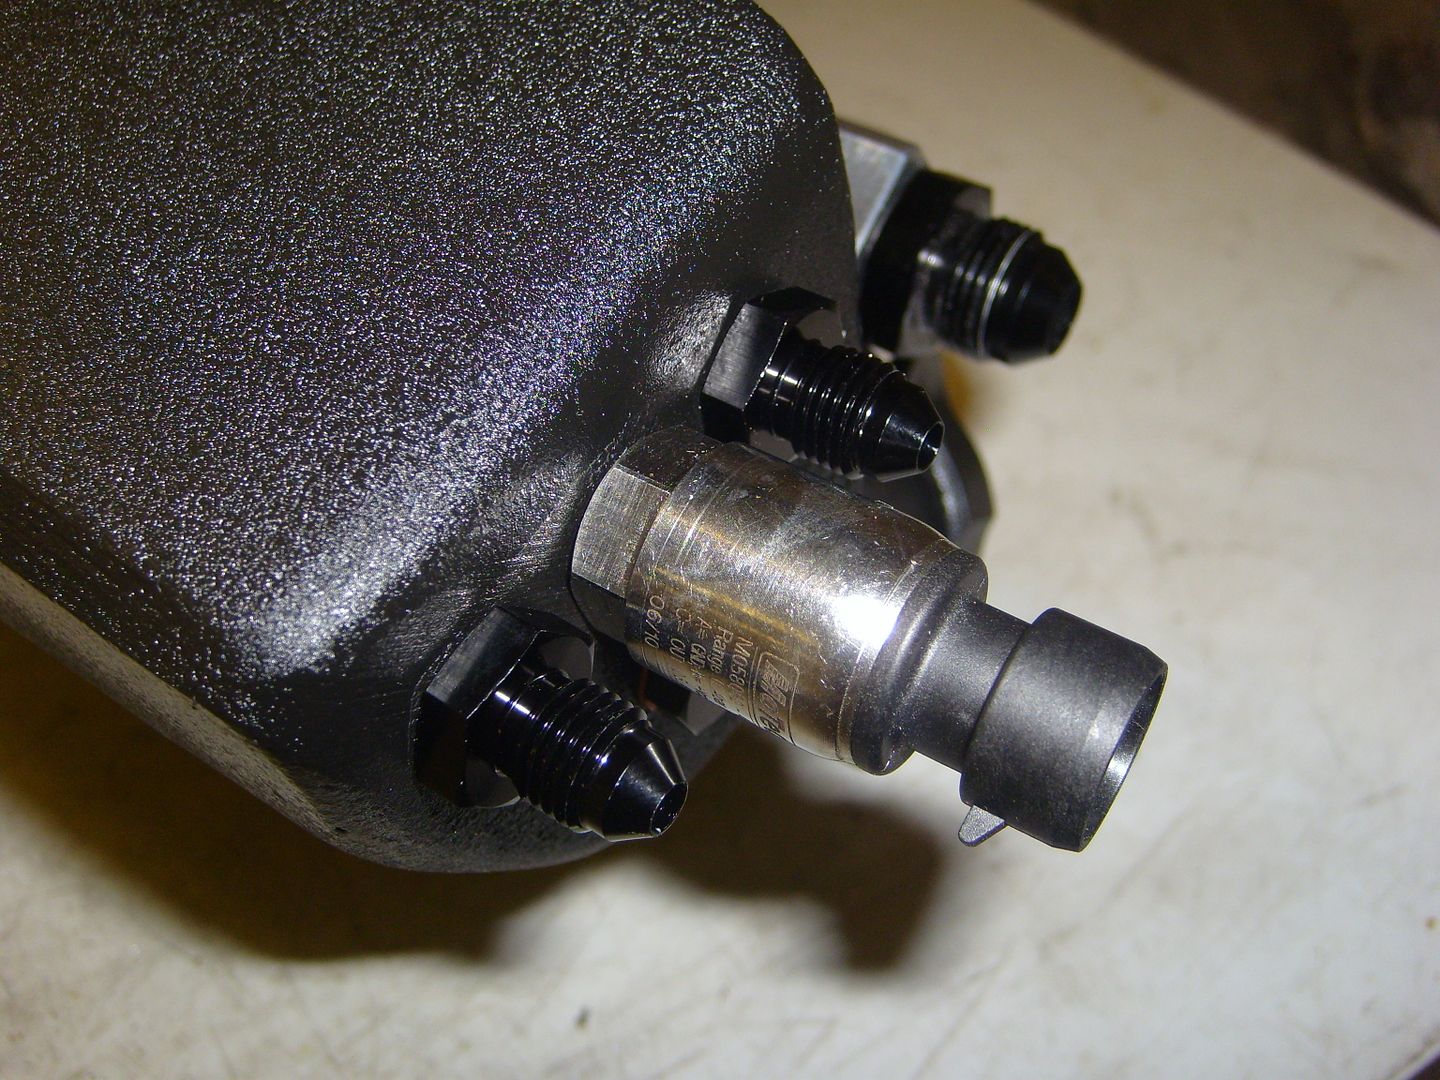
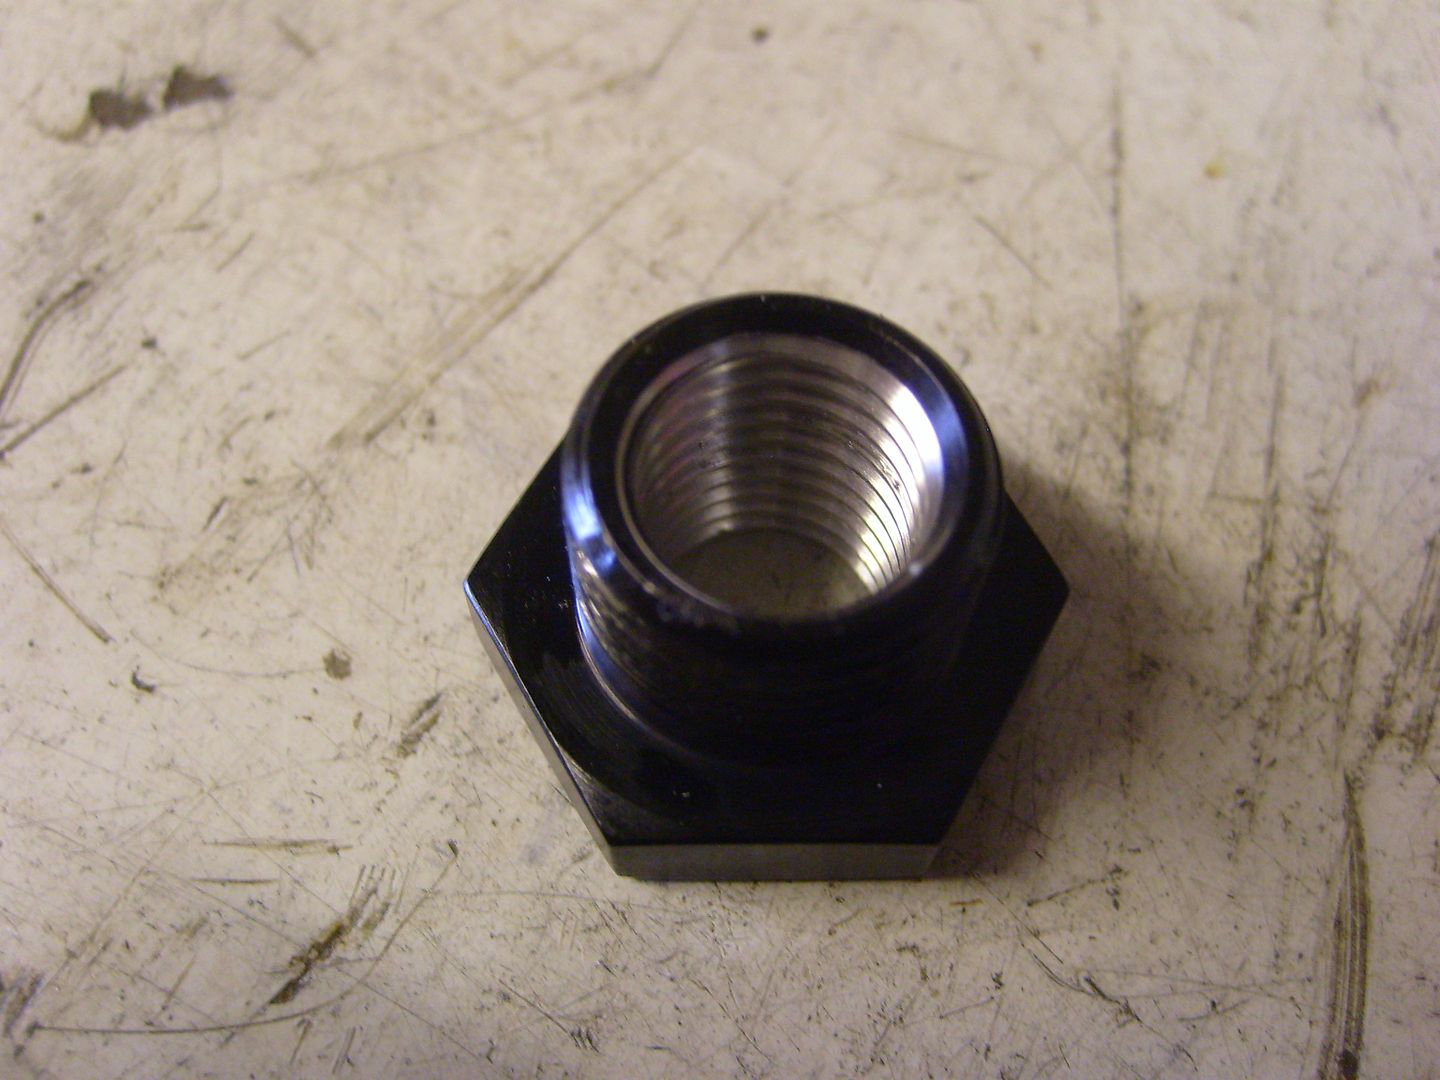
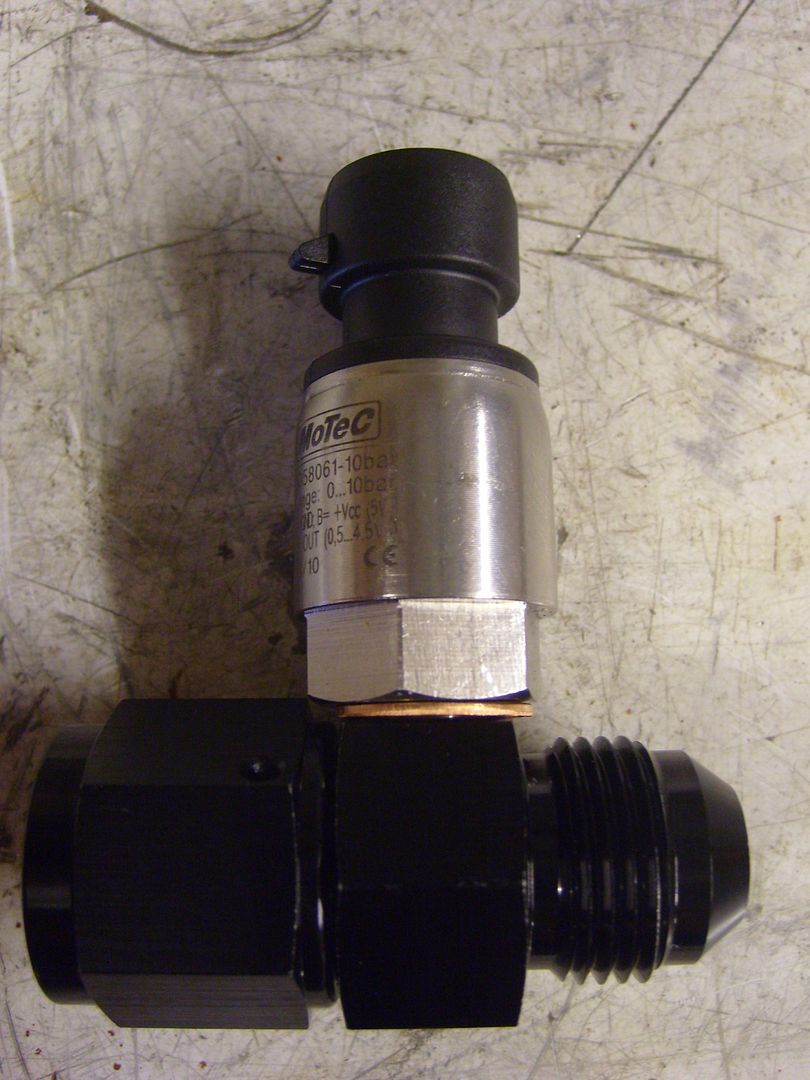
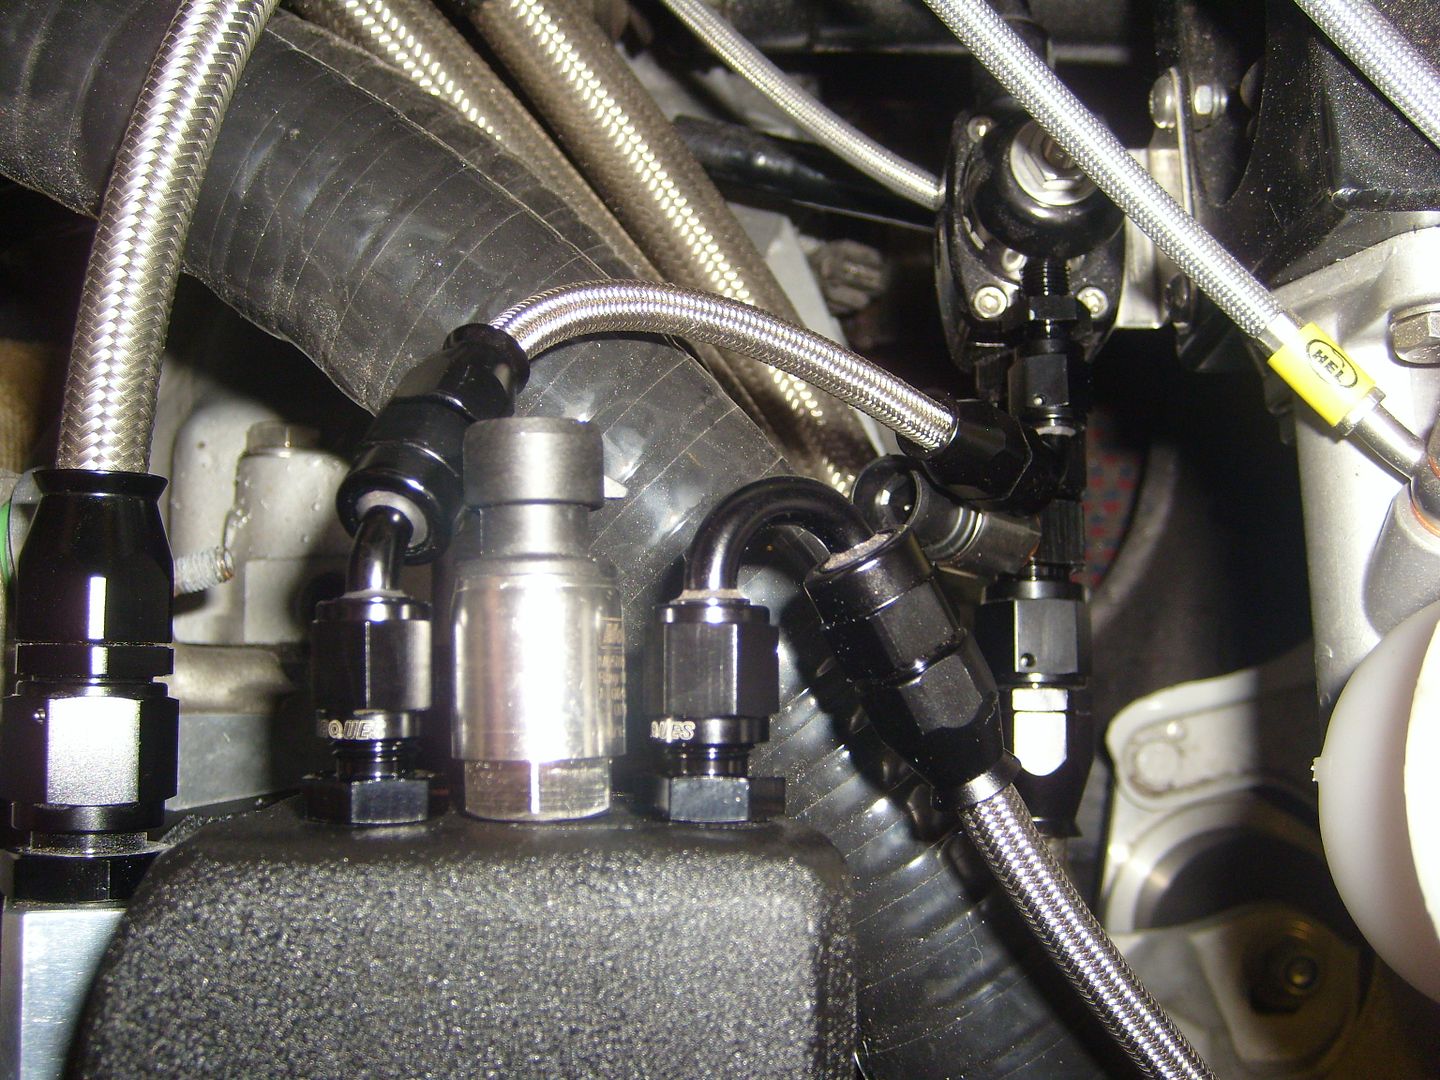
For the fuel pressure sensor he bought a take off but couldn't find one tapped for -3 they were all 1/8" NPT
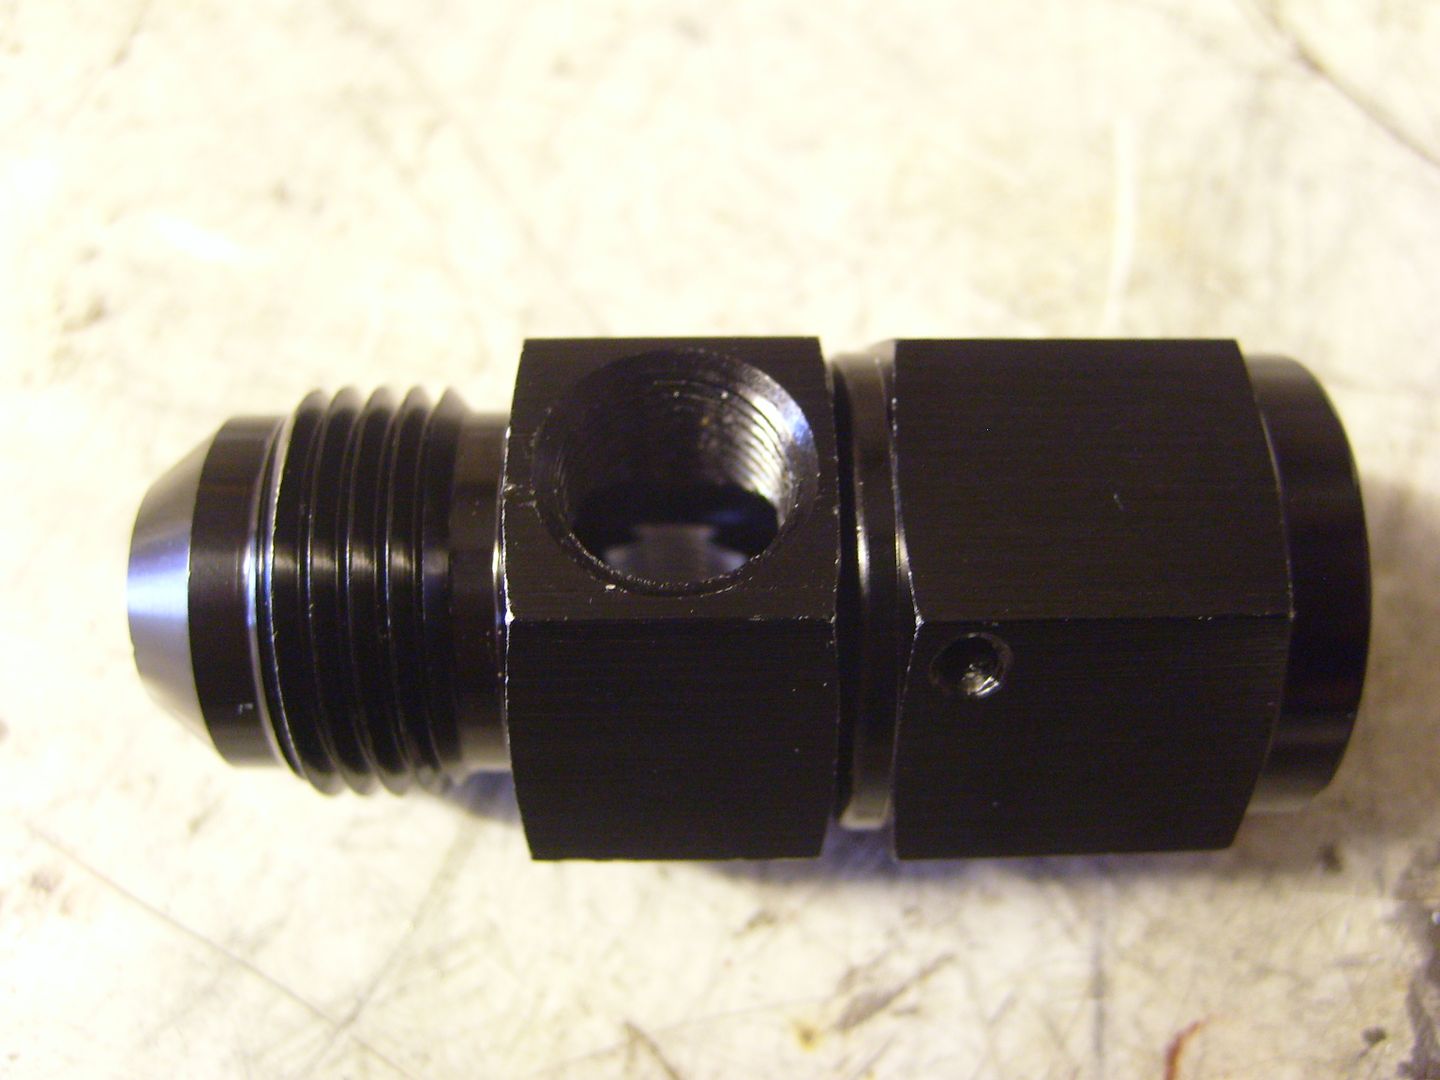
So he drilled and tapped the opposite side to -3 and plugged up the 1/8" NPT side

Air temp sensor boss welded into the boost pipe
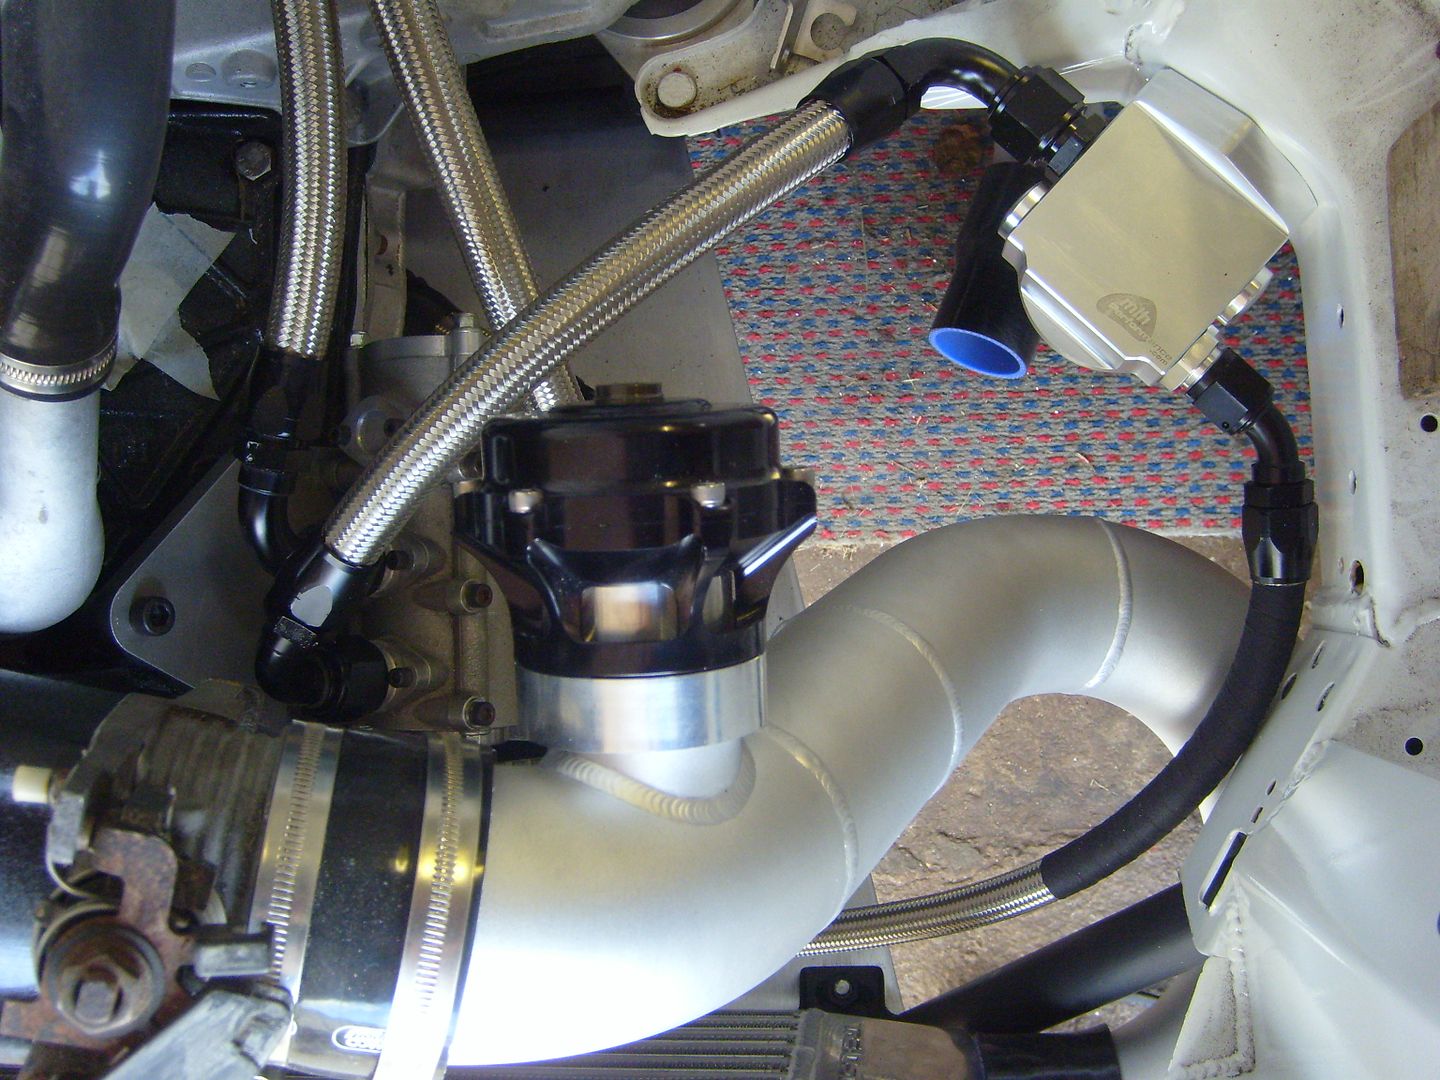
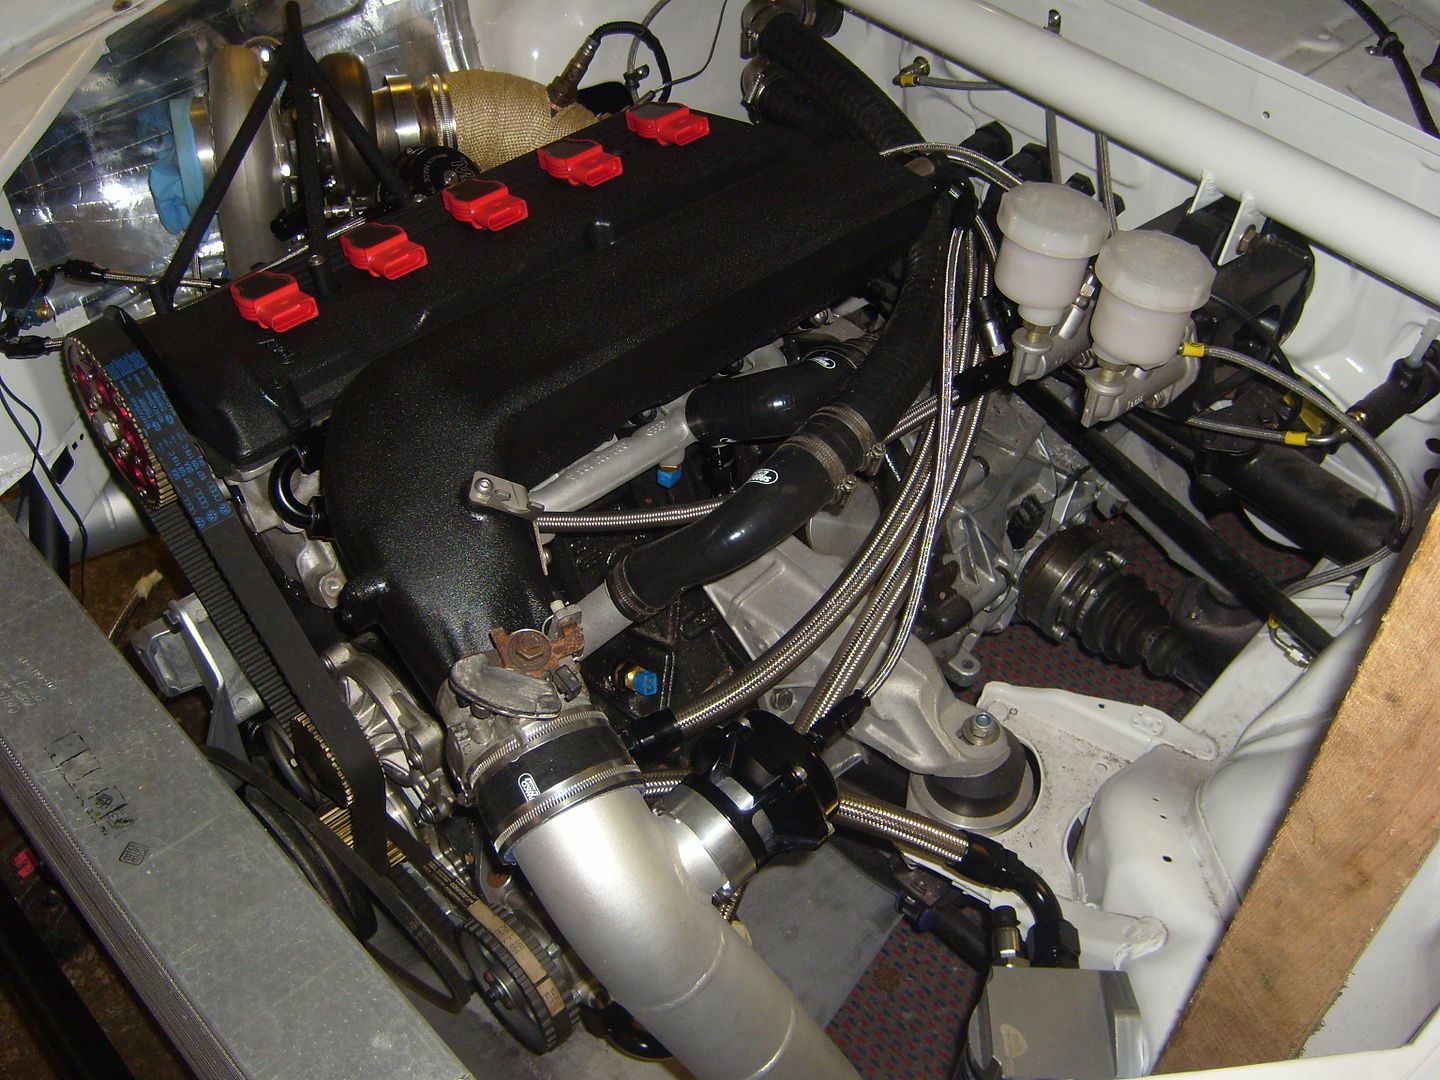
Finally it was onto finishing off the plumbing. Vacuum lines for the fuel pressure regulator and dump valve:
Boost control valve
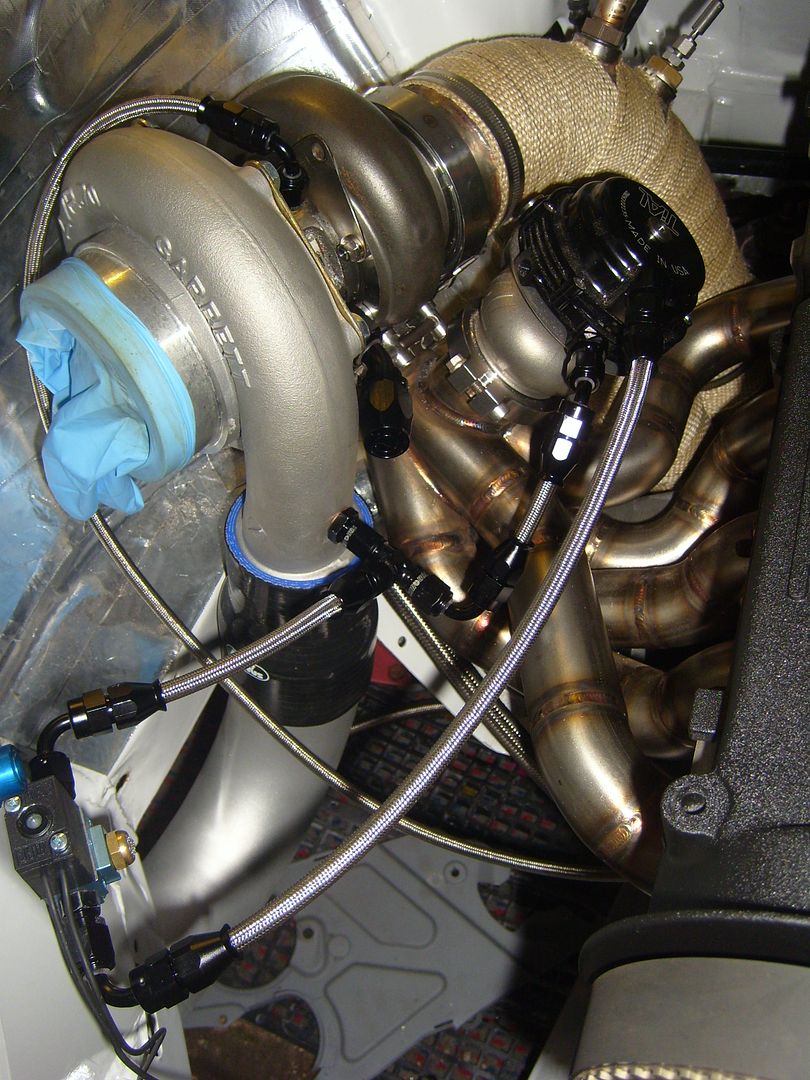
So its just the turbo lines to finish off now and all the plumbing will be completed.
Finally Hamish drew up the engine wiring loom and sent it to Dave Rowe at EPS who is currently making it up.
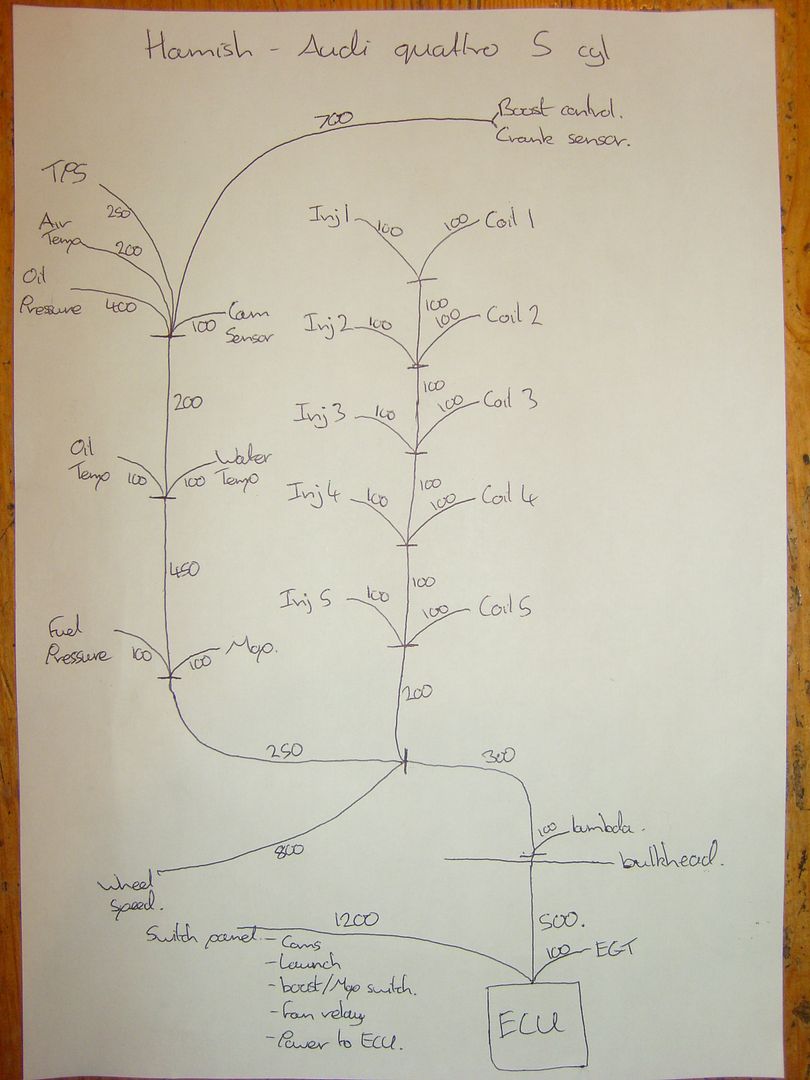
He now has 2 weeks off work and the plan is to finish the car off and get it fired up as long as Dave pulls through with the loom!
POP, BANG, BANG, POP!!!
April '06' Corsasport Feature Car | Aug '08' Total Vauxhall Feature Car | Spring '09' Fast Car Feature Car
|
Darryl H
Organiser: South Central
Premium Member
 Registered: 19th Nov 09
Location: Camberley Drives: Porsche 944
User status: Offline
|
Some great work there! That's one cool looking manifold 
|My Corsa|SC|My Instagram|
|
Tom
Member
Registered: 3rd Apr 02
Location: Wirral, Merseyside
User status: Offline
|
Wow, even the little bits of fabrication etc down to the stuff he's tapped etc on engine parts are so neat and tidy. I bet he can't wait to get it started now! Is he running it on the wheels it's been sat on?
|
Daniel_Corsa
Premium Member
Registered: 21st Apr 04
Location: Wigton, Cumbria
User status: Offline
|
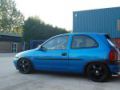
Until he decides what 17x10 wheels to buy think he's swaying to Avez's as almost like the original works wheels.
April '06' Corsasport Feature Car | Aug '08' Total Vauxhall Feature Car | Spring '09' Fast Car Feature Car
|
SteveoBC
Premium Member
 Registered: 22nd Feb 07
Location: Bucks
User status: Offline
|
Majorly fucking epic, attention to detail is amazing, engine bay looks the nuts along with the rest of the car
Cant wait to see this badboy running
|
Gary
Premium Member
 Registered: 22nd Nov 06
Location: West Yorkshire
User status: Offline
|
Better than porn
|
Daniel_Corsa
Premium Member
Registered: 21st Apr 04
Location: Wigton, Cumbria
User status: Offline
|
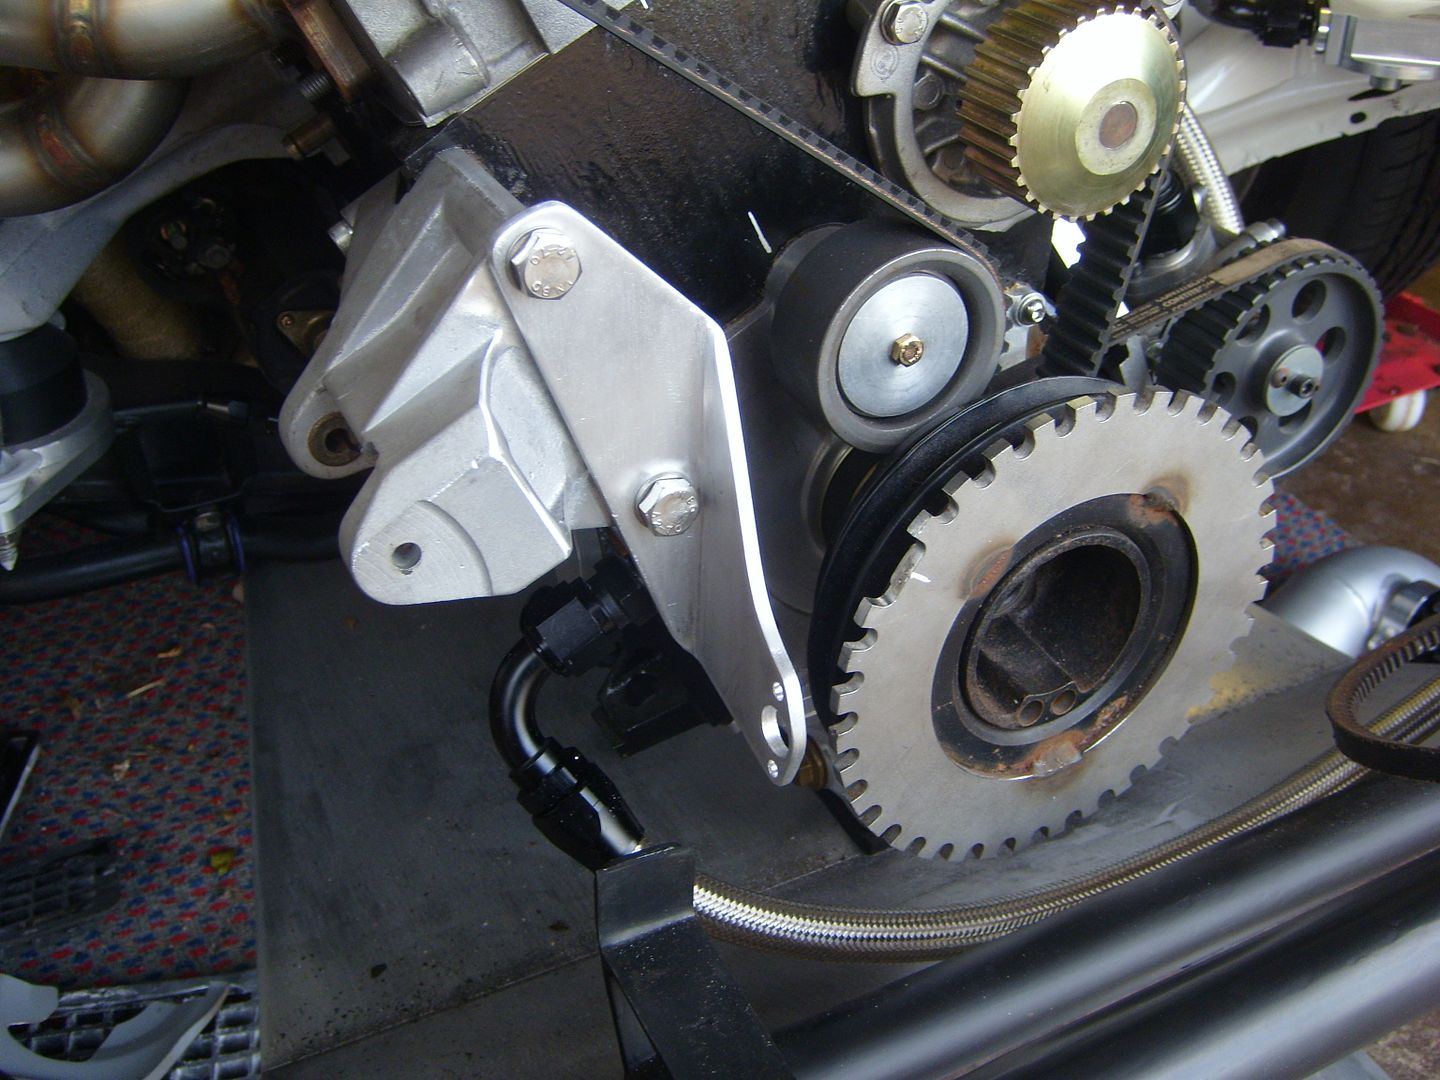
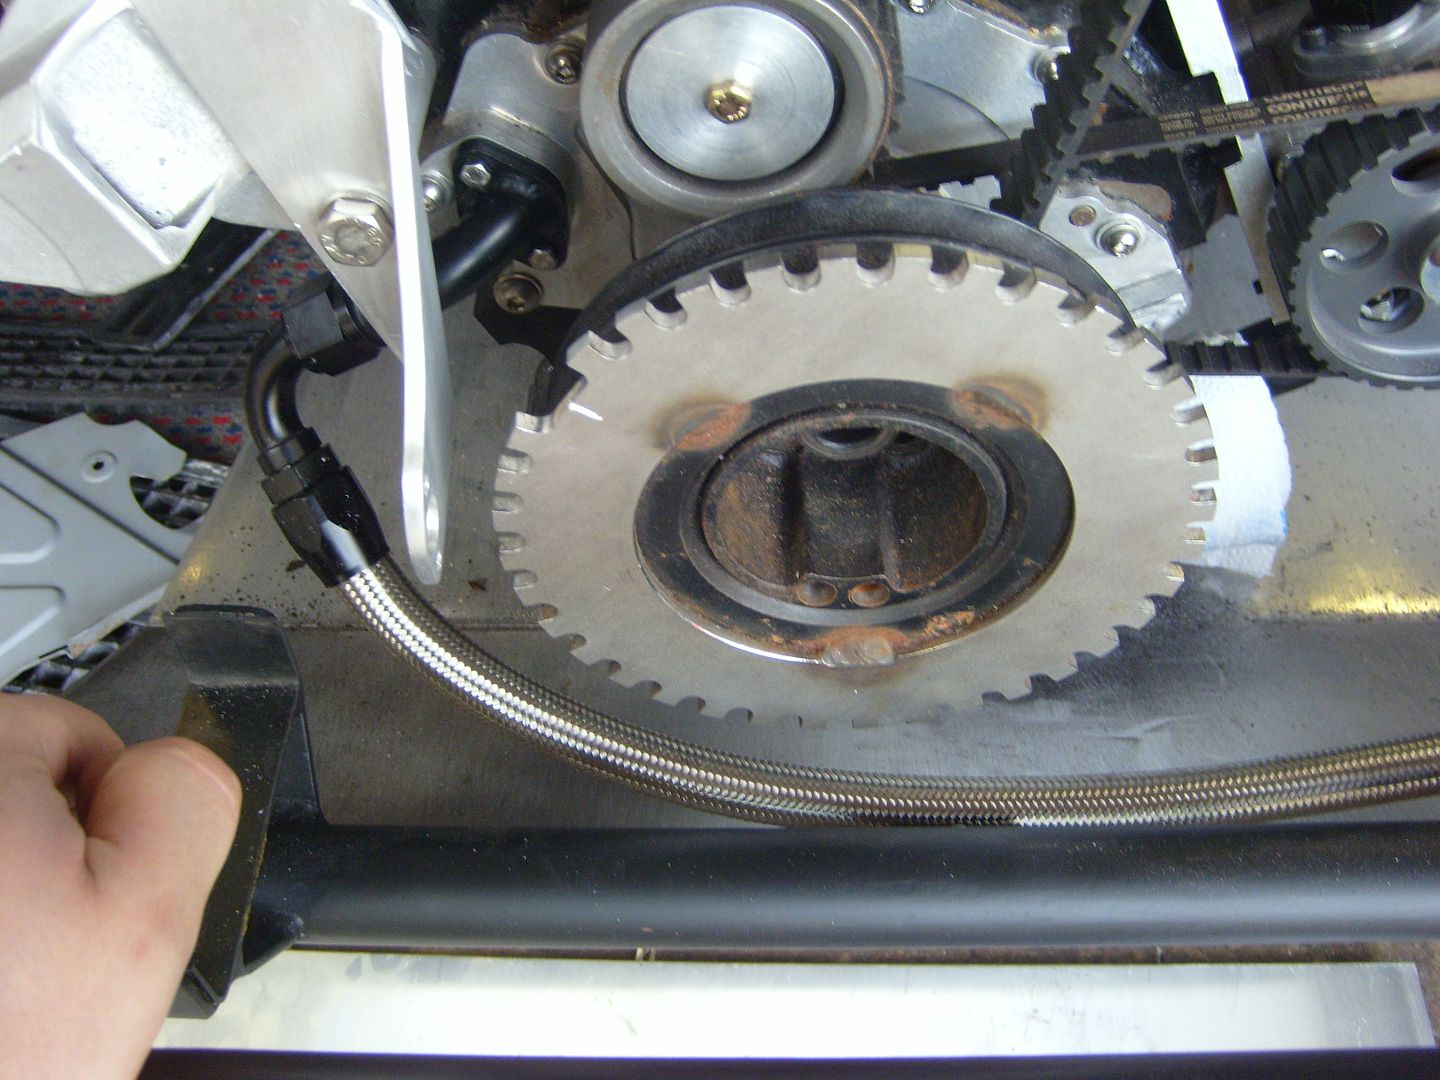
Hamish, managed to get it almost ready to fire up but then came up against an issue with the cam pulley. The centre had been machined off centre by over a mil. Only noticed when the cambelt was put on and tensioned then it lost tension as it was turned over! That now sorted with a new centre which is spot on.
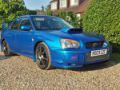
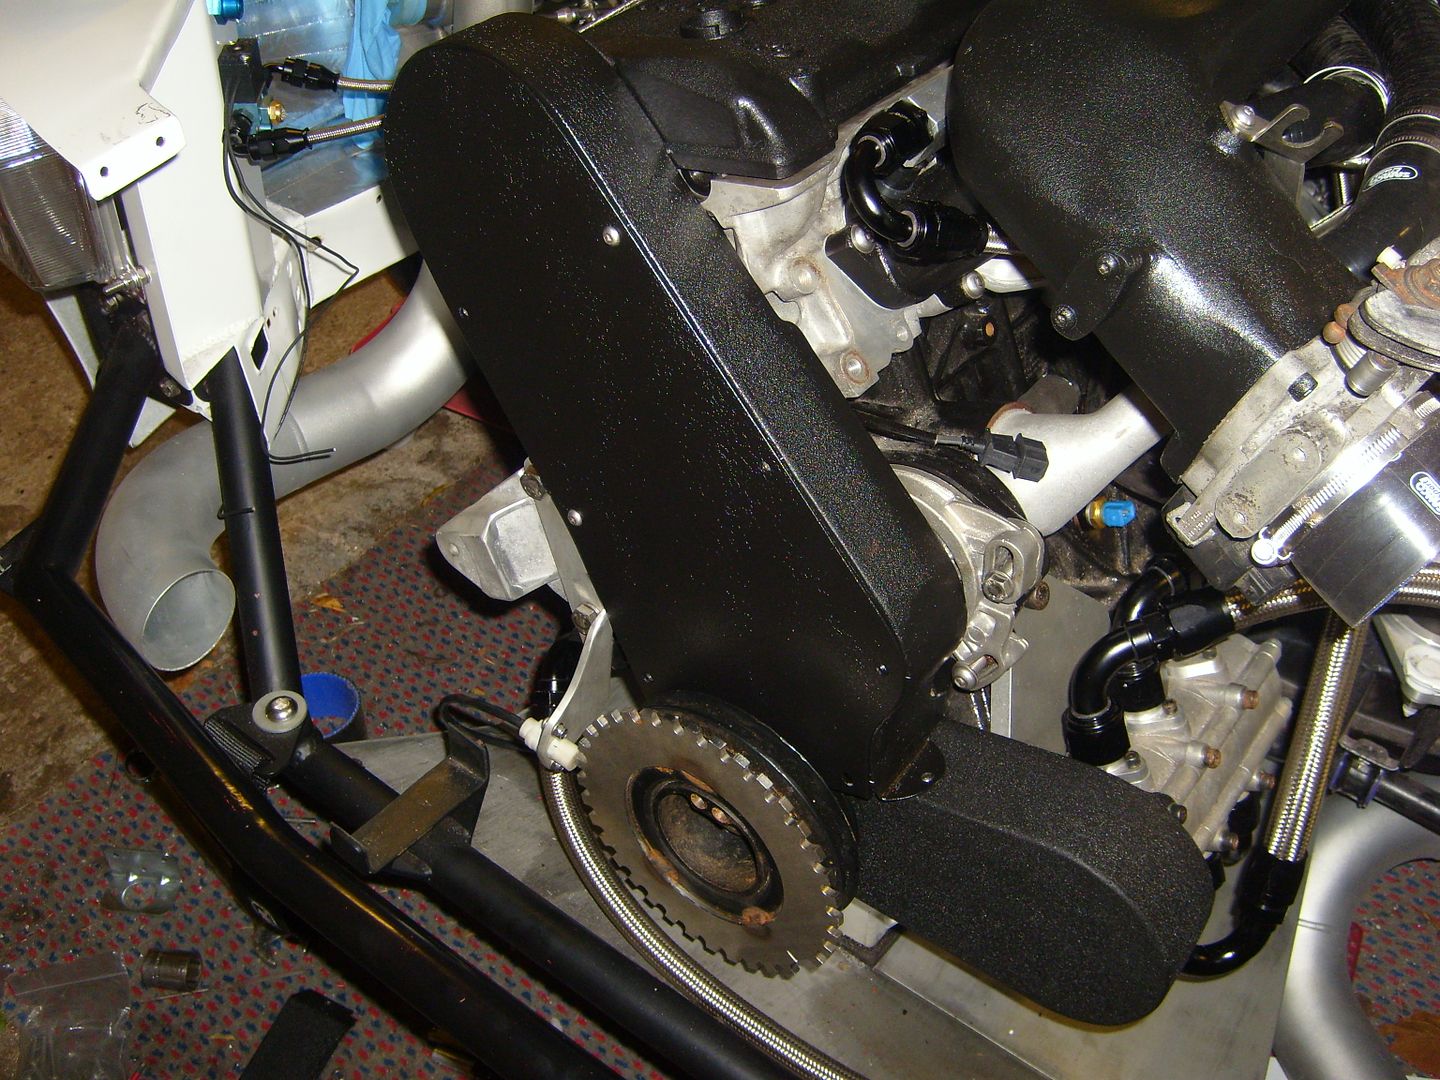
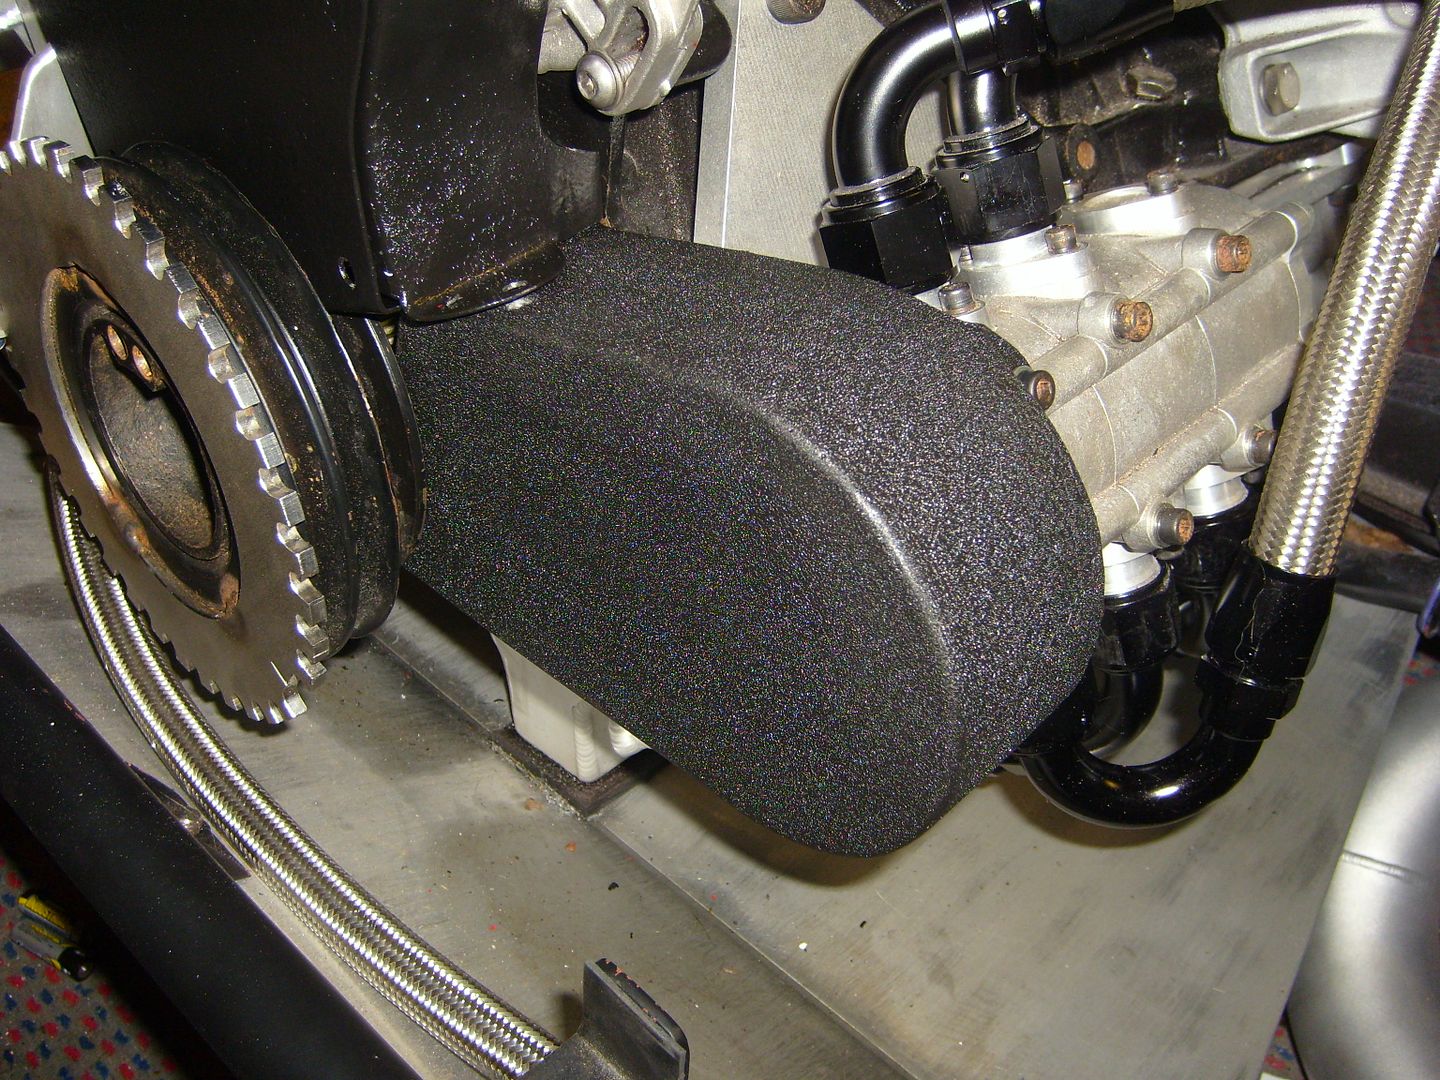
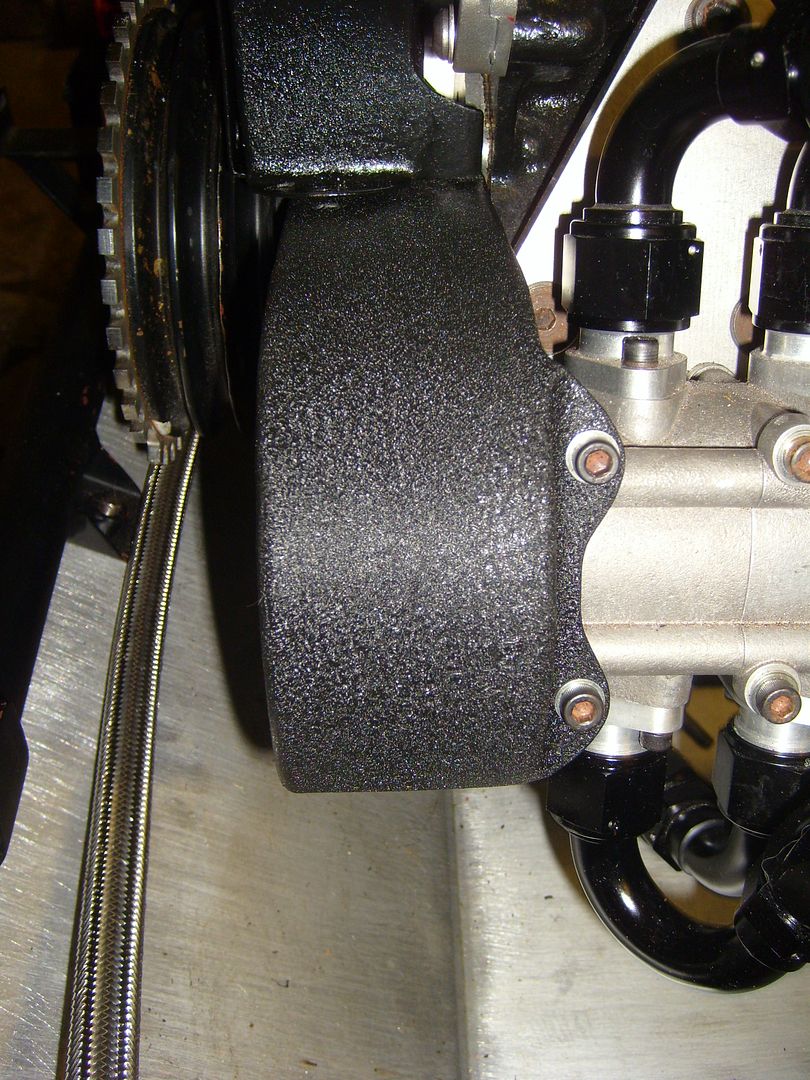
The last bit he had to fabricate on the engine was a cover for the dry sump belt and cambelt. The standard cambelt cover didn't fit anymore becasue he's using a wider cambelt than standard. Always a chance of debris or other auxilary belts taking out the important ones so wont run without!
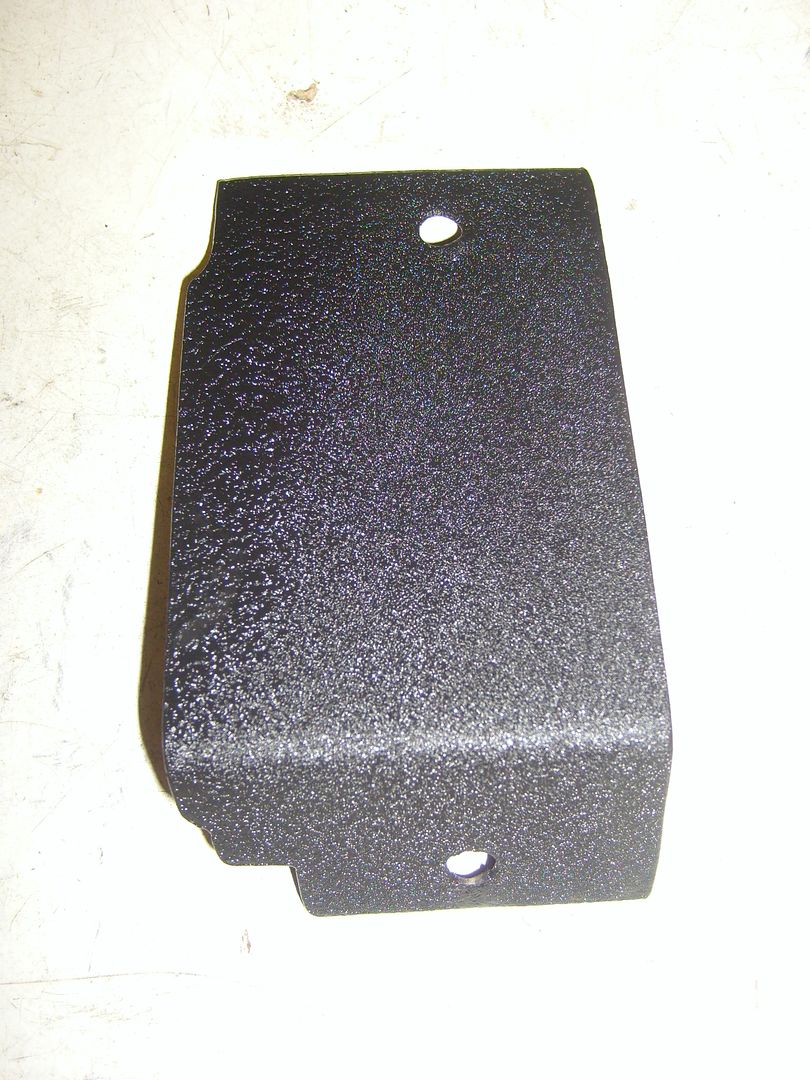
He fabricated the dry sump guard from scratch:
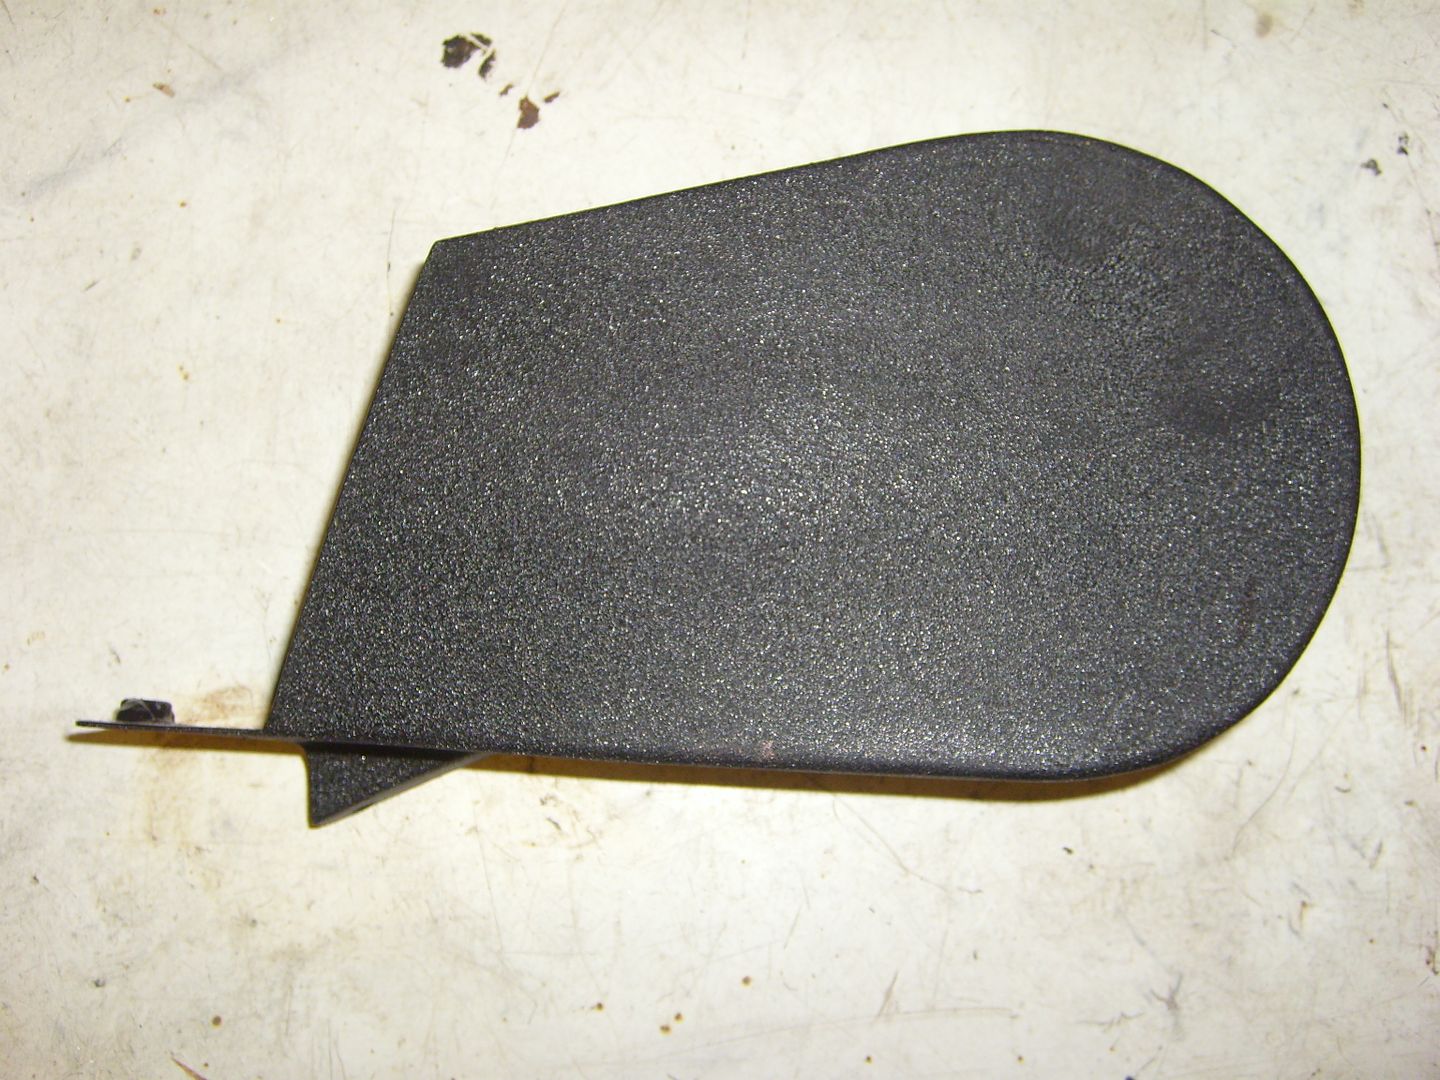
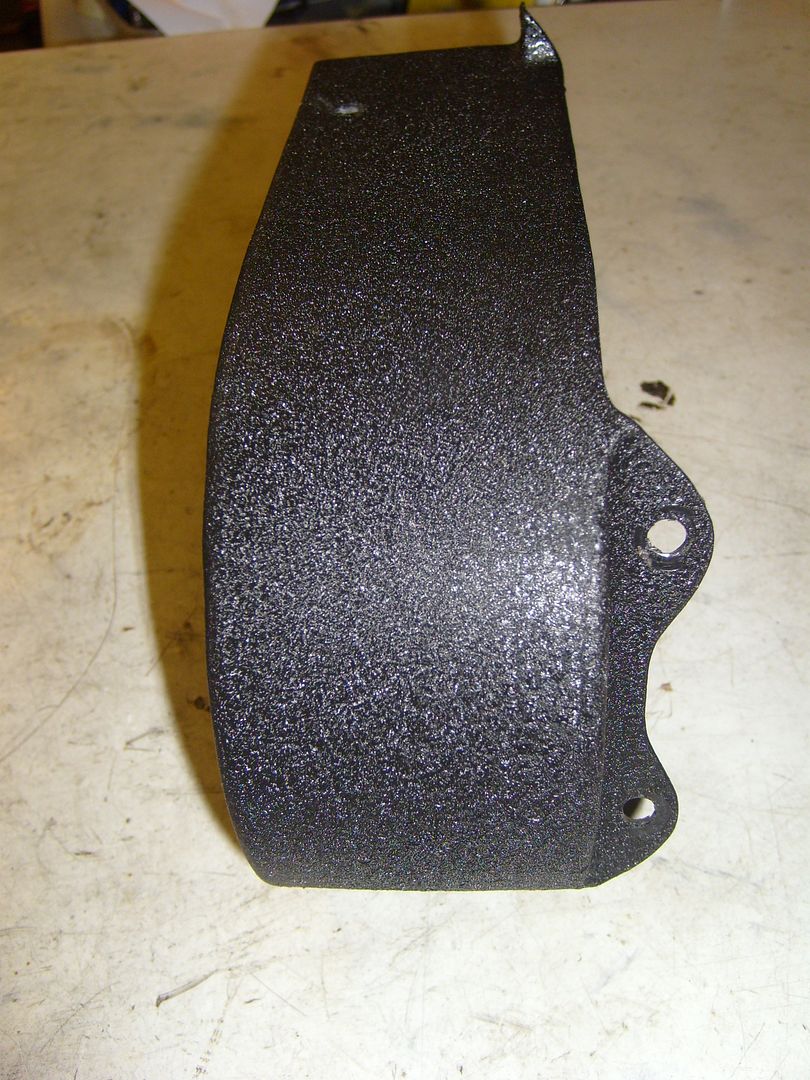
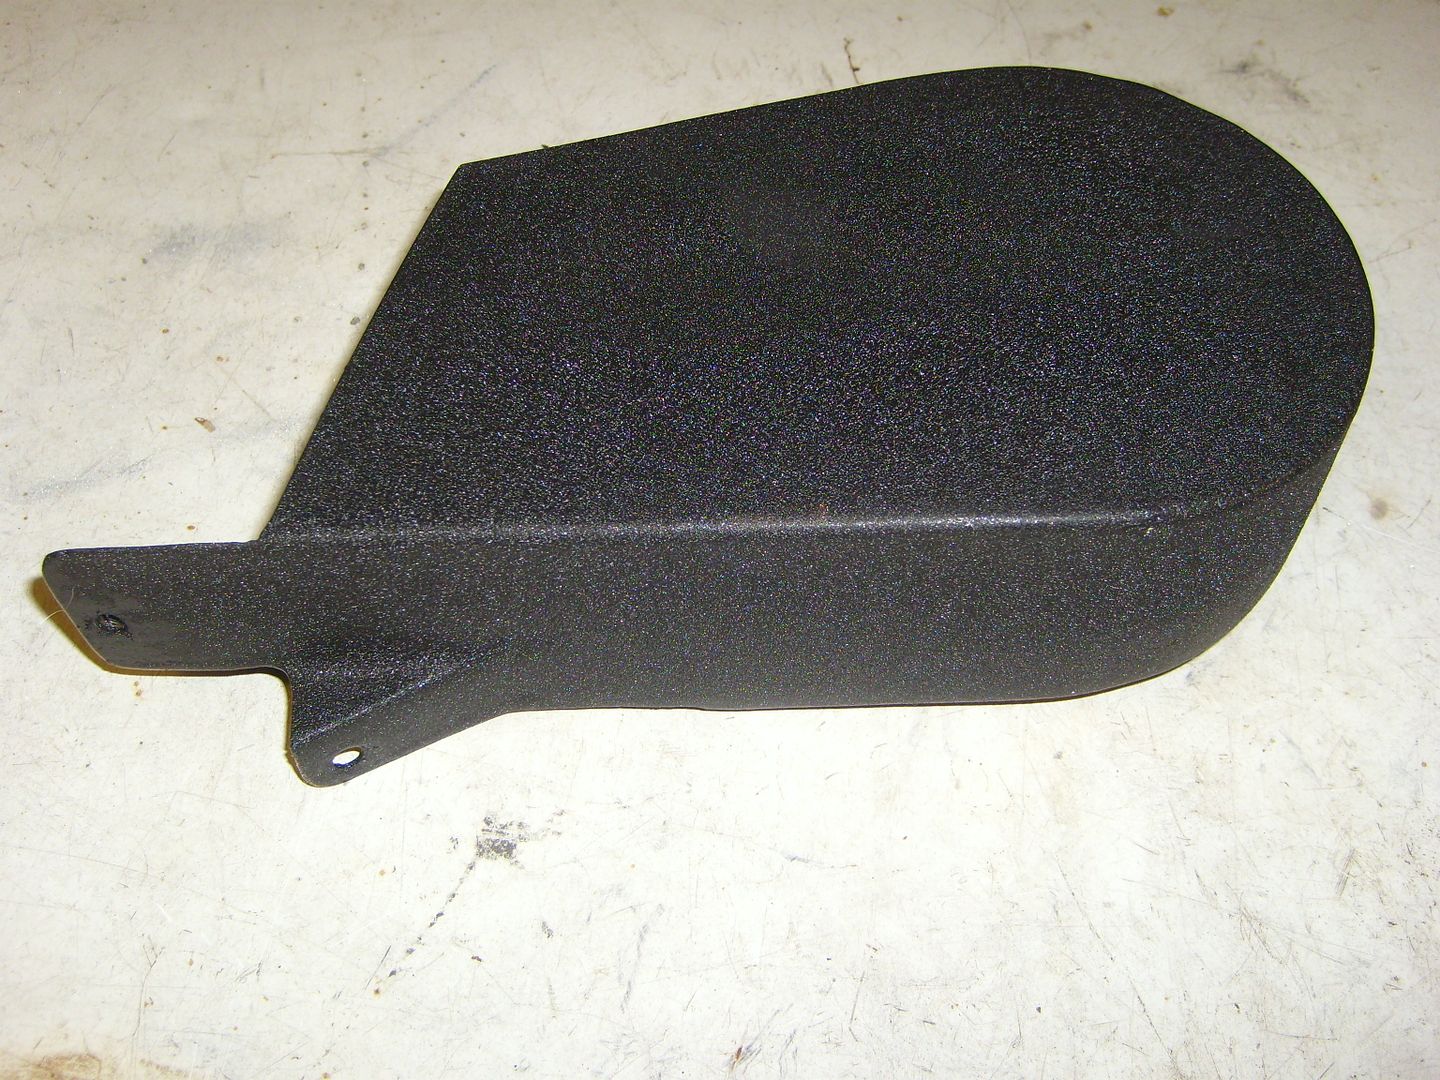
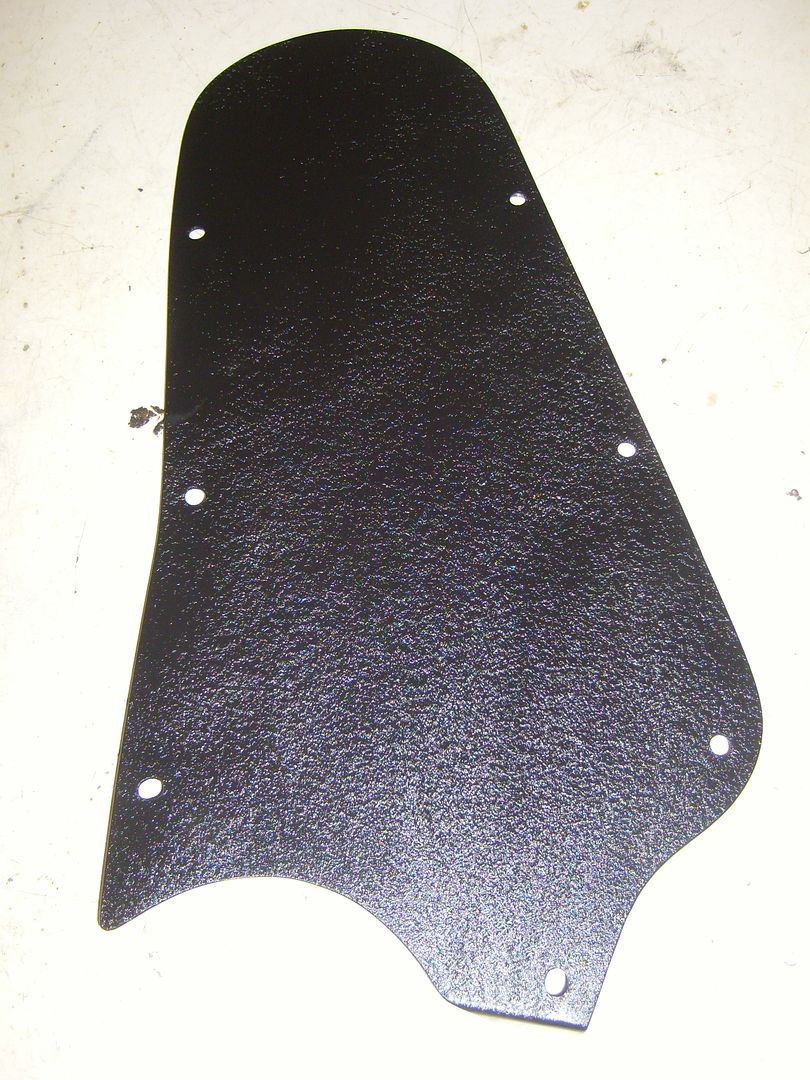
He based the cambelt guard on the standard backing plate heavily modified with edges added to it to make it deeper.
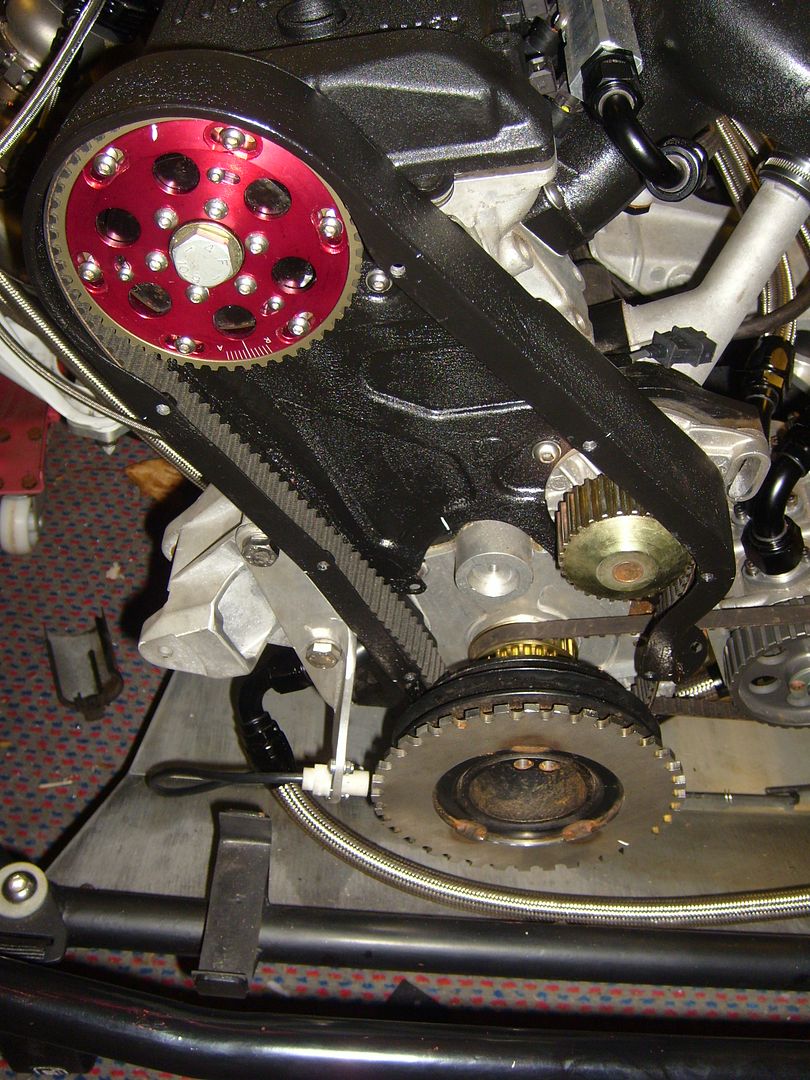
Then he made an alloy front cover, and seperate side cover plate so the belts can still be removed with everything in place.
All trial fitted whilst waiting for the new cam sprocket
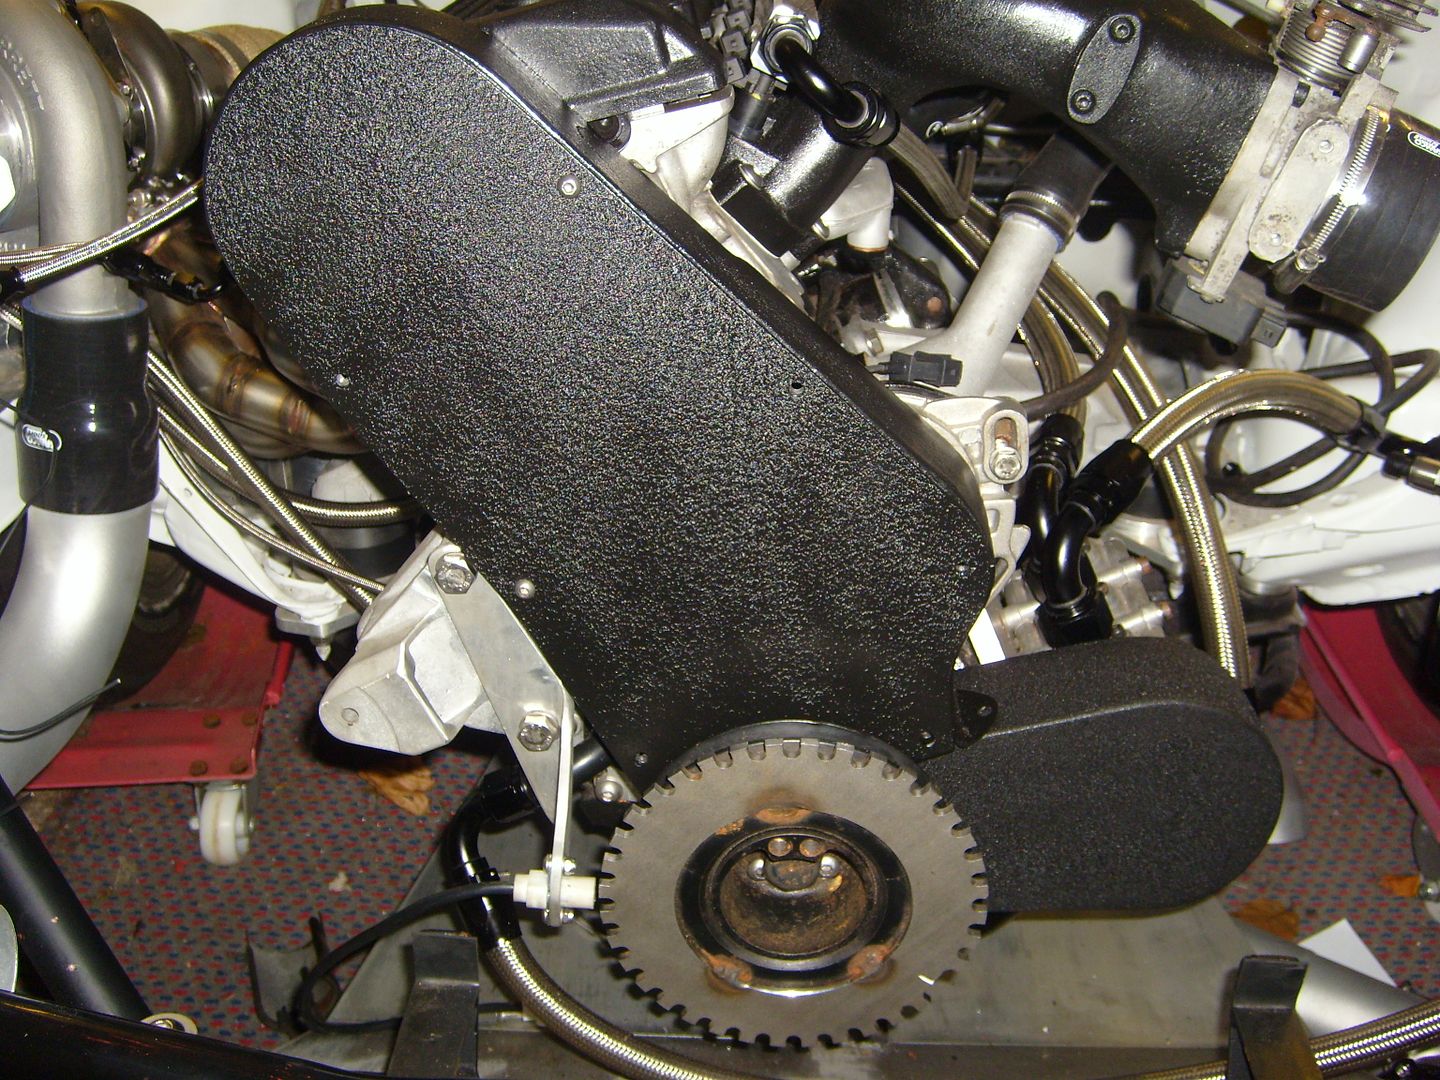
So with that done he got oil around the whole system which can be done by sliding the belt off and putting a drill onto the oil pump. He also got the fuel run around the whole system. So just waiting on the loom being finished then it will be fired up.
April '06' Corsasport Feature Car | Aug '08' Total Vauxhall Feature Car | Spring '09' Fast Car Feature Car
|
Gary
Premium Member
Registered: 22nd Nov 06
Location: West Yorkshire
User status: Offline
|
|
Phil W
Member
Registered: 1st Jul 05
Location: Shropshire Drives : Focus ST
User status: Offline
|
Quick question.. what is he painting these engine parts in (I.E Cam Cover) looks an awesome finish!
|
Daniel_Corsa
Premium Member
Registered: 21st Apr 04
Location: Wigton, Cumbria
User status: Offline
|
quote:
Originally posted by Phil W
Quick question.. what is he painting these engine parts in (I.E Cam Cover) looks an awesome finish!
Crackle black, spray it on and use heat gun to help the crackle and curing.
April '06' Corsasport Feature Car | Aug '08' Total Vauxhall Feature Car | Spring '09' Fast Car Feature Car
|
JamesMc
Member
Registered: 15th Aug 10
Location: Rainham, Kent
User status: Offline
|
this is pretty much mechanical art i love how everything is so clean.
|
Marc
Member
Registered: 11th Aug 02
Location: York
User status: Offline
|
When I saw the cam cover being drilled I was a bit 
Awesome work!
|
Nath
Member
Registered: 3rd Apr 02
Location: MK
User status: Offline
|
Absolute porn!!!
|
Chris F
Show Staff
Organiser: East Anglia
Premium Member
 Registered: 26th Dec 05
Location: Newmarket Drives: Escort Van 1.8
User status: Offline
|
This car gives me a fucking hard on, i remember chatting to you about this car at Christmas 08 or something!
Would love to see it out on track
|
Robin
Premium Member
 Registered: 7th Jan 04
Location: Northants Drives: Clio 182 Cup
User status: Offline
|
quote:
Originally posted by Daniel_Corsa
Until he decides what 17x10 wheels to buy think he's swaying to Avez's as almost like the original works wheels.
Why not just buy the proper replicas from Compomotive?
|
Robin
Premium Member
Registered: 7th Jan 04
Location: Northants Drives: Clio 182 Cup
User status: Offline
|
http://www.ihle-motorsport.de/likecms.php?site=index%2Ehtml&nav=39&siteid=44
The only wheels which matter.
Compomotive make them for Ihle, but I think they'll have to come from them rather than direct 
|
Graham88
Member
Registered: 16th Apr 07
Location: South East Kent Drives: E46 M3
User status: Offline
|
Epic work...
|
Daniel_Corsa
Premium Member
Registered: 21st Apr 04
Location: Wigton, Cumbria
User status: Offline
|
9x16 Robin! Think he wants a bit bigger and wider, decent slick tyres and room to clear bigger brakes!
April '06' Corsasport Feature Car | Aug '08' Total Vauxhall Feature Car | Spring '09' Fast Car Feature Car
|


