corsa-torque
Member
Registered: 15th Mar 11
User status: Offline
|
Thought this might be of help to some people, seeing as the guide on here has lost its images..
De-restricting and Drilling Airbox
Subject Airbox : Corsa B Gsi (X16XE)
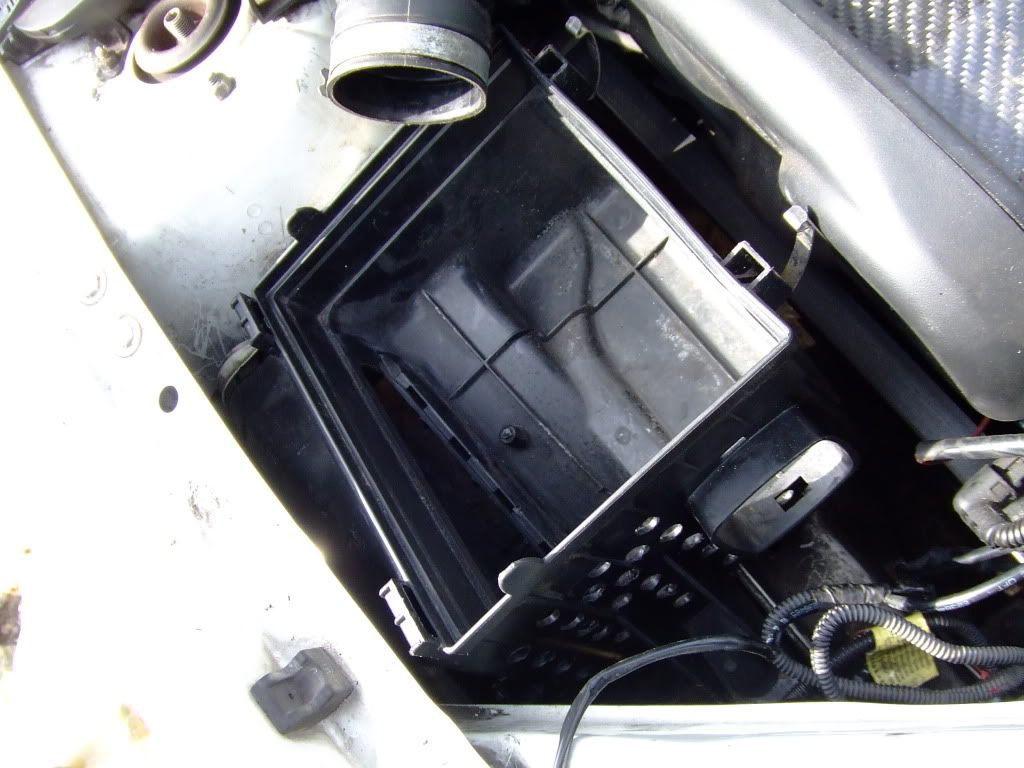
First Remove Airbox from vehicle,
With the Airbox removed, Start by Seperating the Airbox and removing the filter.
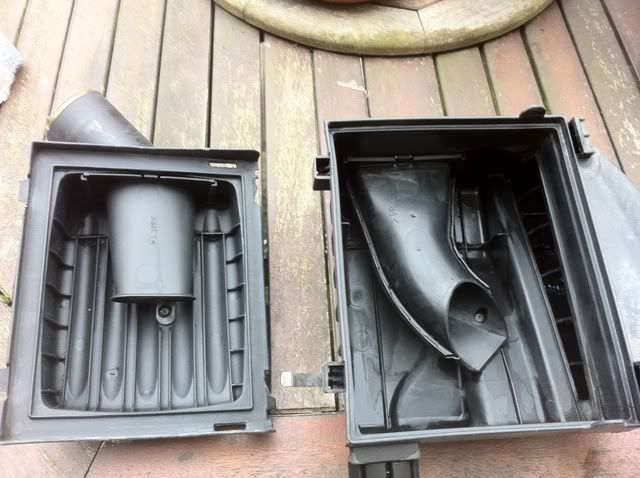
We will start with De-Restricting the airbox, the lid is the first job to do..

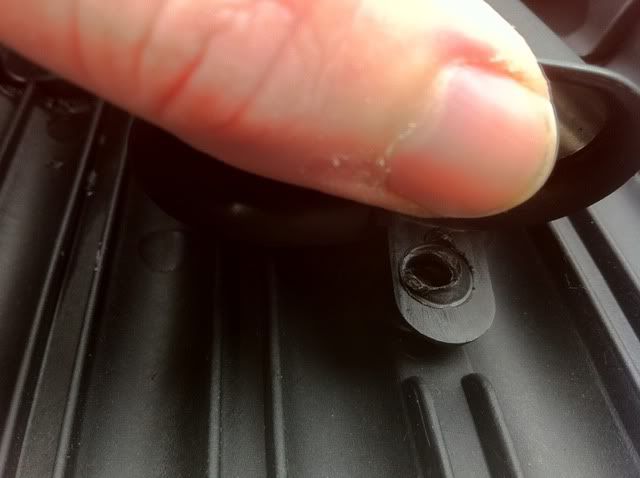
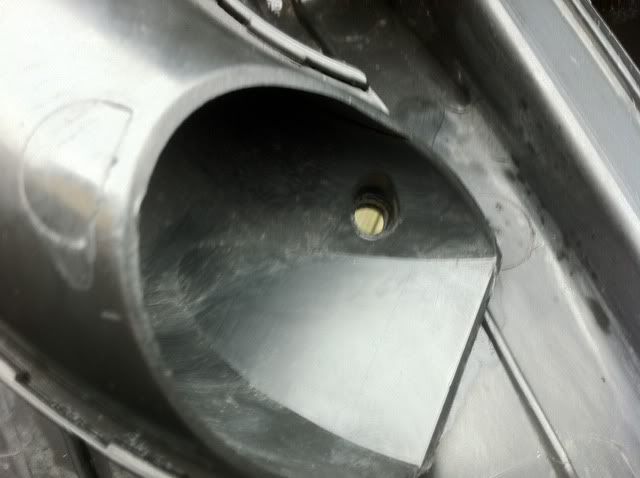
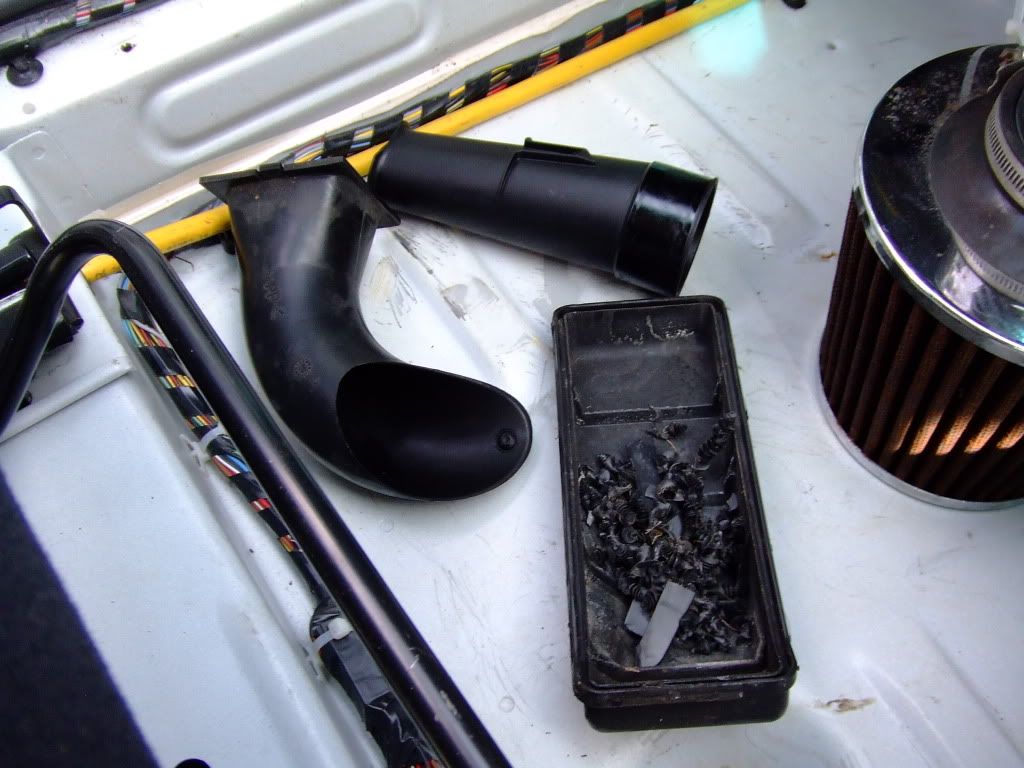
You'll notice that theres a plastic weld holding the inner air intake pipe, Using a 10mm Drill bit, Drill out the plastic weld untill your left with something like this...
You'll then be able to remove the intake pipe and be left with this..
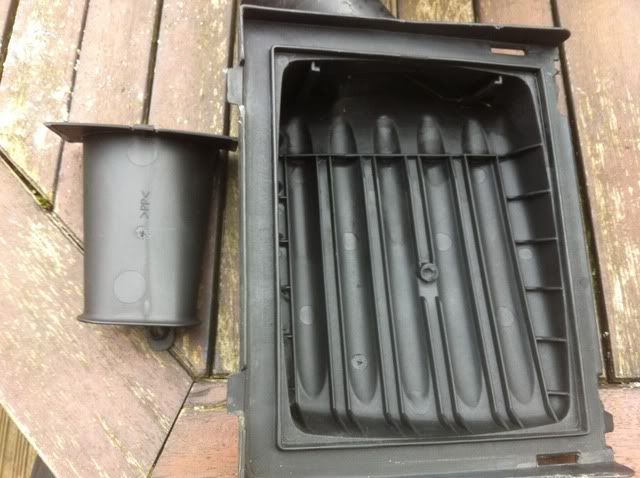
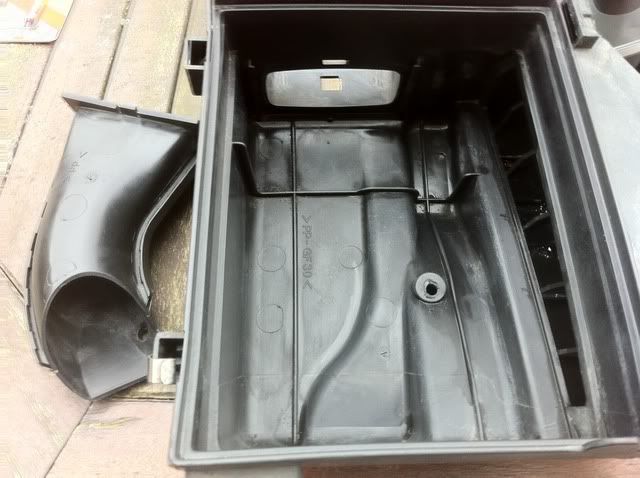
Thats the lid done, Now lets turn our attention to the main body of the airbox, This also has an air intake pipe secured again with a plastic weld
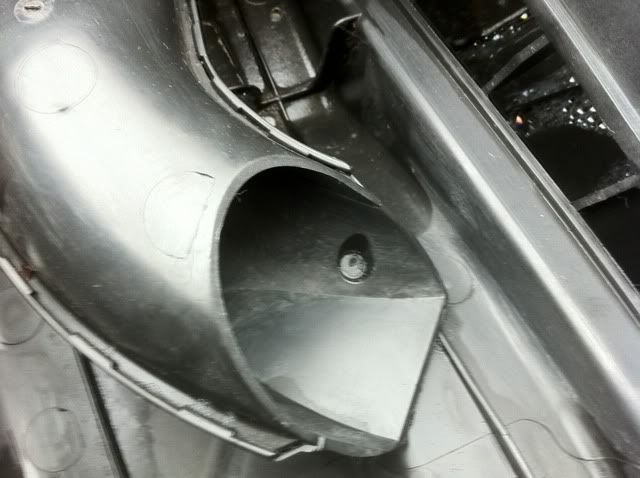
Once again its time for the 10mm Drill bit to remove the plastic weld.. few seconds later and this is what you have.
Now with the aid of a flat blade screwdriver you can now prise out the intake tube.
If it was just a de-restricted airbox you wanted then im pleased to say its that simple, now replace filter and re-fit to your vehicle. Id reccomend a Performance Pannel filter such as K&N for Max results.
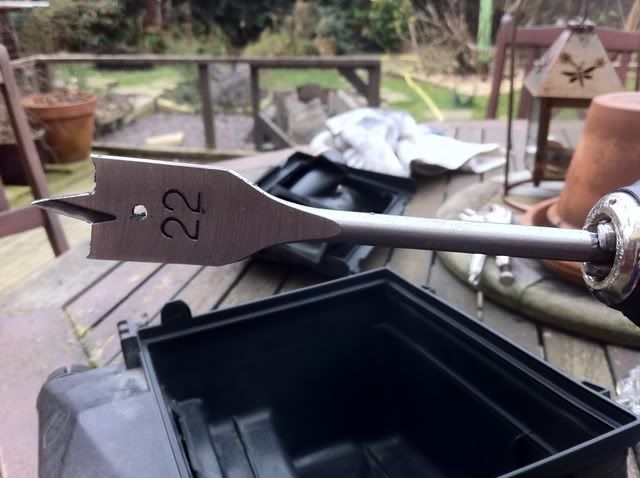
Now for those of you after the induction roar follow these further instructions:
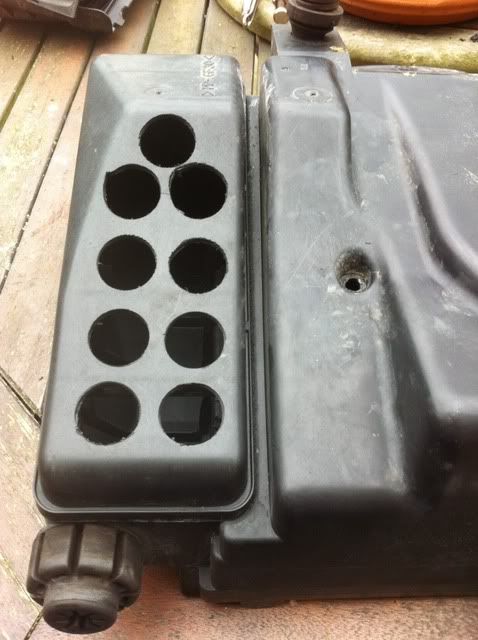
Get yourself a 22mm Hole cutter drill bit..
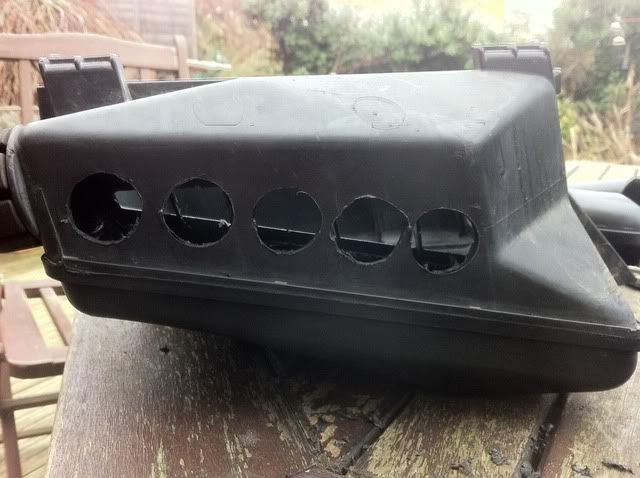
Start on the left hand sideof the airbox (furthest side away from the engine - you DO NOT want holes on the side on the airbox closest to the engine otherwise you will suffer with heat soak and all this work will be for nothing)
After a little drilling and spacing the holes accordingly you should have something like this:
Now Flip the box over and start drilling into the bottom of the airbox, Now the key is not to go too mad and leave your airbox looking like swiss cheese...
Use a craft knife to clean the holes up and removed any left over plastic from the airbox, you'll also want to wash the box out to remove all the plastic the drilling process left behind.
Once dried then you can replace filter or I reccomend using a K&N Pannel filter for maximum results and refit to the vehicle, start it up and enjoy your hard work 
The size of the drill bit and amount of holes is totally upto you...
Small holes create a raspy sound and Bigger holes create a deep induction note.
The results from the airbox pictured create a nice deep induction note, quite similar to that of the pipercross filter it has replaced.
|
alan t
Member
Registered: 3rd Sep 06
Location: edinburgh
User status: Offline
|
good guide that mate
will hopefully help a few people out!
|
djgritt
Premium Member
 Registered: 1st Nov 07
Location: Dorset Drives: Focus ST / Hyundai i20N
User status: Offline
|
Your Airbox looks like it has different internals to what was in my old one...
My Intake Reducer was a push fit through the inlet tube - to remove that type, you push it out from the Inside of the lid outwards - it also had no Plastic weld (pictured below)
Also, and alternative to drilling the side wall/base as pictured, is to fully remove the bottom cover (pictured below)
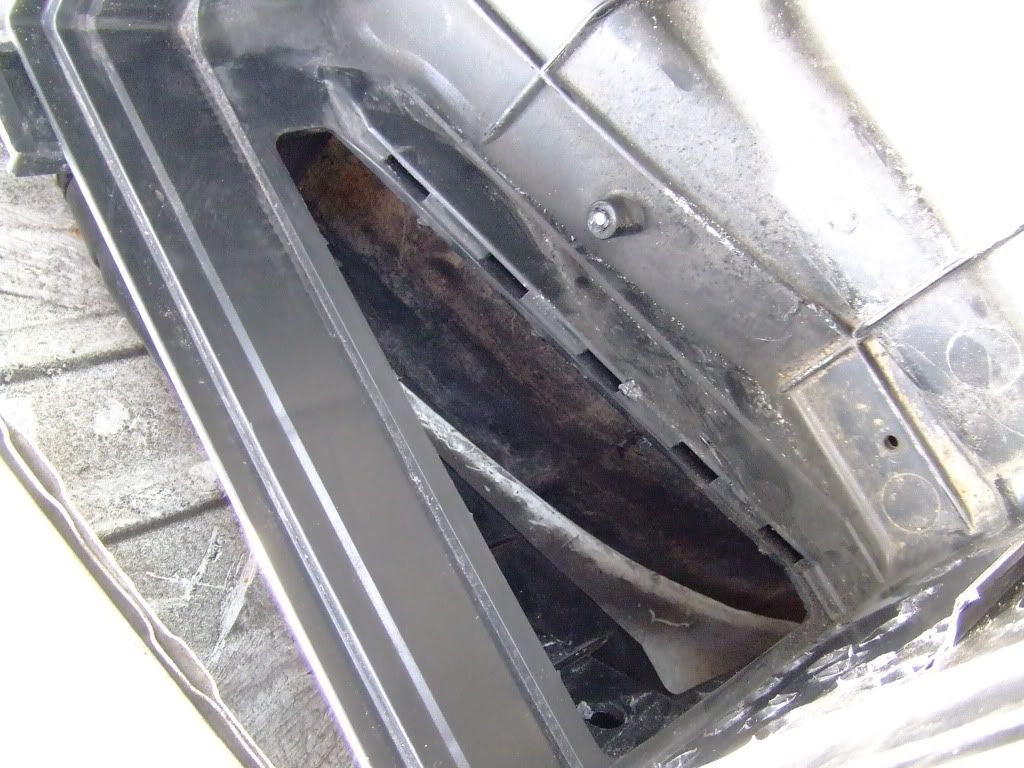
[Edited on 19-02-2012 by djgritt]
|
Kyle T
Premium Member
 Registered: 11th Sep 04
Location: Selby, North Yorkshire
User status: Offline
|
Ah my 12v used to sound awesome with a swiss cheese airbox  Those were the days! Those were the days!
Lotus Elise 111R
Impreza WRX STi
|


